As a child I would collect acorn tops! They made great whistles! But I also imagined that fairies and gnomes and small critters like chipmunks and squirrels (yeah my size dimensions were a bit off as a child lol) would obviously wear acorn tops as hats! Heck if I could find an acorn top big enough as an adult to wear as a hat I would totally be wearing it! Can you imagine how big that acorn would have to be!?!?! lol so yeah I have a fascination with acorn tops!
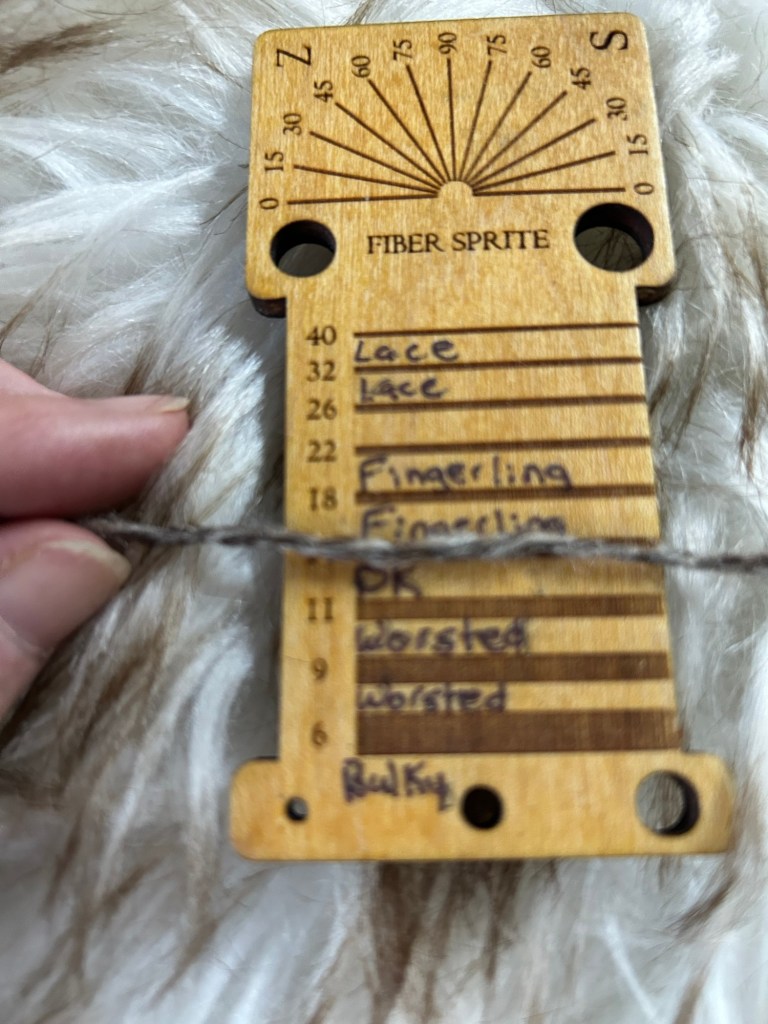
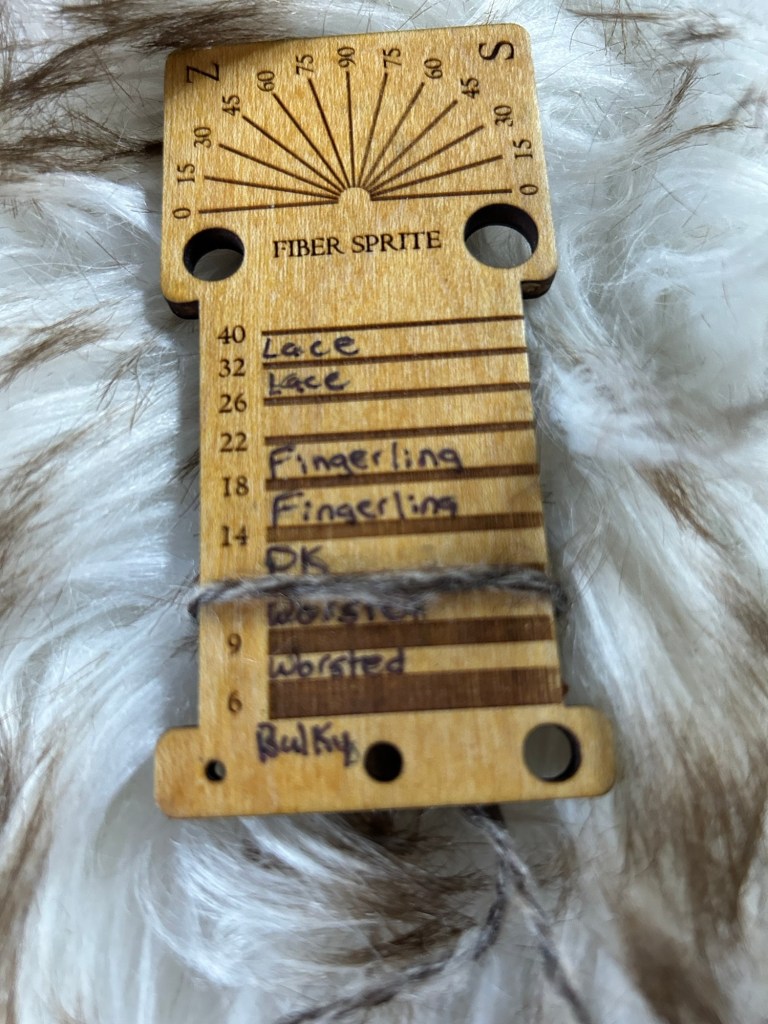
The yarn I’m using is home spun wool that varies between fingerling and DK weight. I love to get raw wool and see what I can turn it into… but it’s not easy to find patterns that work well with homespun wool in the weight I like to spin. Fingerling weight but sometimes closer to DK weight for the most part. Somewhere between 11-14 wpi. But because it is home spun and varies in width sizes all thru out the yarn… it’s hard to find knitting patterns that work well. This one seems to be very forgiving and allows for a bit of fun at the same time! Gah… who wants to knit boring hats and scarves? Not I!
I am not a professional knitting pattern writer and honestly these are my notes so I can make the hat again. Most of what I post on this site are notes to myself so I don’t forget how to do something that turned out really nice! lol anyway if you have some lovely homespun wool and you are wondering what to do with it … feel free to give this one a try!
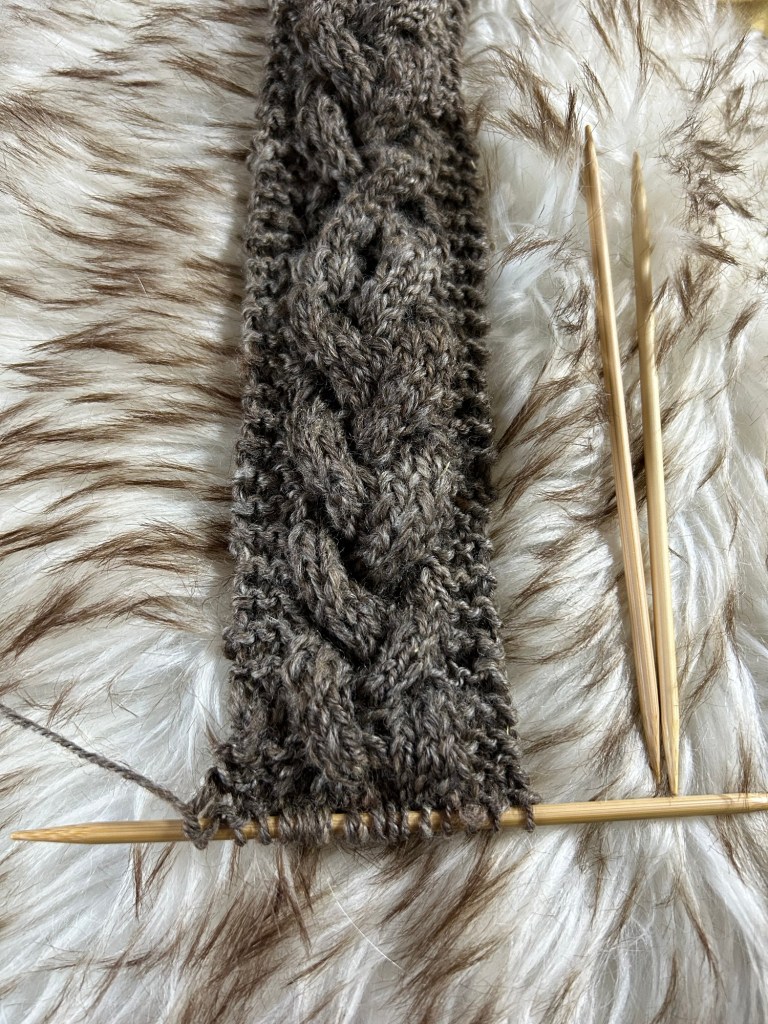
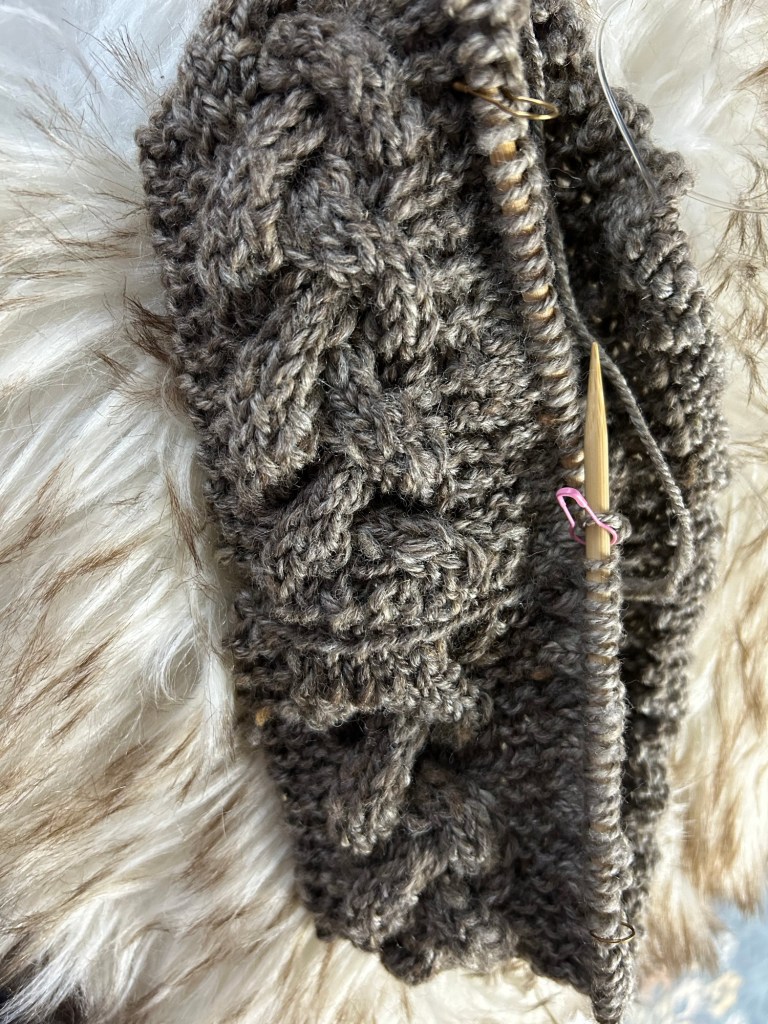
Head band portion. If you have never done cable stitches before I suggest watching a few YouTube videos first as this is a basic cable stitch pattern. I start this as a headband because it is easiest to figure out if it will fit your head by stopping and trying it on (as each yarn is a bit different) before finishing the cast off. So basically you are starting by making a headband similar to the one in the photo (but less cables). You will then use the headband as the brim portion of your acorn hat.
Cast on 15. Using size 7 double pin needles. You will need 3 needles to make the cable design.
Row 1 knit
Row 2 k3, p9, k3
Row 3 k3 on needle 1. K3 on (empty) needle 2 and hold to the front. K3 from needle 3 to needle 1. pick up the 3 stitches from needle 2 onto needle one. Needle 2 will now be empty and you can set it aside working on only needle 1&3 … Knit to the end (6 stitches).
Row 4 k3, p9, k3
Row 5 knit
Row 6 k3, p9, k3
Row 7 k6 on needle one. k3 on needle 2. Hold needle 2 to the back. K3 from needle 3 to needle one. Pick up and knit the 3 stitches from needle 2 onto needle 1. Needle 2 should now be empty and you can set it aside and continue butting on needles 1&3. K3
Row 8 k3, p9, k3
Repeat rows 1-8 until you get the right circumference for your head (for me it was 21”) and sew the cast on/ cast off ends together to make a circular band after casting off.
You can stop here if you want ear warmers/headband only.. but continue if you want the hat. For ear warmers I suggest casting on for additional cables to make the headband wider tho. I only wanted one row of cables for this hat so … that is what the pattern calls for.
Starting at the seam of the headband…Go along the edge of the band with a #8 circular needle and pick up stitches evenly along the side. Count as you pick them up. You will need to place 6 stitch markers so take your final count and divide by 6. I had 134 stitches (on my first hat) so I placed them at 22,22,23,22,23,22 stitches. For my second hat I got 138 stitches so it was an even 23 stitches between markers. (This will vary depending on your head size and how big you make the head band to fit your head).
Place a different color stitch marker at the beginning of the row (I used pink) to help you keep track of where you are as you knit along. If you forget to use a different color stitch marker you can always look for the head band seam.
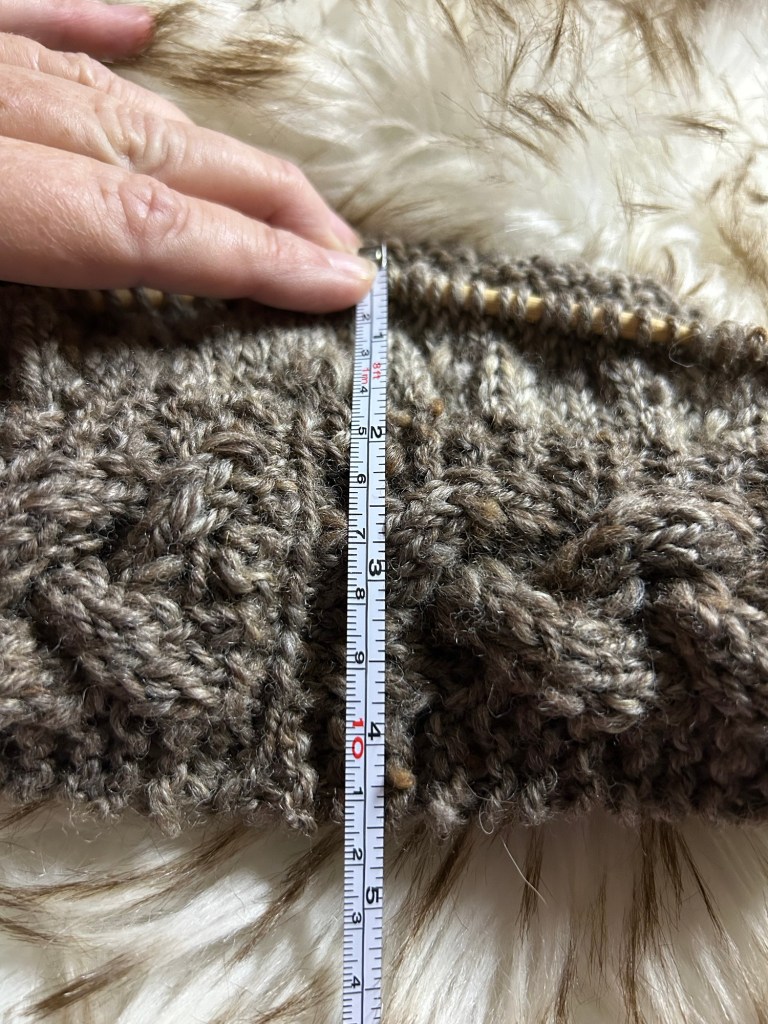
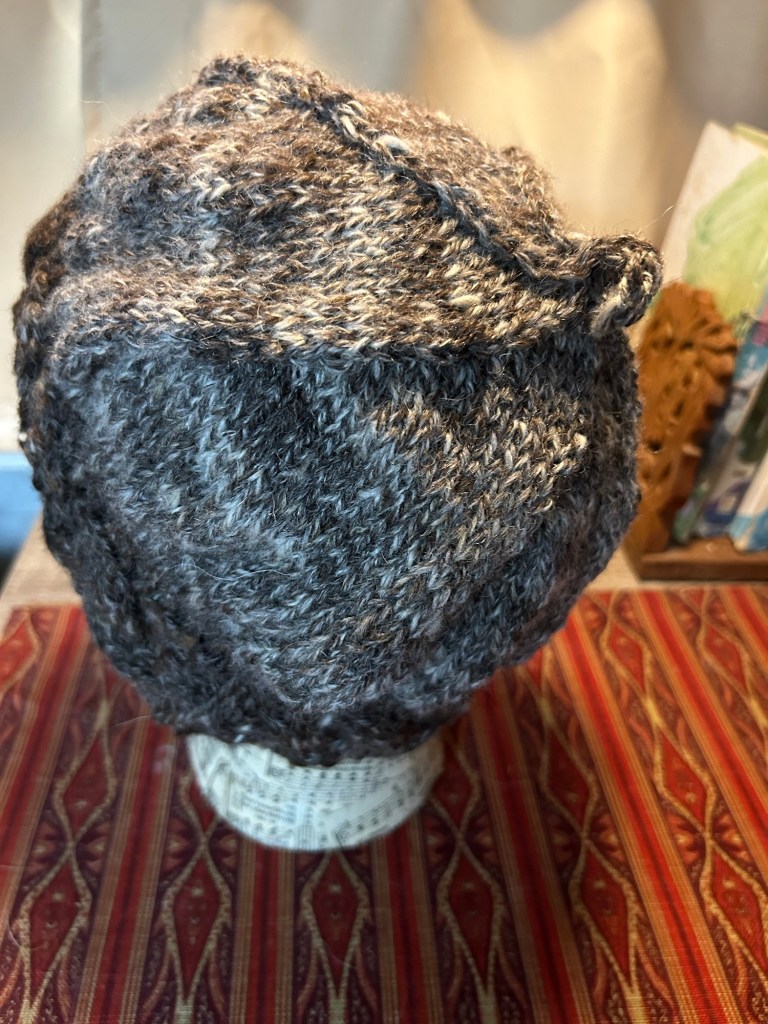
Knit till the band is 4.5” inches from the edge (including your head band portion). Then start decreases. To decrease… knit to 2 stitches before each stitch marker and k2tog. Switch to double point needles as the circumference gets smaller. If you get to the end you may need to do a couple of k2tog, k1, psso to get three stitches down to an even 2 between stitch markers. (This is from the uneven 22 vs 23 stitches between markers from above on my first hat). Once you get down to the last 3 or 4 stitches on the needles you can either do an I chord for 4-5 rows and the finish off. Or (my preferred method) you can cut the tail end of the yarn and using a sewing needle go through all the loops and tighten to finish the circle like you would close a draw string bag.
If you have never done an I chord before… time to watch a few YouTube “how to” videos! It’s really simple.
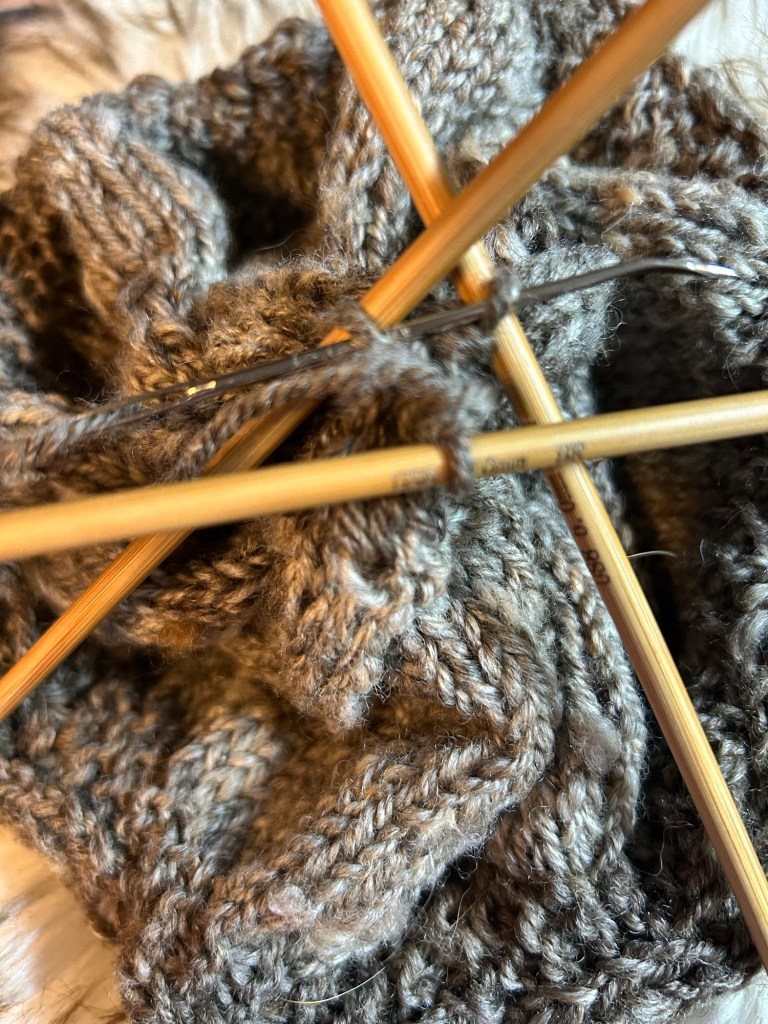
You might also want to invest in some different size lengths of double pointed needles at some point. I like to use the regular length (you can get these at any craft store) for making the band… but when you are working on something with a bit more stitches and don’t want to accidentally drop any stitches while you are working then and inexpensive set (I got mine on Amazon) of 10” in length double pointed needles come in very handy. Sometimes I find that the circular needle is too long and the double points are too short… that’s when the 10” double points come out!

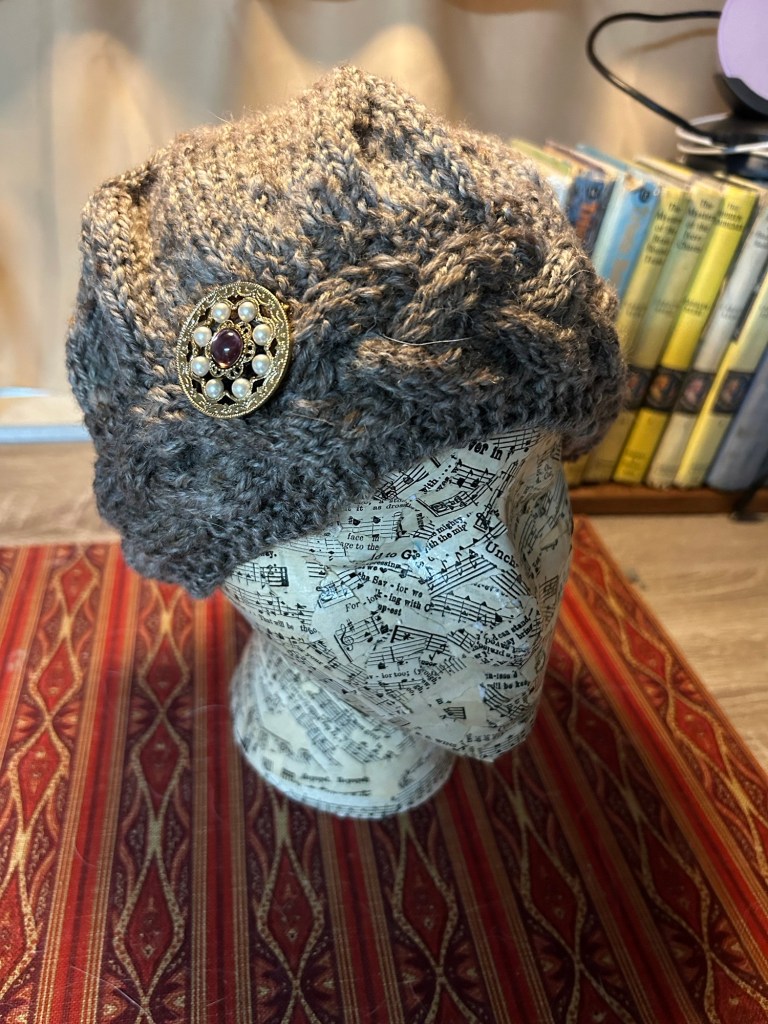
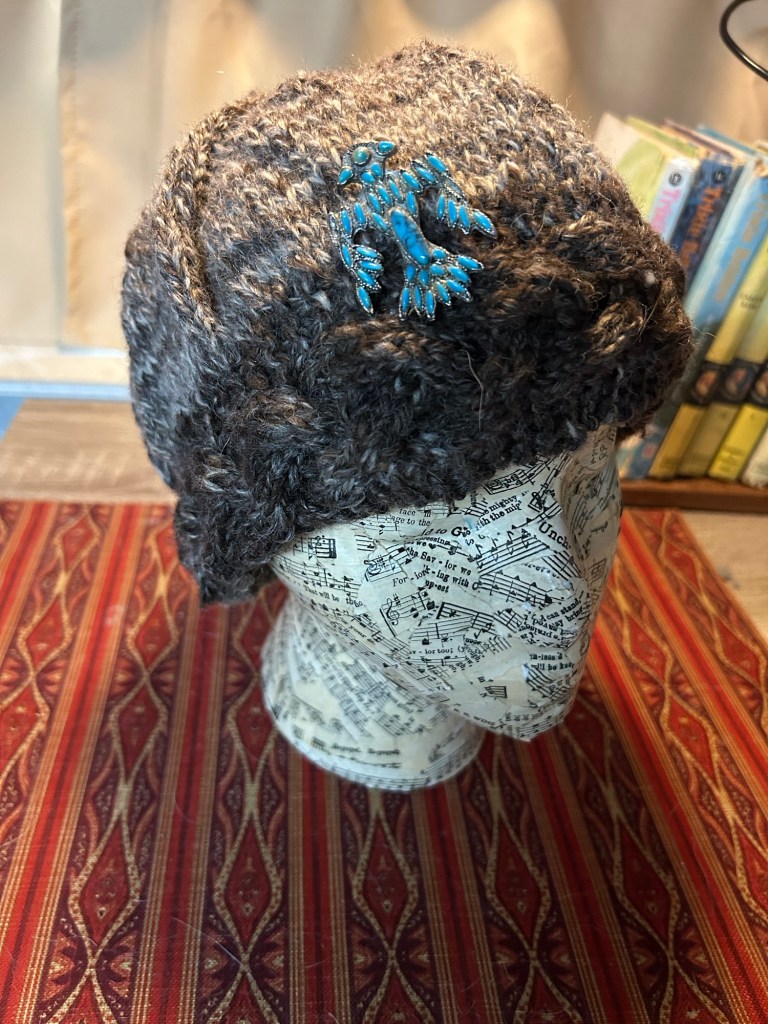
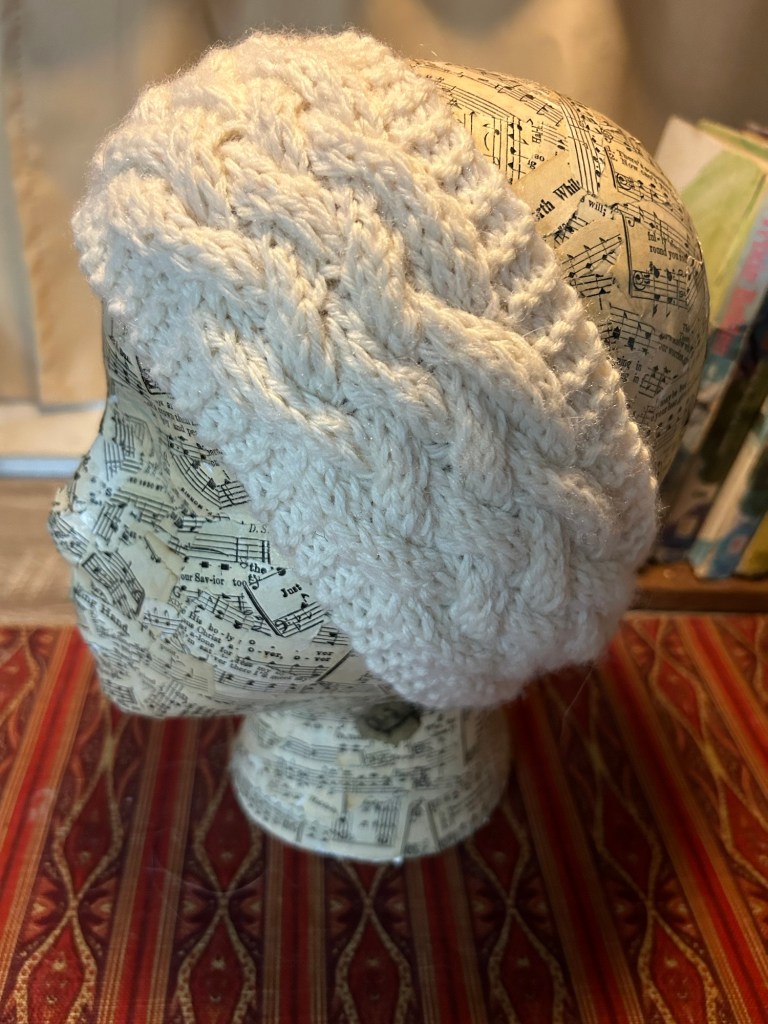
The last thing I want to say is as you are working on this hat you might think… it looks too tiny! I thought that too… but remember it’s an acorn top! Not a flouncy hat so it is probably going to look smaller than what you are used to making… but when you put it on! OMGosh! I’ve got an acorn hat! I also like to buy broaches from the local thrift stores and put them on my hand knit hats. So check out the local thrift stores or yard sale for a 25 cent broach you can recycle! I’m always picking up pretty broaches when I see them to finish off projects with a bit of flare!
Happy knitting!
