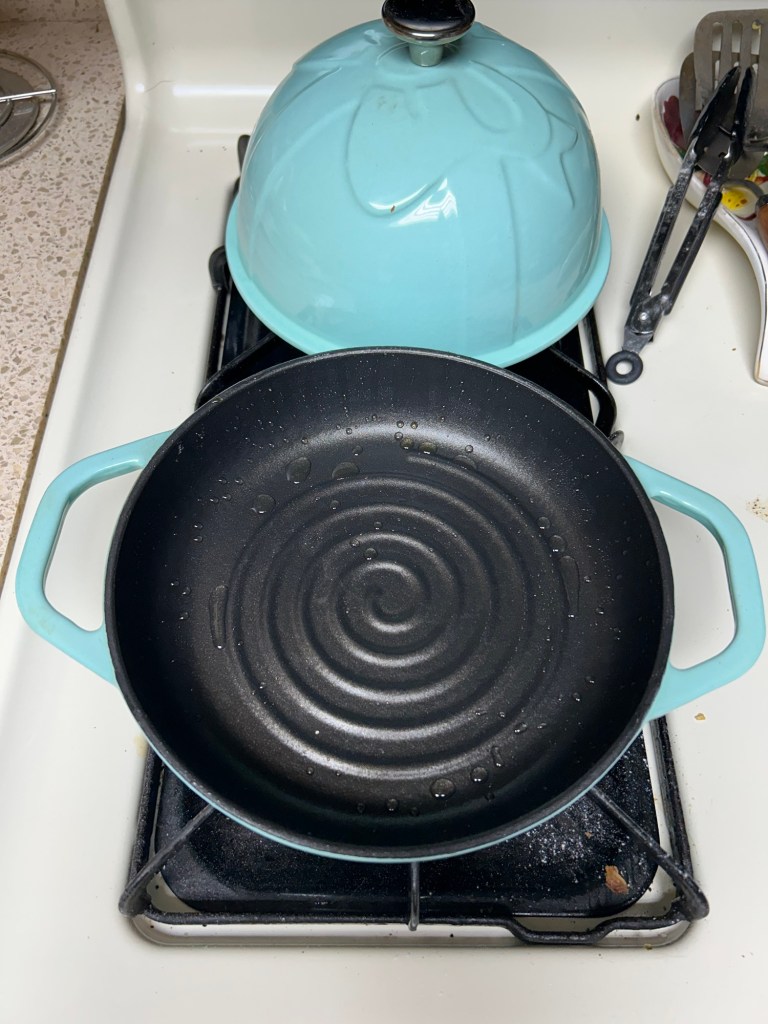
During Black Friday sales on Amazon I scored this fabulous cast iron bread cloche! This thing is awesome! It looks small (only 7” diameter) but makes a perfect loaf of bread! Bread is getting expensive so off on an adventure and I e found the perfect recipe for easy bread!
I seasoned the bread cloche with a bit of olive oil before using it the first time. Don’t forget to season inside the lid too!
This basic bread calls for three ingredients and no kneading.
3 cups all purpose flour
1.5 cups hot tap water
1 tsp sugar
1 tsp yeast
Step one. Mix the yeast and sugar into the hot water and set aside. This wakes the yeast up and it starts eating the sugar to activate it.
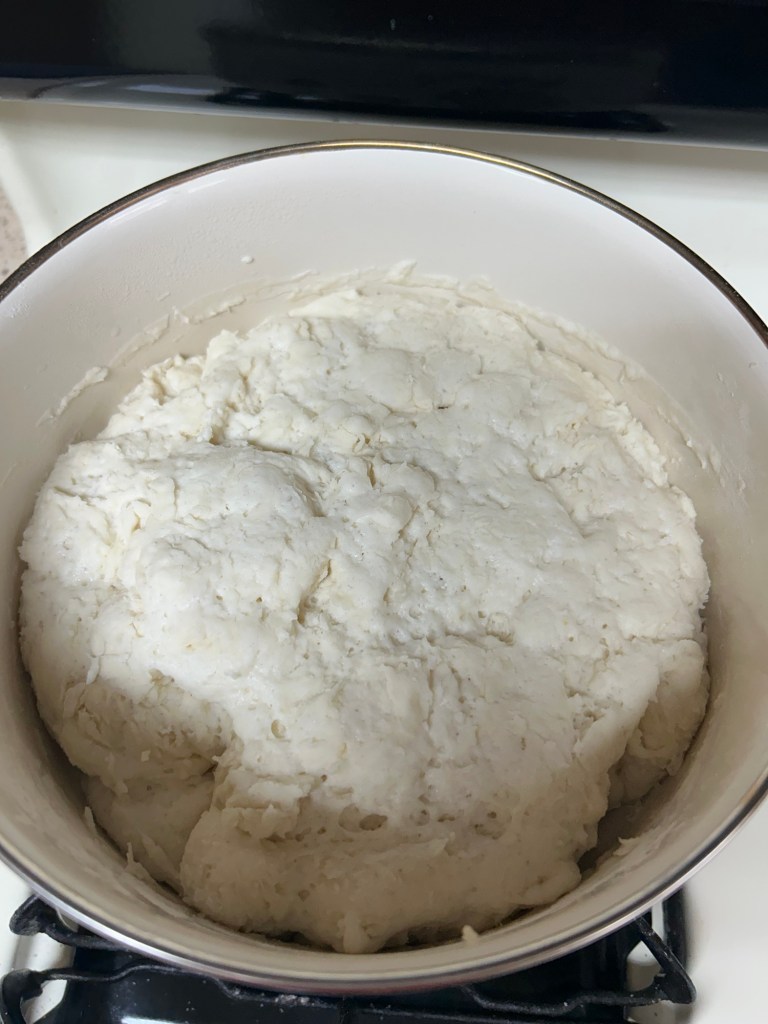
Step two. Sieve 3 cups of all purpose flour into a bowl. Add yeast water and mix forming a ball. Cover and let sit in a warm spot for 1 hour to rise. My kitchen is on the cooler side so I place it in a metal bowl on the stove top and set my oven to warm to vent some slight heat to the stove top. But that’s just how my oven works. Use your best judgement.
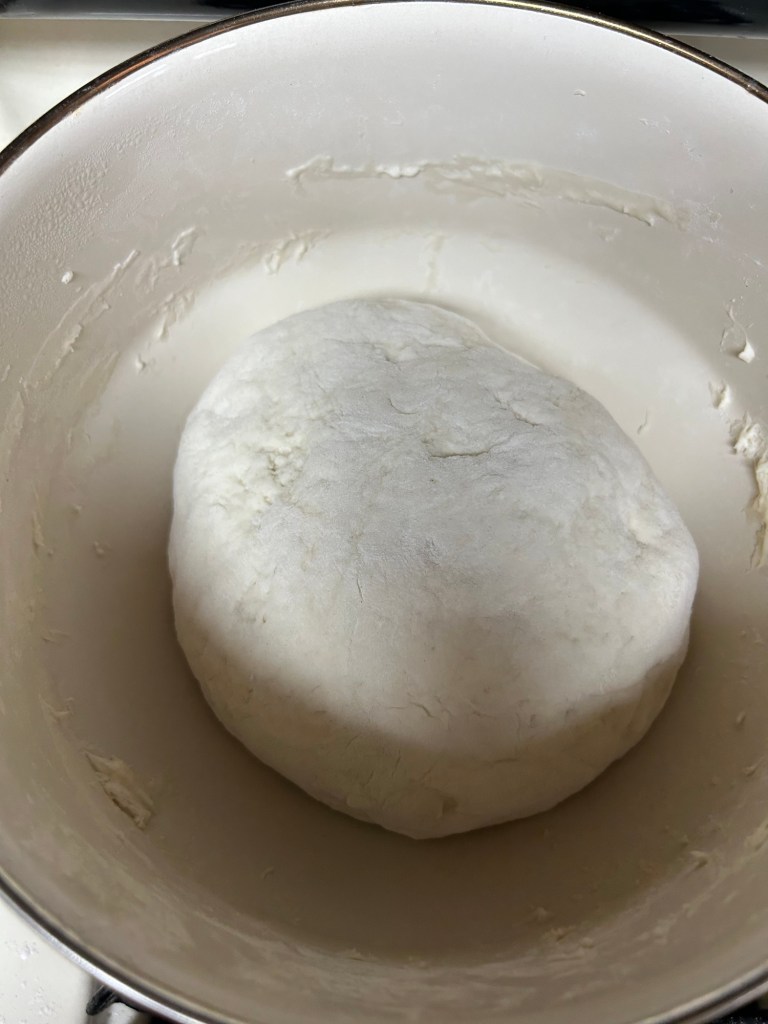
I got a set of these metal bowls with plastic lids from a thrift store and they are perfect for bread making! I use this one to proof the bread on the stove top. Don’t use a plastic bowl on a warm stove top or it will melt. I don’t like plastic anyway… so I only have metal or ceramic bowls at home. This is what the dough looks like after the first rise. I usually have to use a spatula to get all the dough out of the bowl as it is a bit sticky at this point.
Step three. Preheat oven to 450 degrees. Place bread cloche in oven to preheat as well. Leave the cloche in the oven for 30 minutes while the dough rises a second time.
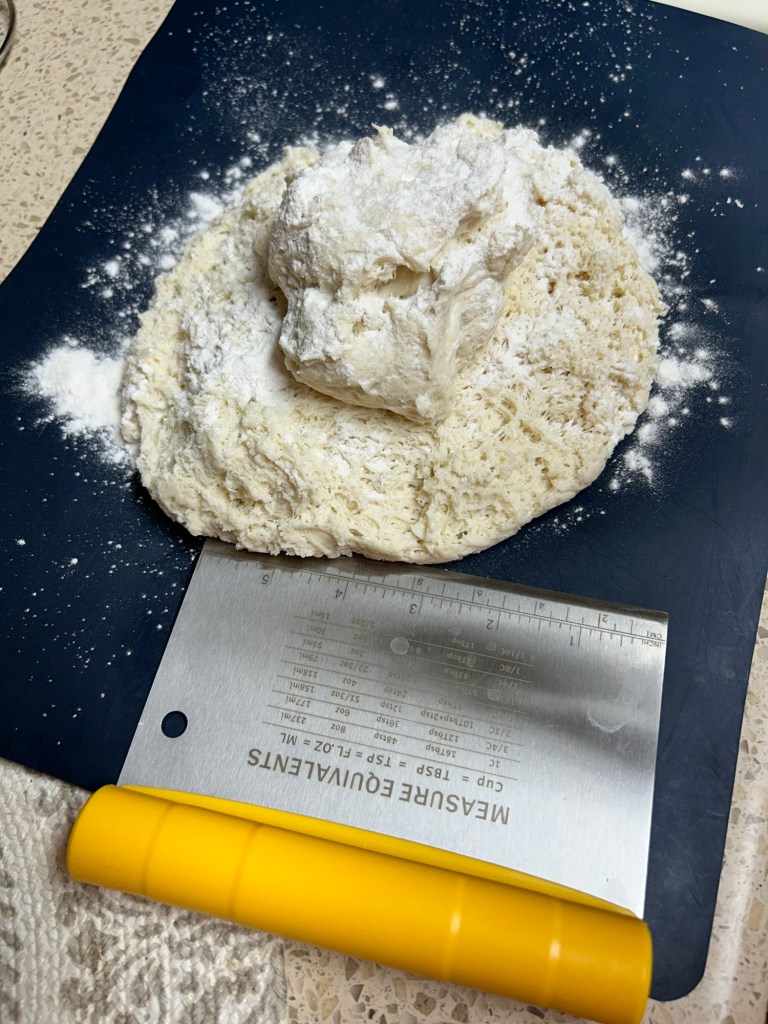
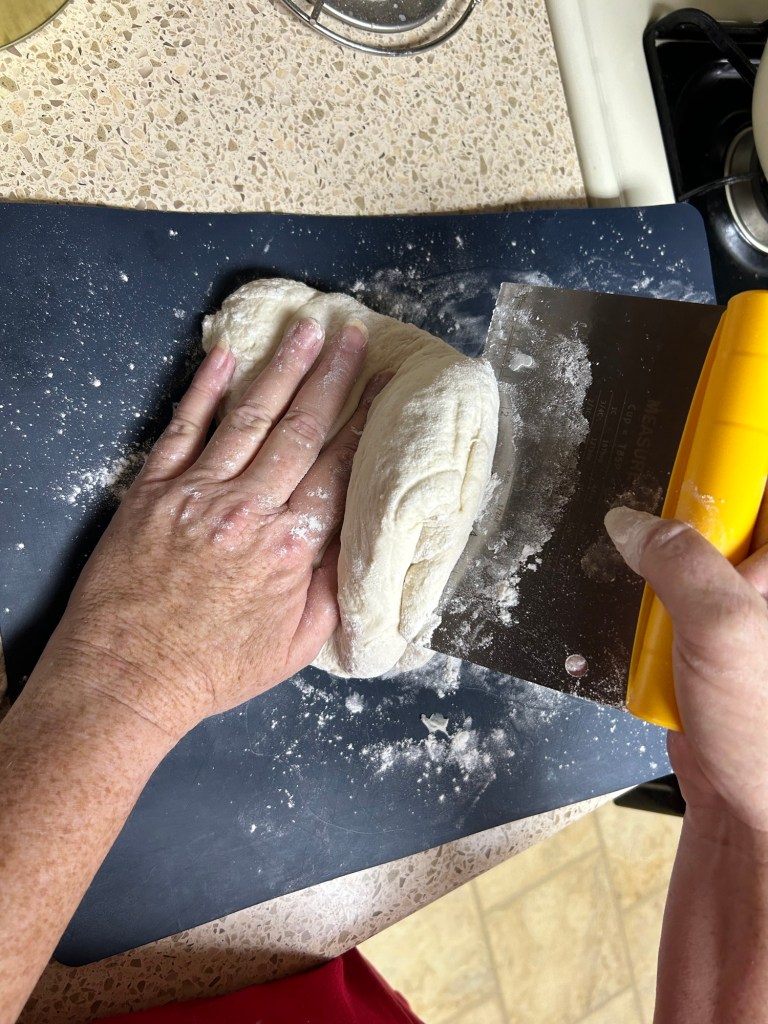
On a cutting board sprinkle some flour and place your dough on top. Sprinkle a bit more flour on top of the dough and fold the dough in half about 12 times (flatten it out between folding). Roll dough into a ball. Place back in bowl and cover and let sit for 30 minutes to rise while your oven and bread cloche is pre heating.
What it looks like before I start folding the dough in half. Here I am folding the dough in half, flattening it out and folding again… repeat about 12 times. Here I have fired the dough back into a ball shape and will cover and let it rise for 30 minutes while the cloches is preheating in the oven.
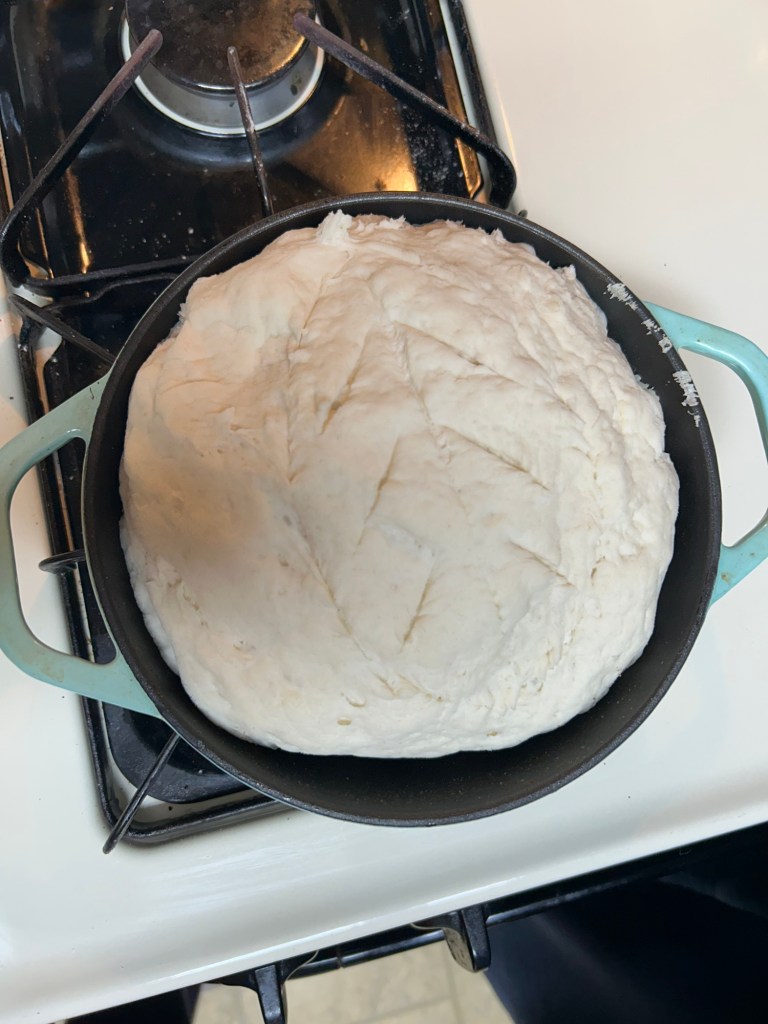
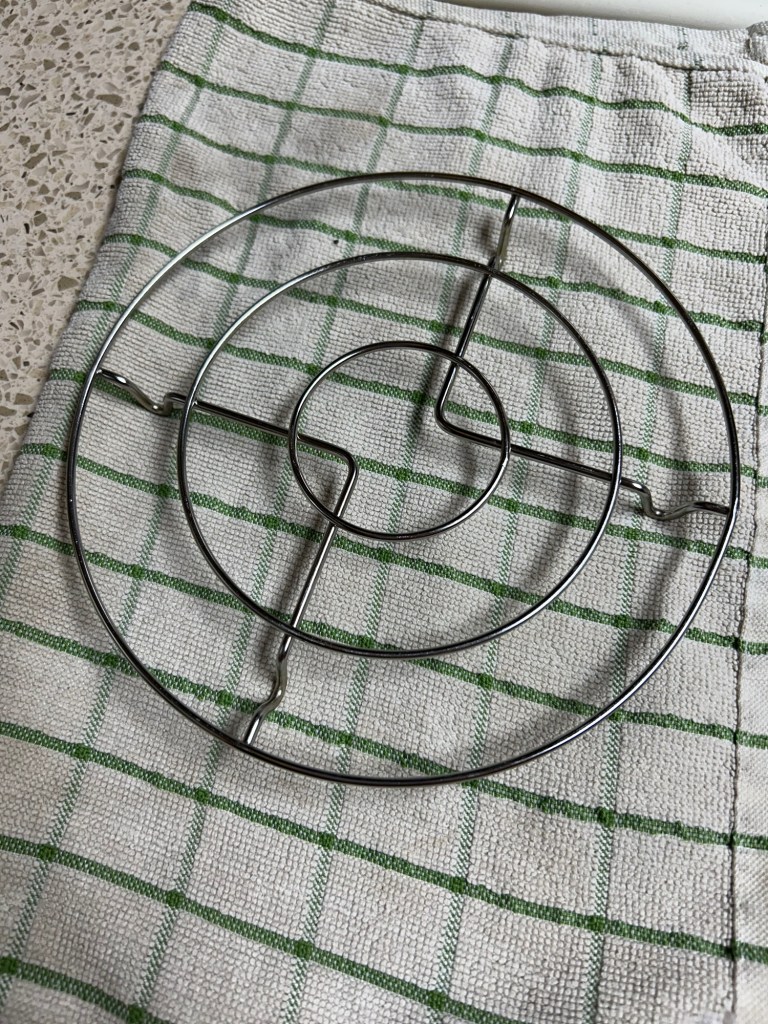
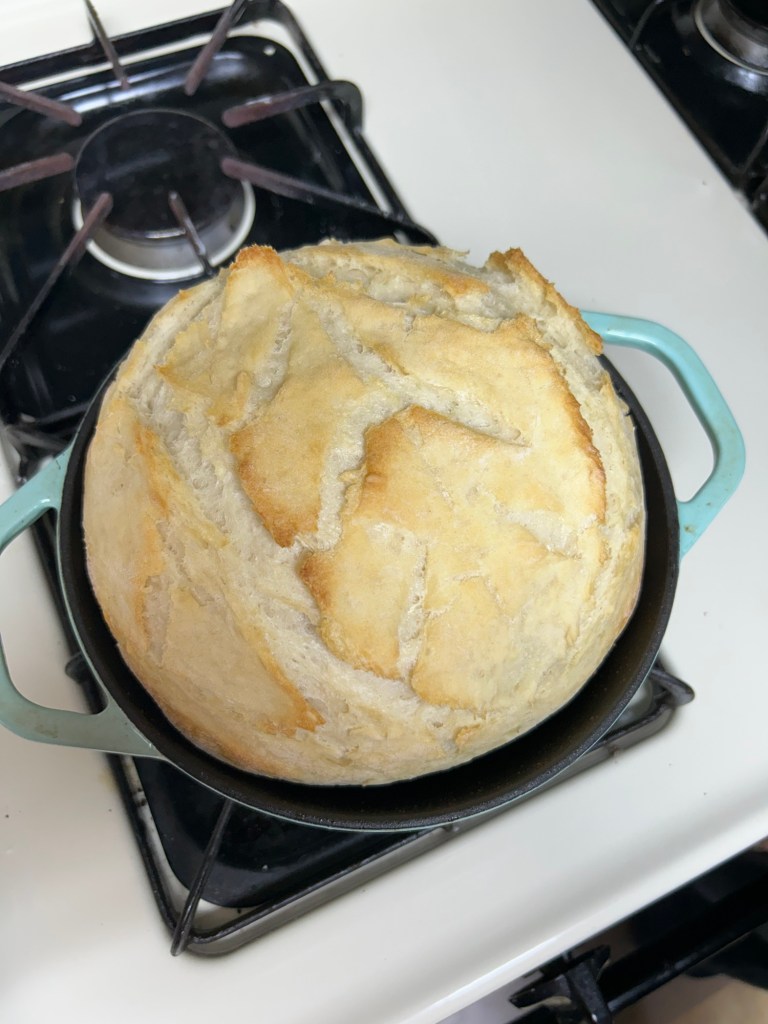
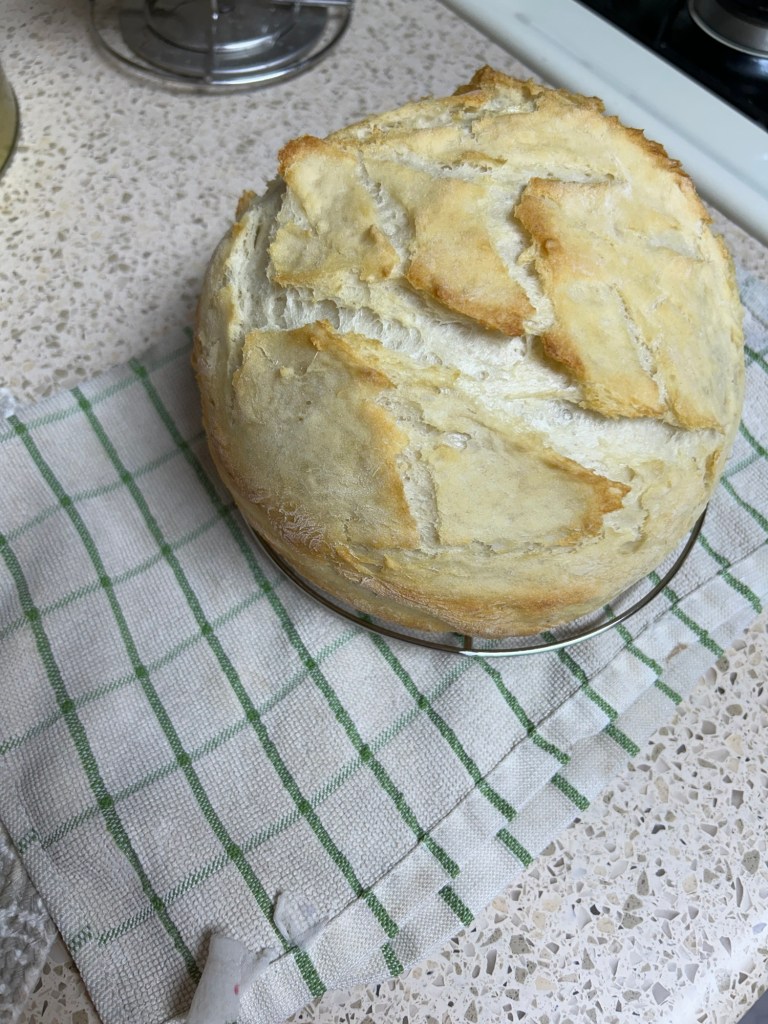
Step 4. Place bread in breach cloche and cook for 30 minutes. You can use a tooth pick to make sure the bread is fully cooked if you want. If you want a crisper crust remove the lid and back and extra 5 minutes if desired. remove the bread from the cloche (I use a spatula) and place on a wire rack to cool (I use the wire rack that came with my instant pot).
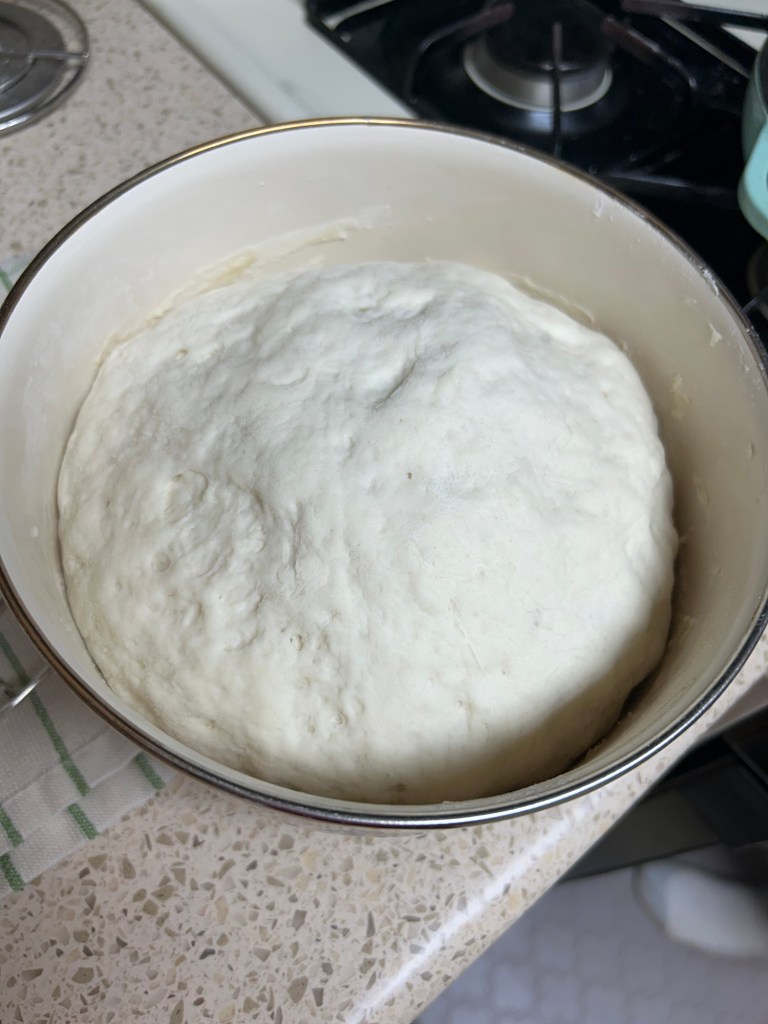
What the dough looks like after the second rise. If you find the dough likes to stick to the bowl on the second rise use a spatula to get it out but try not to loose the fluffy “rise” when doing so. You could also sprinkle the inside of the bowl with some flour or a light coating of oil to make it easier to get the dough out. We used a small pairing knife to cut a design into the top. Ready to go into the oven to bake! you can see I’ve used this cloche a bit lol Wire rack ready to help cool down the bread once it’s done. This is the rack that came with my instant pot but works great for this bread and cloche recipe!
Helpful hints: if you want to get fancy you can use a bread razor (or a small knife) to cut designs into the top of the bread. You don’t have to but it does make the loaf prettier!
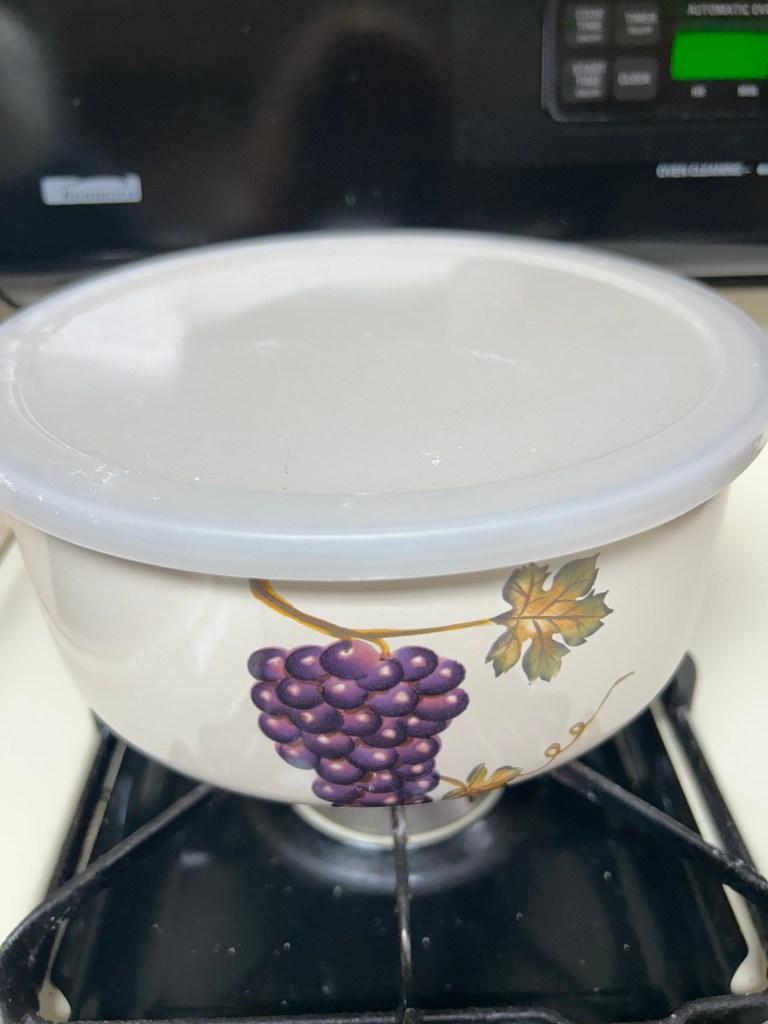
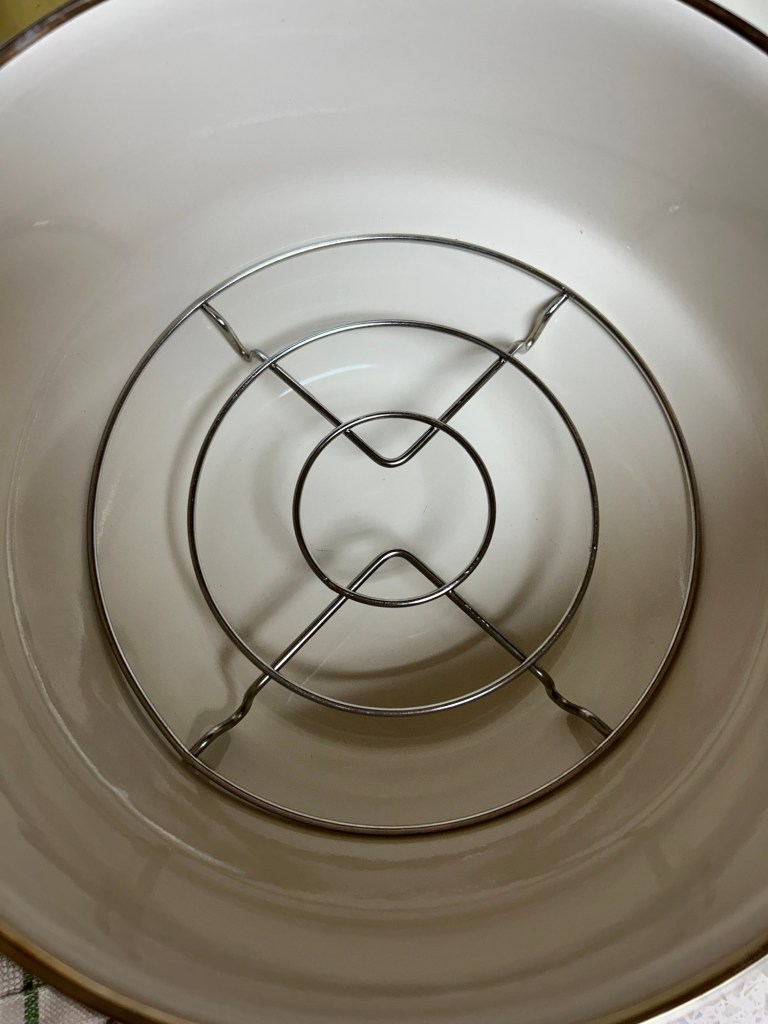
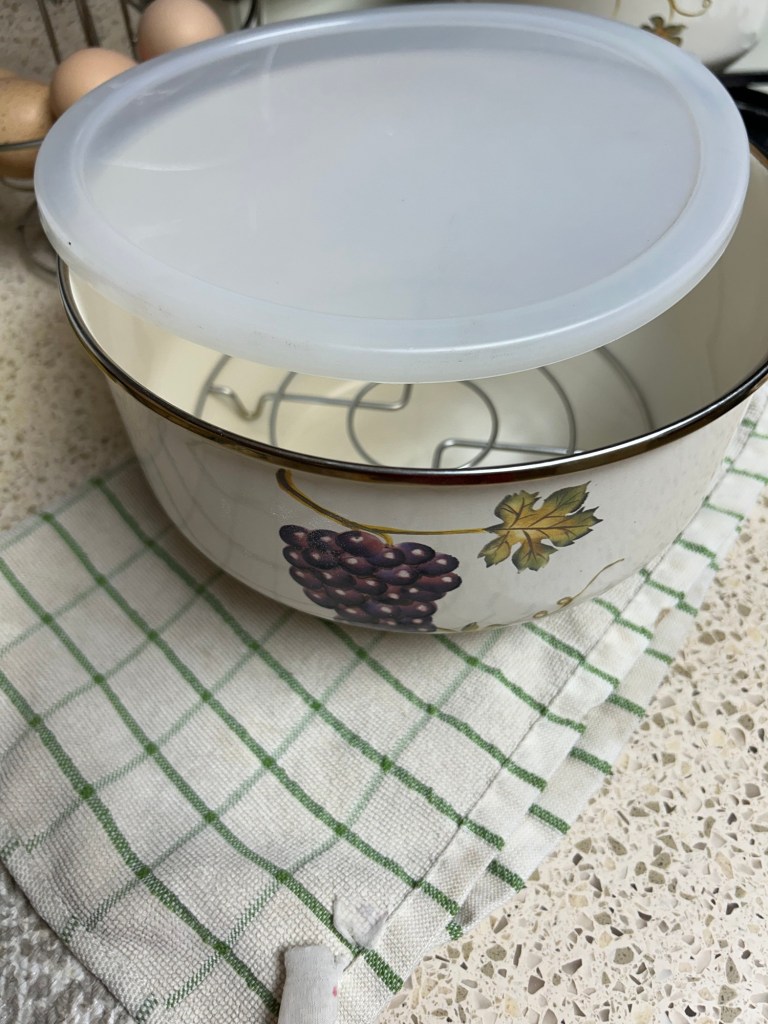
Also I really love the metal bowl set I found at the thrift store! It came with 4 bowls (nested) and matching lids. To store the bread I use the wire rack that came with my instant pot (it fits perfectly!).
Wire rack from instant pot in my largest size bread storage bowlBread storage bowl. I place the bread in this bowl with the lid tightly on after the bread has completely cooled down. This bowl does a great job of keeping the bread fresh for about a week… if the bread lasts that long! lol which it usually does not!
This makes a good sandwich bread… but my favorite way to eat it is with butter, toasted lightly, and a little homemade wild blackberry jam spread on top! I treat it as my desert sometimes as an after dinner sweet snack.
Yum! Homemade wild blackberry jam! So much better than the store bought stuff!
And now for a “dad good idea” I’ve almost burned myself several times because I want to pick up the cloche lid and put it on top of the bottom part with my bare hands forgetting that it is HOT! So dad said (while watching me bake one day)… leave the hot pad sitting on top of the lid! That way you don’t forget it’s hot! I usually sit the hot pad off to the side. Duh why didn’t I think of that!?!?!?! So simple! It’s not like the hot pad is gonna get damaged sitting on top of the lid for a few seconds! Dads are smart sometimes!
Our finished loaf (no extra baking time for browning the crust. We like it lightly browned). Using a spatulas to remove the bread from the panCooling on the wire rack and ready to snack on in a few minutes with warm bread fresh from the oven with butter and jam!
Conestoga is another name for a horse drawn prairie wagon. So conestoga Chuck is about traveling with pets and keeping it fun, organic, and inexpensive in the prairie homesteading tradition of making things instead of buying and making do with less. Enjoying the wild & wonderful and traditions of our pioneering ansestors rather than the material things in life ... while also enjoying the companionship and warmth of our family and pets.
Which brings me to the chuck part in our name. Chuck is the beautiful collie mix in the page profile photo. A little play on words with the chuck wagon theme lol hence conestoga Chuck was born. We hope you enjoy our page! Occasionally conestoga Chuck will allow guest writers in the form of his humans ... simply because they type better than he does. Opposable thumbs and all that :)
Occasionally you may see some Amazon links in posts for useful items that we have found to be extremely nice to have. We post these links for your convenience, but please note as an Amazon Associate I earn from qualifying purchases.
View all posts by Conestoga Chuck