
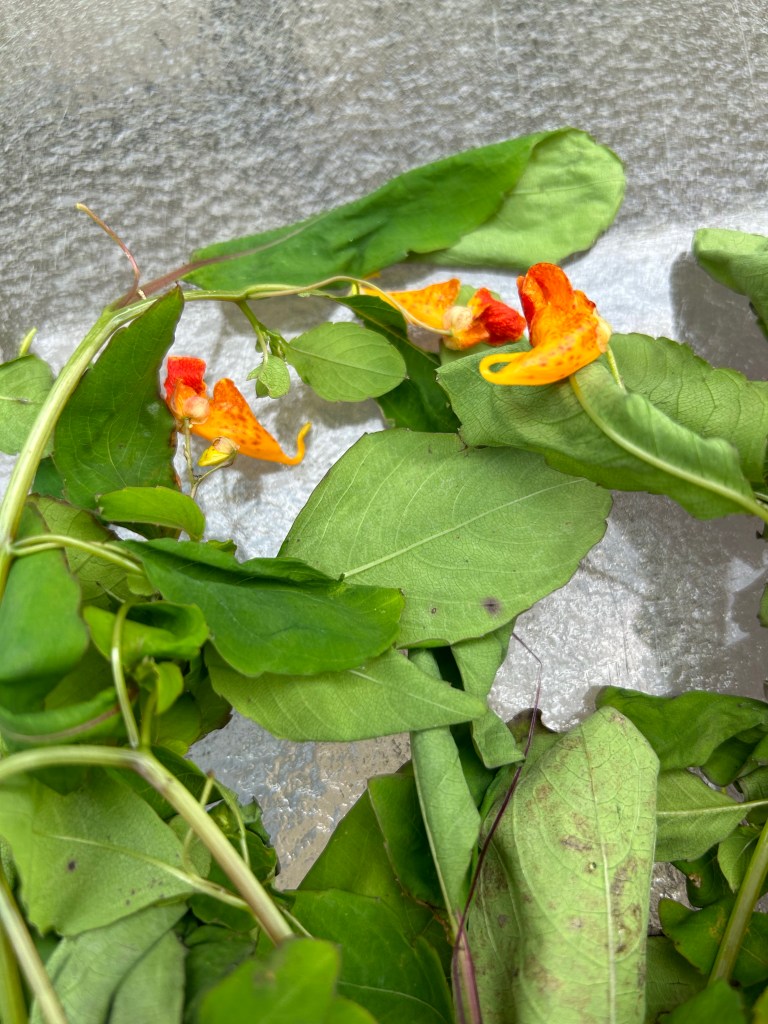
We used a lot of jewel weed as kids to combat poison ivy. It grows almost everywhere in the US along creek banks and funny enough is often found growing next to … yep you guessed to it… poison ivy!
Jewel weed salve has been an amazing relief for my itchy skin problems as I have aged. So for me it works… you will have to judge for yourselves. It is an old folk remedy. Usually one takes the stalk of the plant and cuts it open and rubs the juices inside the stalk on the affected areas like you would use a fresh aloe Vera plant. But I want enough to last me till next summer when the jewel weed is back in season again so… that’s where the salve comes into play. Jewelweed soap I buy from other people as I’m not much of a soap maker, but we do keep a bar of the soap in the medicine cabinet for itchy emergencies lol.
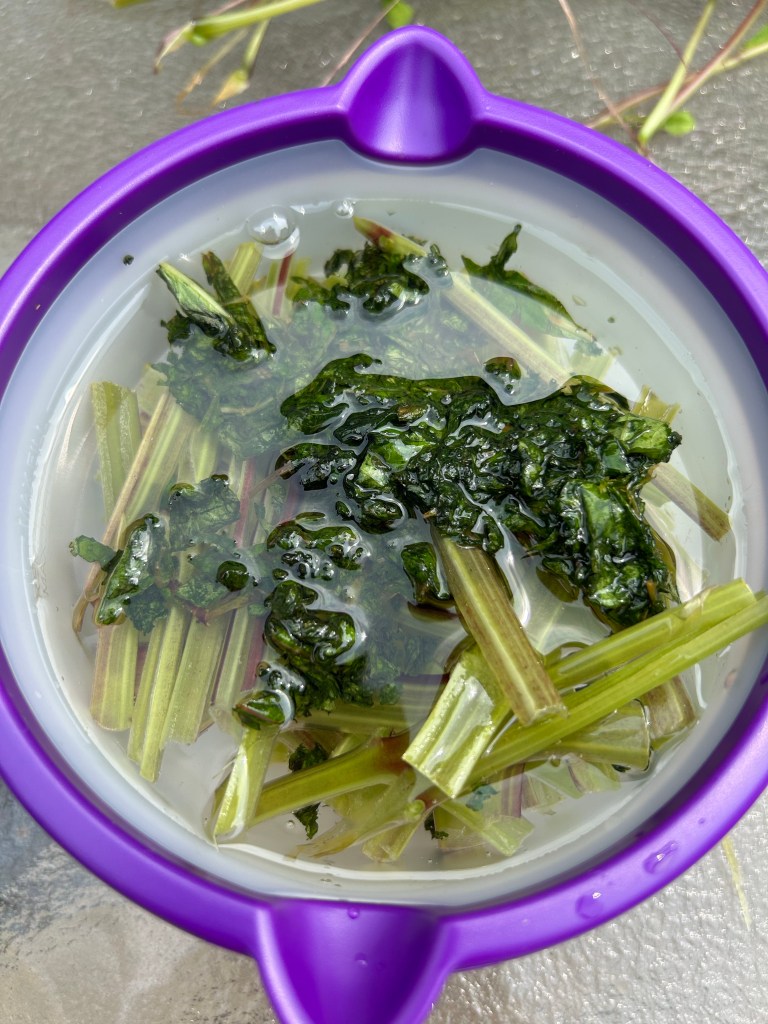
We start by collecting the plant material. We want the plant to be in bloom since that makes it more effective. We want nice thick juicy looking stalks. Once we gather a few stalks which grow about waste high, we rinse them and start cutting them up. just 2-6 stalks should be enough.
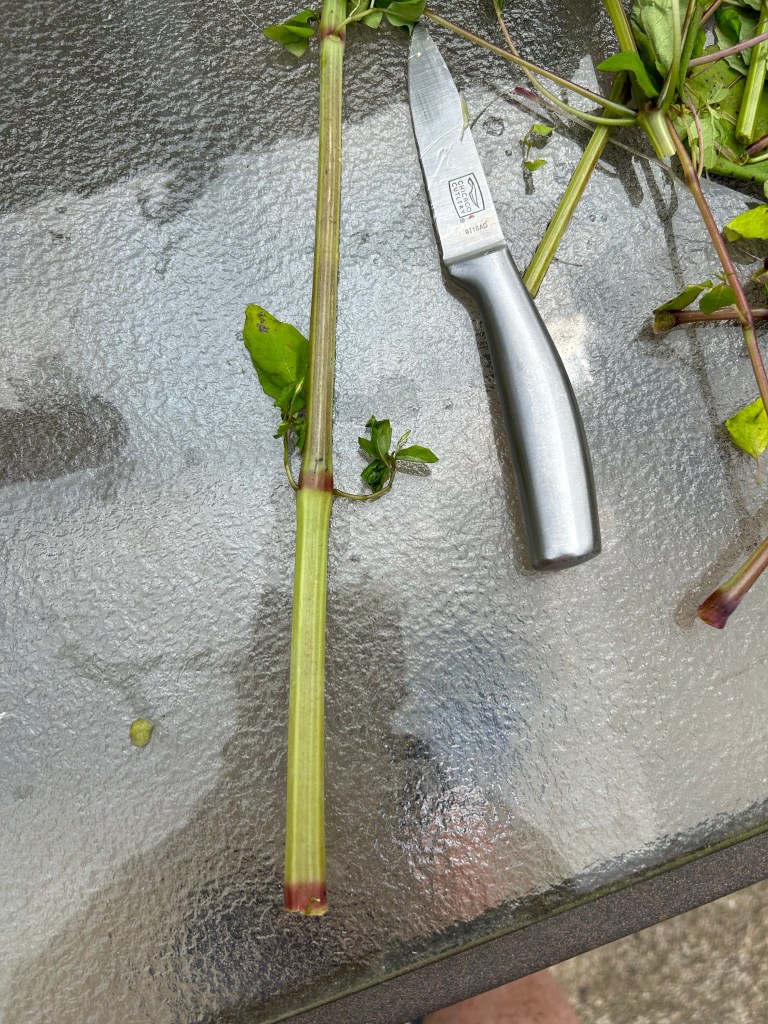
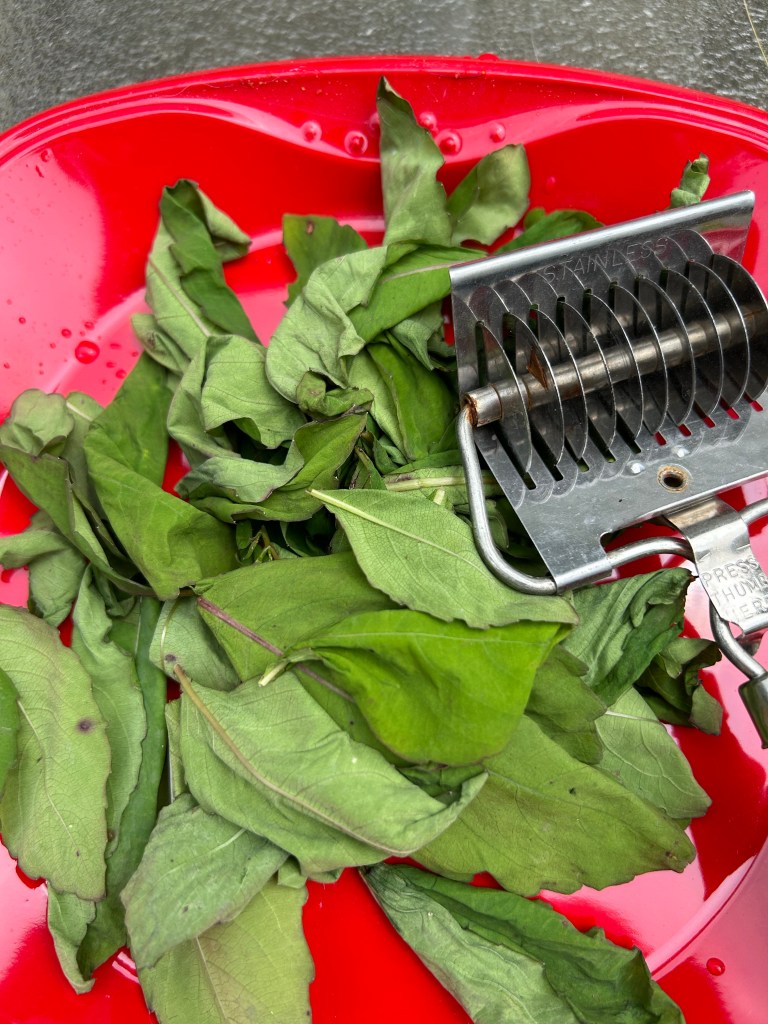
Start by cutting the stalks into small sections and placing the leaves and flowers to the side as you go. We will use some of the leaves too. Then slice the stalks in half, small enough to go into your simmering pot. Sizes you cut and amount you cut depends on the size of pot you plan to use but it does not take a lot to make this salve so smaller batches are better. You just want to make sure the pot is full.
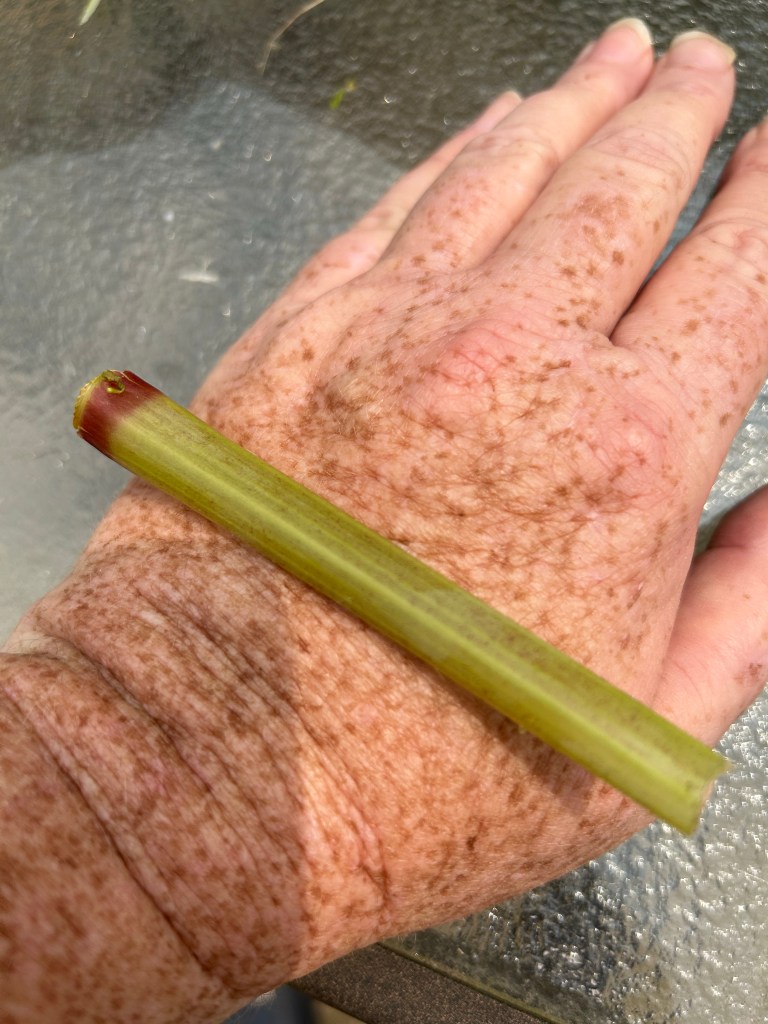
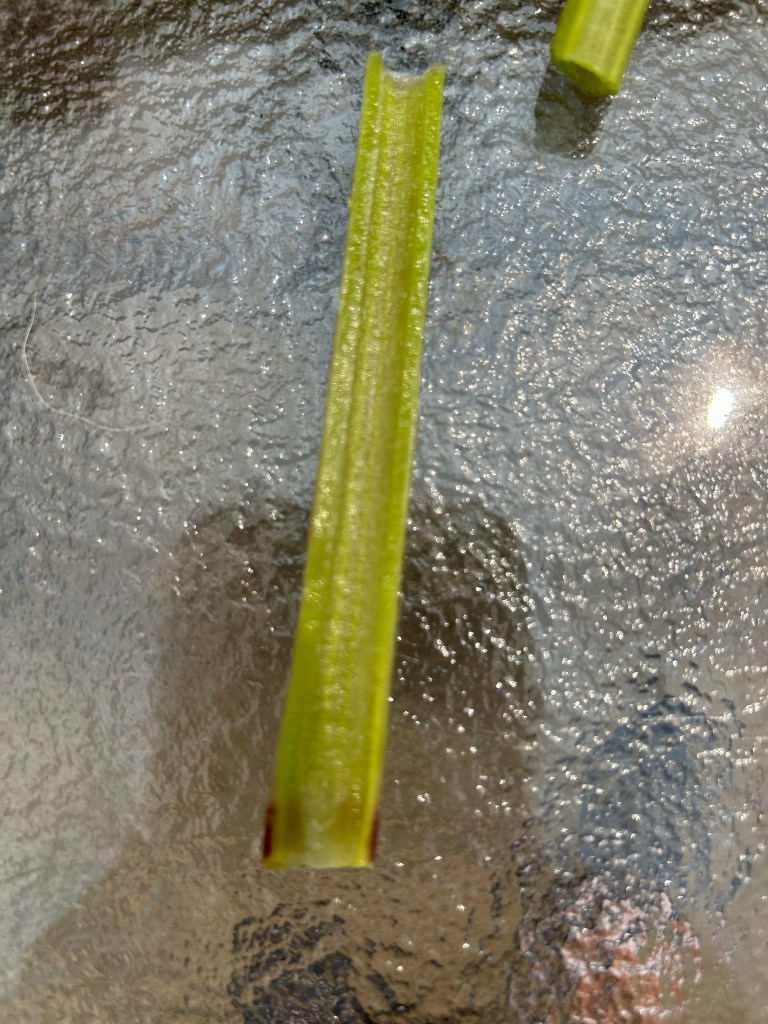
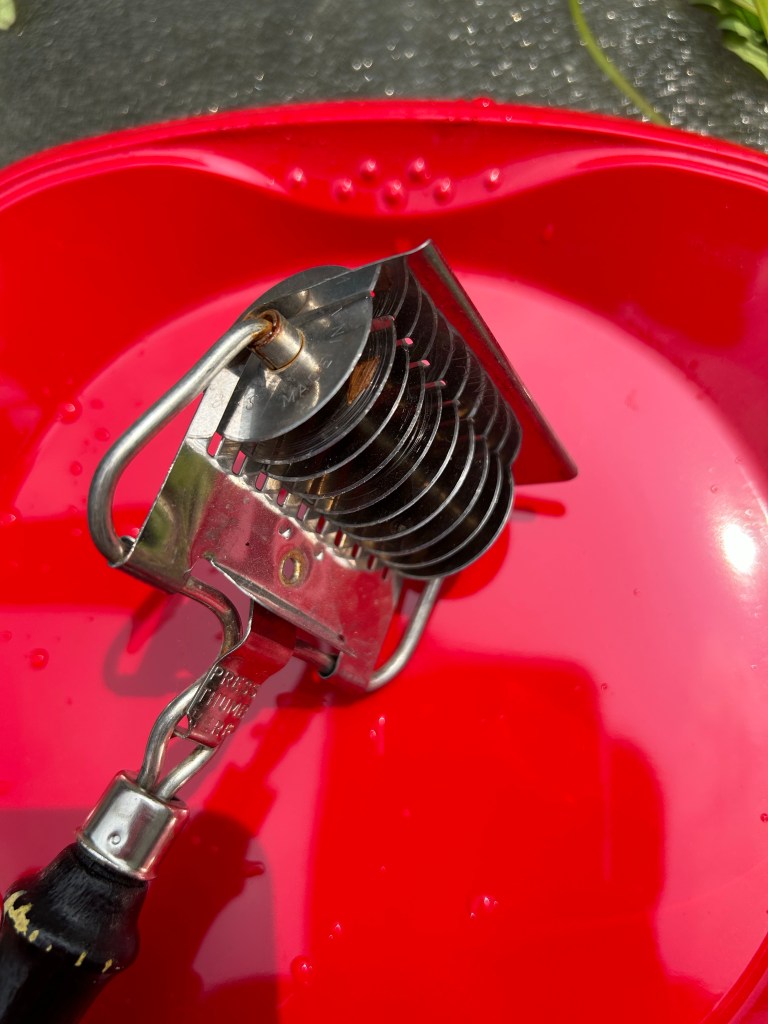
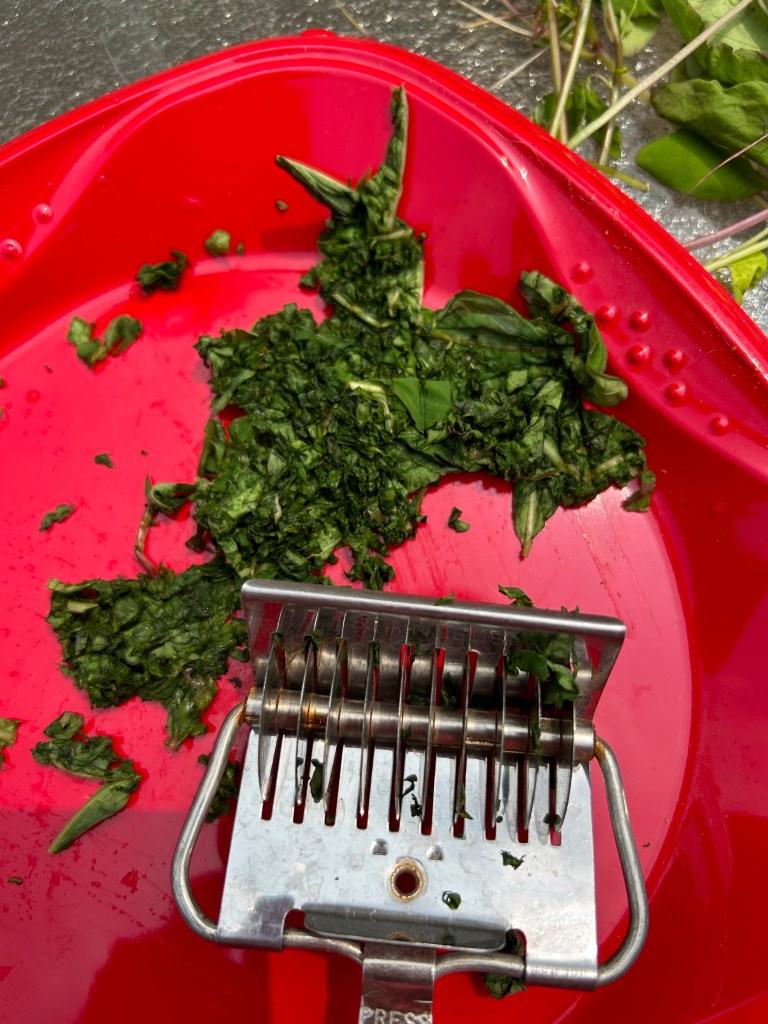
You want to cut the stalks in half because like an aloe Vera plant the slimy juicy stuff in the hollow middle of the stalk is the best part and that is really what you are after. Next take the leaves and dice them. I’m using an herb dicing tool that you roll over the leaves to finely cut them up.
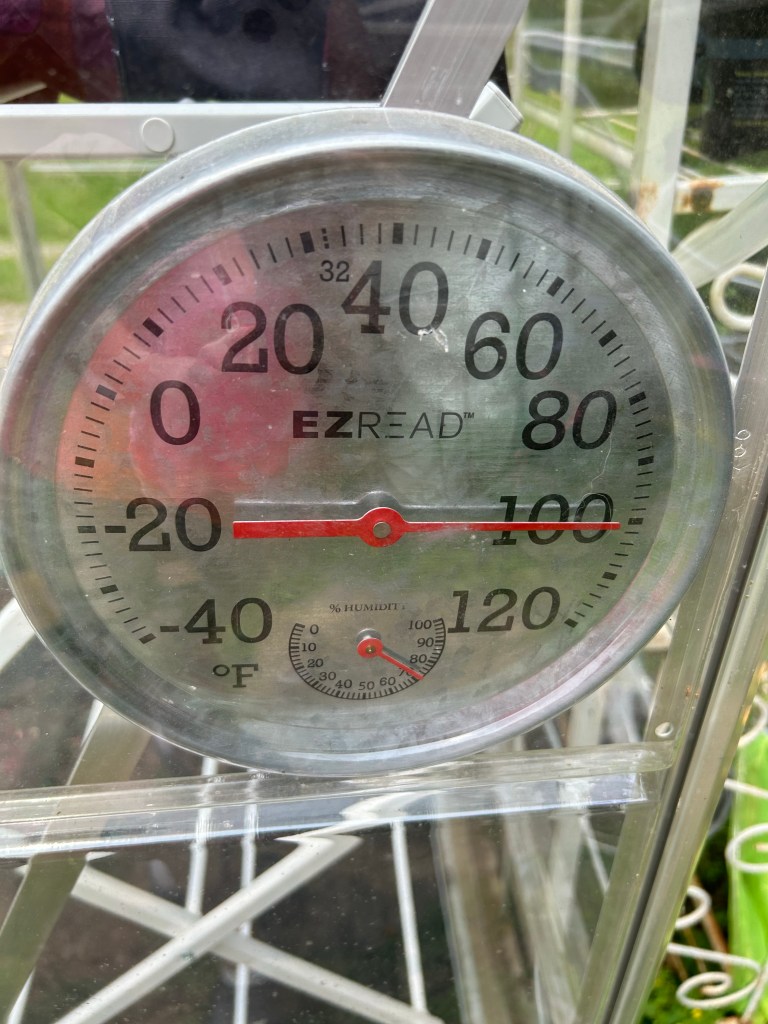
Next we toss the stems and leaves into our warming pot and cover with oil. I use coconut oil and an electric chocolate melting pot to allow the oil and the vegetable material to infuse together. You want low temperatures no more than 110 degrees or you loose the herbal effect. So keep it between 90-110 degrees (no hotter). I decided to heat my oil in the green house and quickly found the temperature of the electric chocolate melter plus the natural heat of the green house was too much. So I unplugged the device and let the sun do its thing all day. The temp in the green house was reading a bit high in full sun, but opening the door made it just right. you need 24-48 hours to get a good infusion. But you can tell by looking that the stems have “dried up and shriveled” and the oil is green when it’s ready.
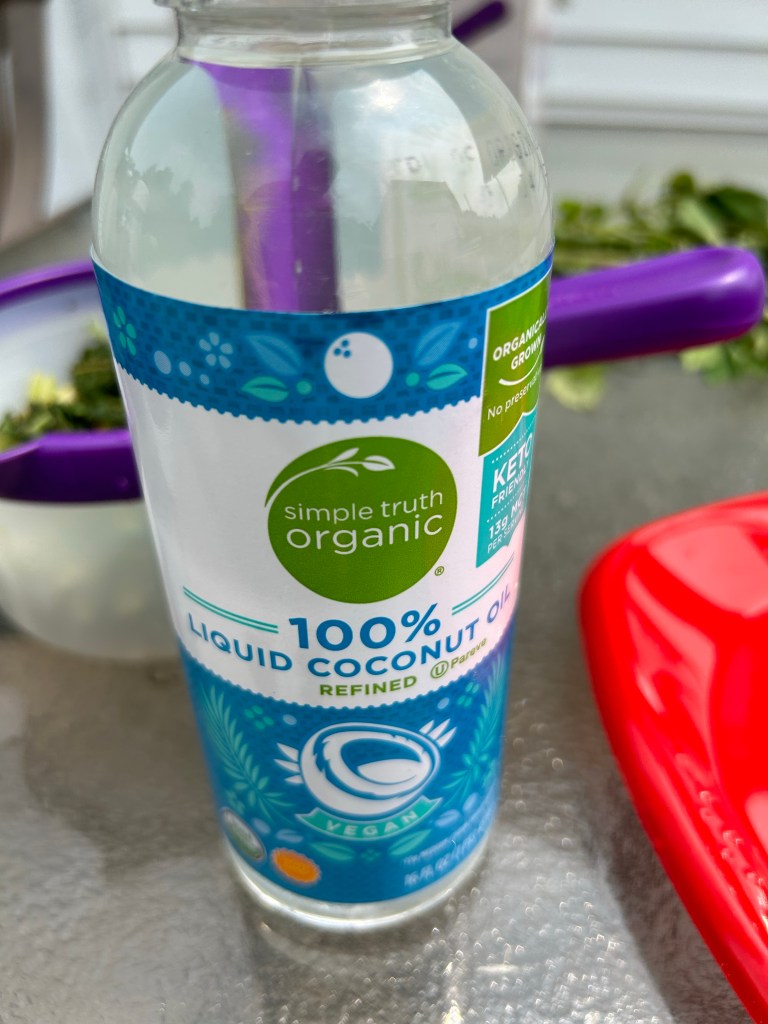
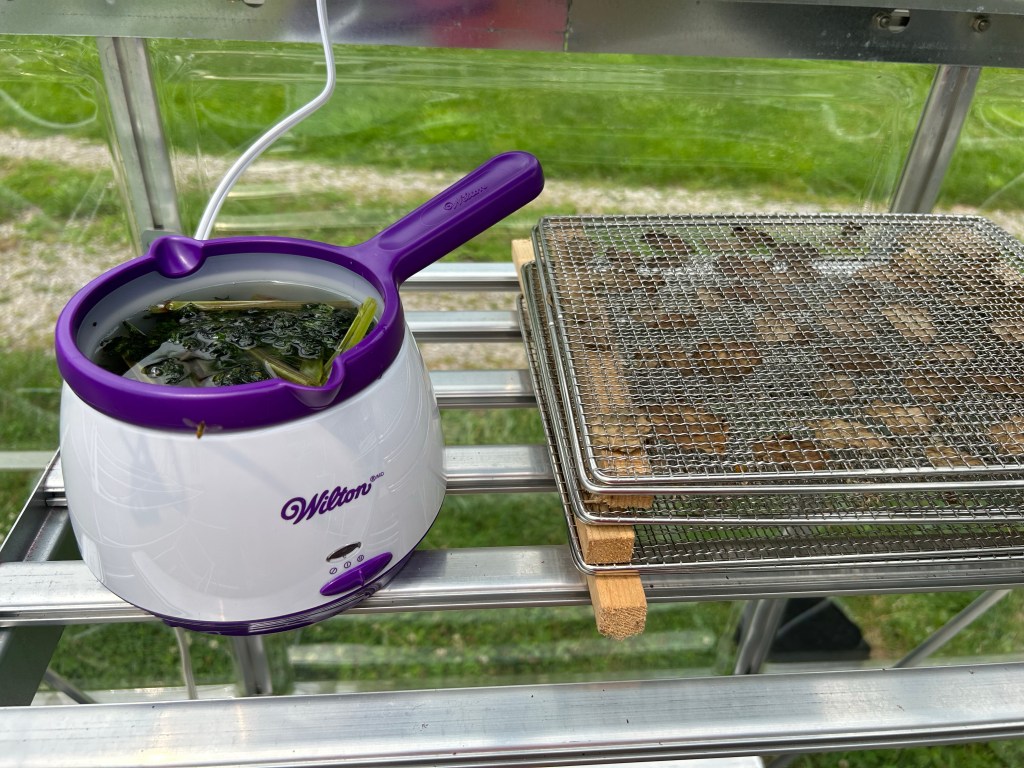

I used a kitchen meat thermometer in the oil mix to keep an eye on the temp. Once you have that done… I strained the oil mix and tossed out the vegetable material. I placed it in a recycled glass maple syrup bottle for use the next day making some salve … and for future use (storing in a cool dark location). You don’t need much oil to make the salve but I want enough to keep in the cellar house so if I run out of salve this winter I can make some more. I used an 8 oz bottle of coconut oil to make my infusion.
Using a double boiler method (I use a yard sale lil dipper crock pot and a small boiler insert I bought on Amazon. The water goes in the crock and the metal boiler which holds a little more than a cup of liquid rests on top (into the water but not touching the bottom of the crock) which melts the wax and oil together).
To make the salve:
In the double boiler I started with 1 cup of infused oil and 2 tablespoons of beeswax. Let that melt together and to test to see if it is the right consistency I use a disposable chop stick (I use it like a spoon to stir the mixture then throw it away when I am done) from a take out meal and let a little of the mixture dribble off the chopstick onto a plate or whatever container you want to store the salve in. Just a drop is enough. Let it cool for a few seconds and see if it’s the consistency you want. Take that cooled drop and rub it between your fingers and on your arm to see how it feels. If it’s too “hard” (similar to chapstick) add a bit more oil. If it’s too “soft and runny” add a bit more beeswax. I add in increments of teaspoons to correct for consistency because it does not take much to change the consistency plus or minus.
I would post photos of the Little Dipper and the boiler I use …. but my neighbor has it right now making her jewelweed salve for this year lol. But the metal boiler is not bigger than the inside diameter of the lil dipper crock pot. It fits really nicely and although slow to melt it does a fabulous job! Get creative… that’s how I came up with my method!
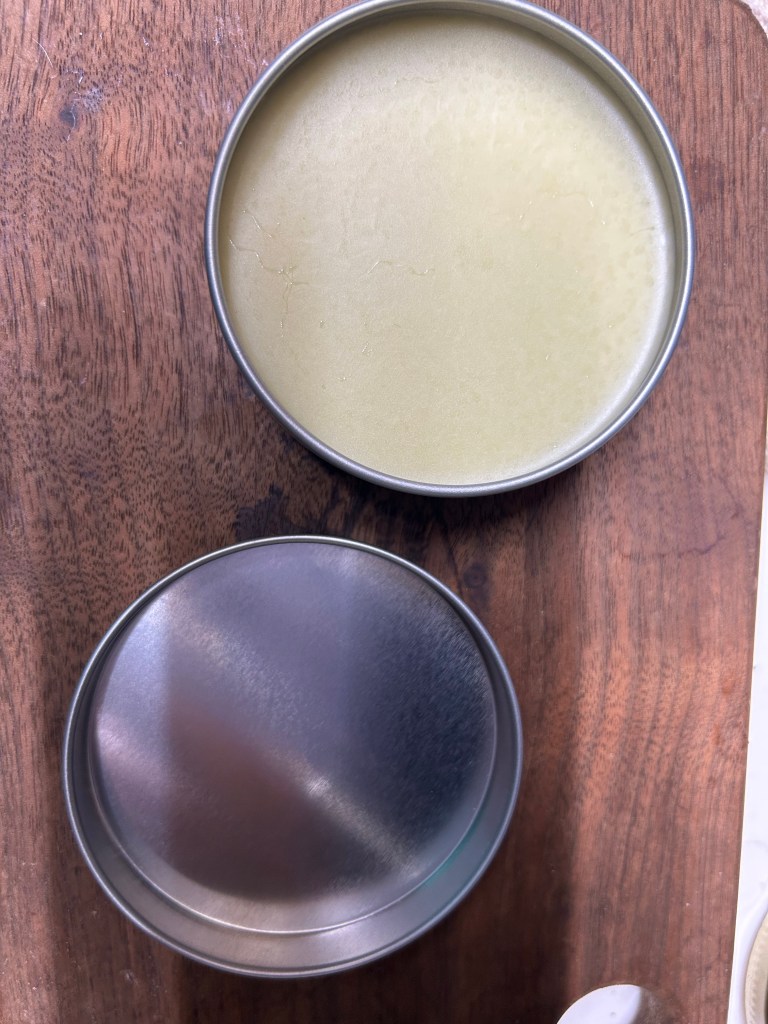
I got 6 each of these 2 ounce metal tins that I bought at the local dollar tree in the crafting isle (2 tins for $1.25). They are ok but I’m going to splurge and get the tins with the screw on lids next time because these lids sometimes “vapor lock” and hubby has to pop the top off for me. Lesson learned for improvements next time.
These little tins make great stocking stuffers. The salve is awesome in my opinion. I’m allergic to most perfumy store bought lotions but this salve doesn’t bother me. If you want to get fancy you can add some smelly good essential oils or other ingredients. But I like the plain stuff.
Enjoy!
