Likely you have read the two previously posts already and know we full time RV in a 20+ year old coach that was previously owned by my father. When he first purchased the coach he decided that they liked to have the outer door open to look out of it like a window, but all the other windows closed (and while running the air conditioner). Unlike dear ole dad we like to have all the windows open to enjoy those cool breezes as much as possible! So we are going to modify his original modification to the screen door. Sorta kinda…. Lol
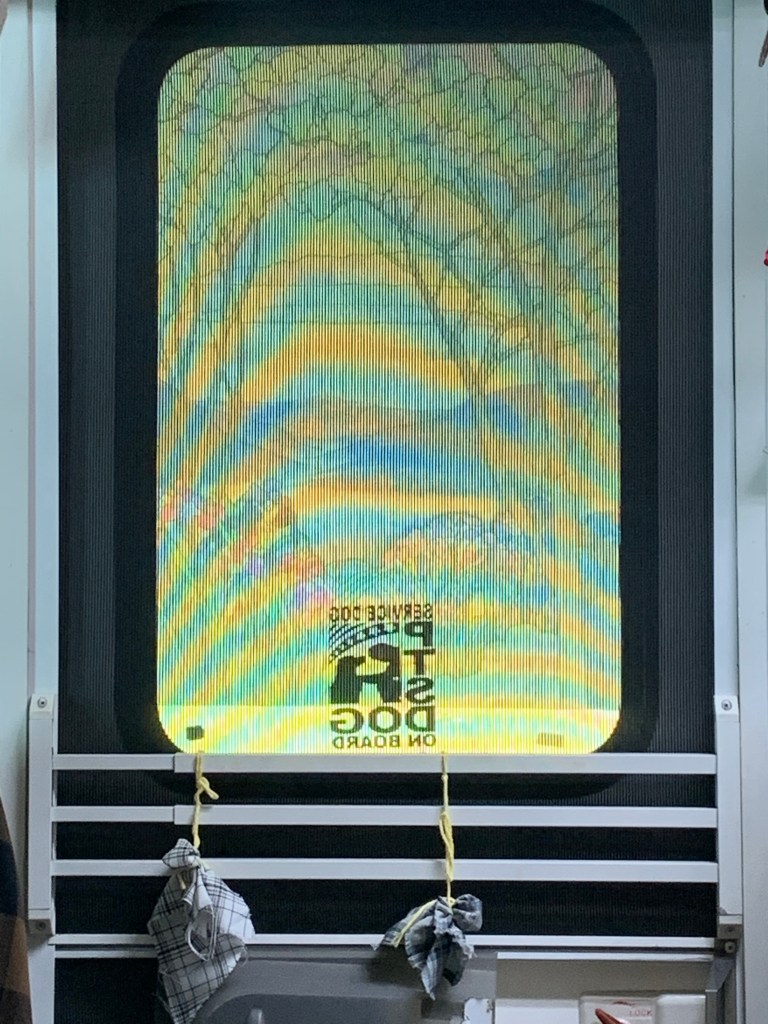
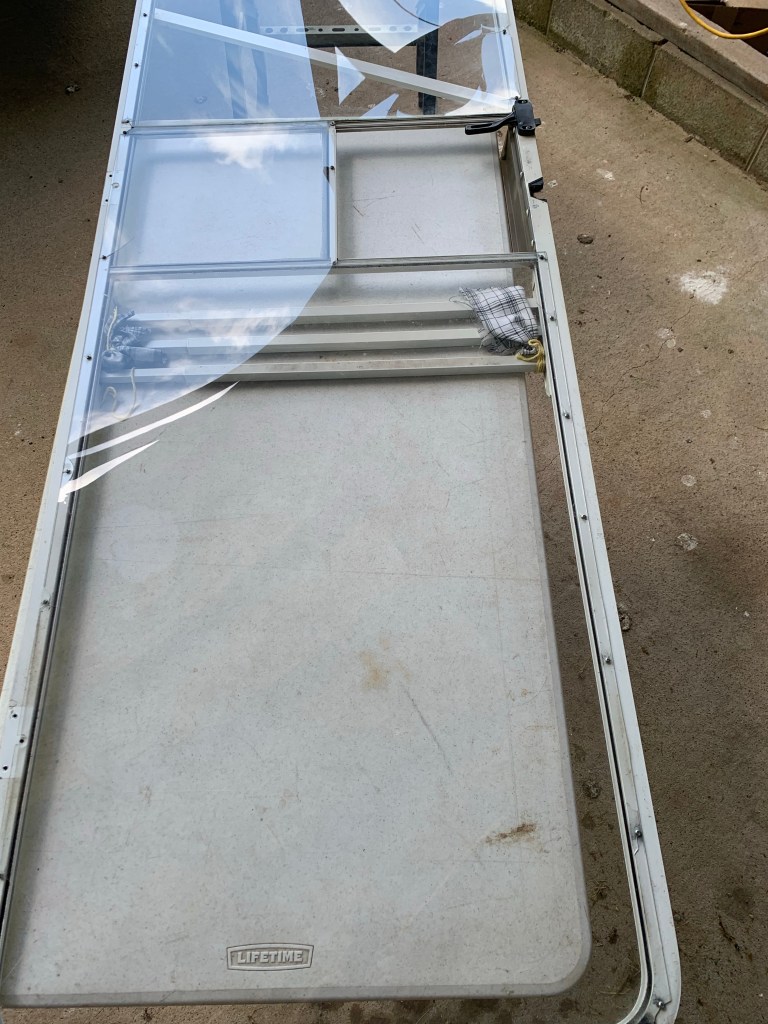
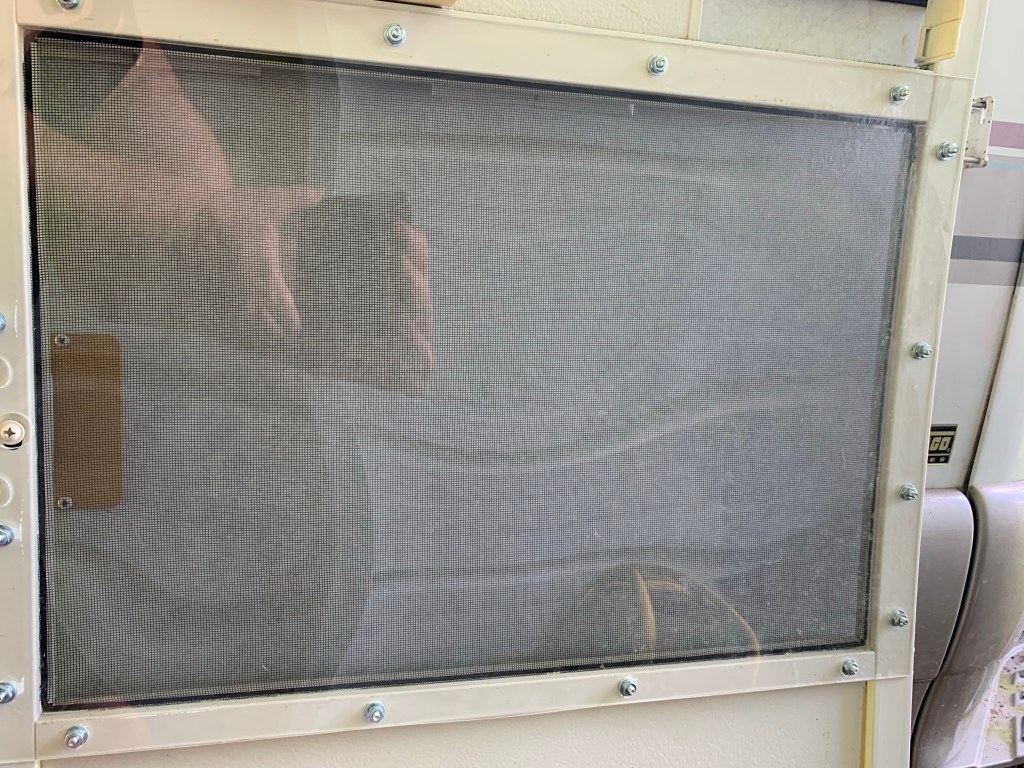
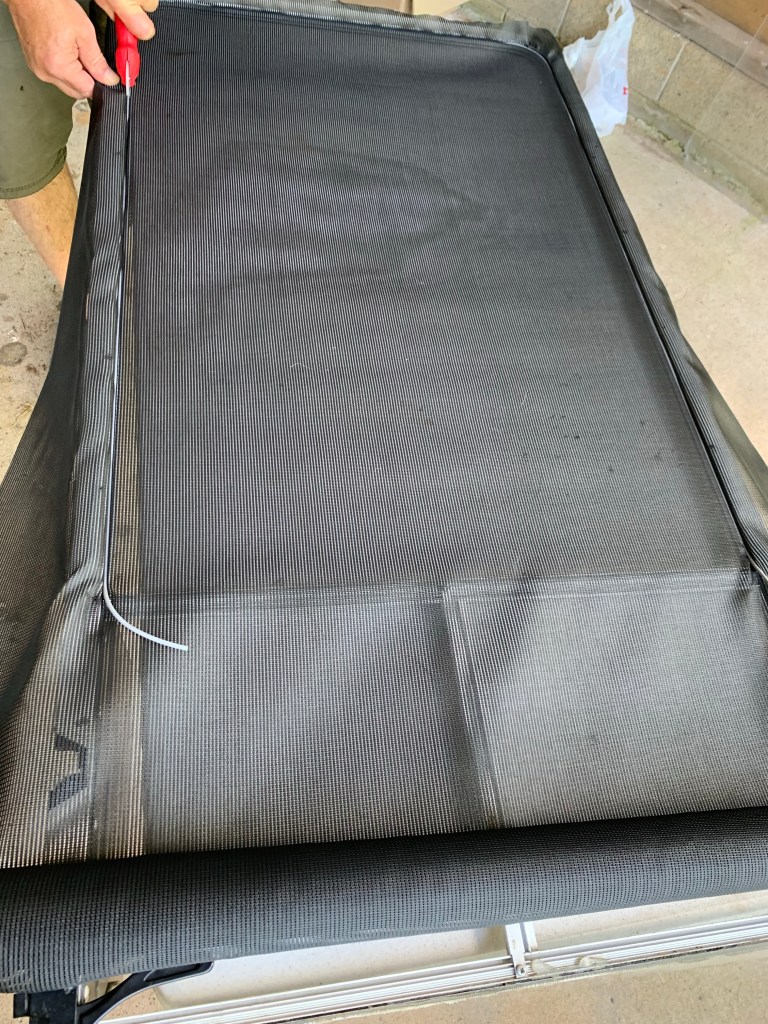
We took the screen door off while replacing door hinges on the main door (previous posts) and now have the screen door on a work table outside to do some repairs and modifications to it. As you can see in the photo, dad replaced all the window screen with plexiglass. But that plexiglass is now 20 years old and starting to crack and break which is letting in bugs when we want to use the screen door instead of the main door.
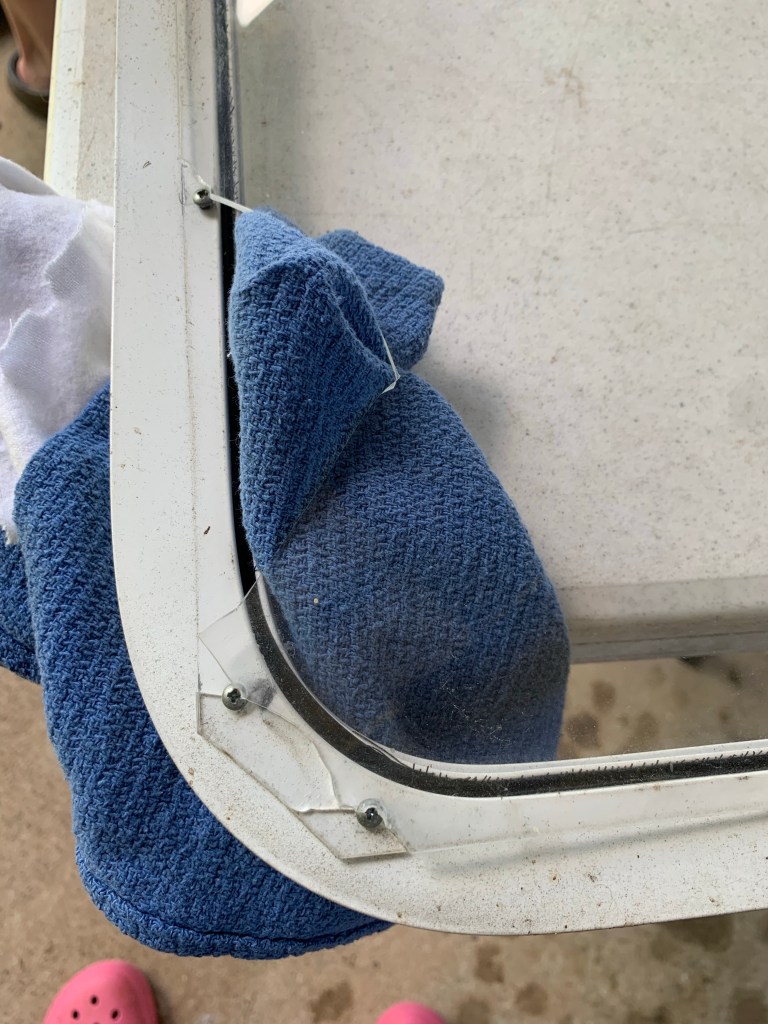
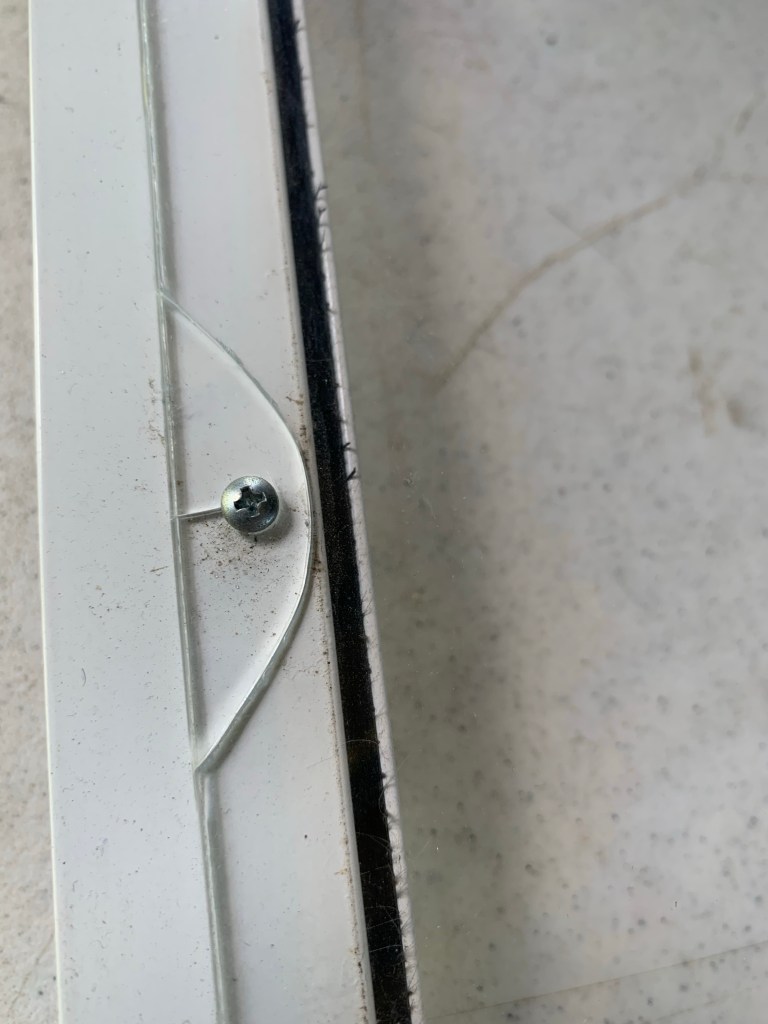
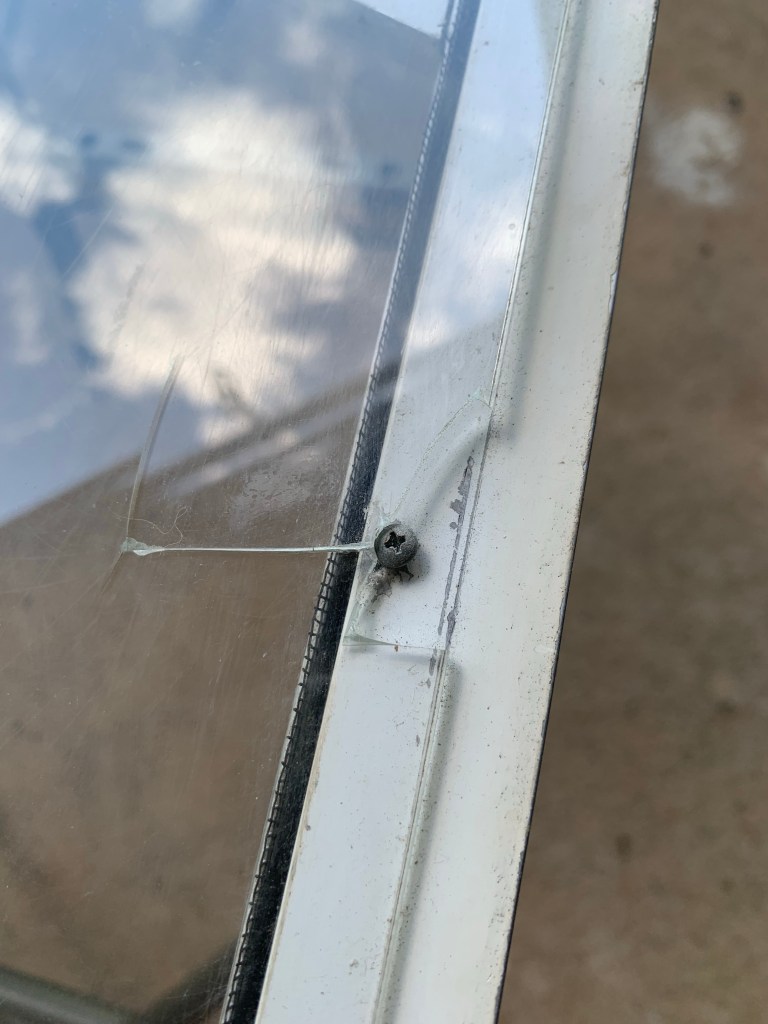
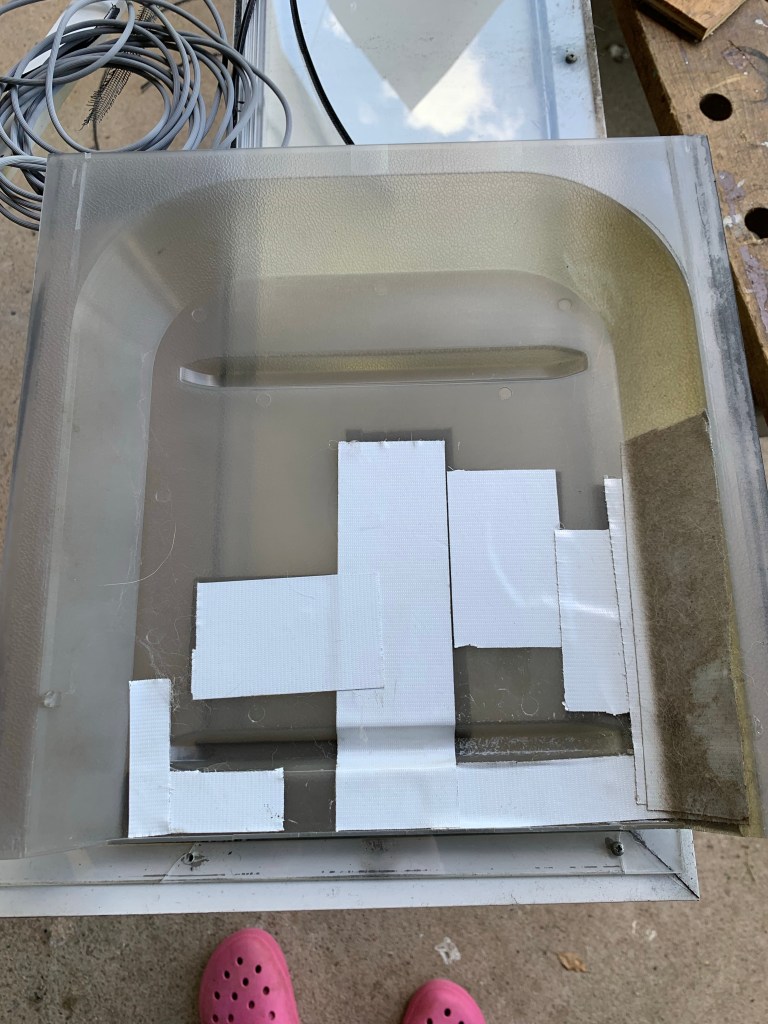
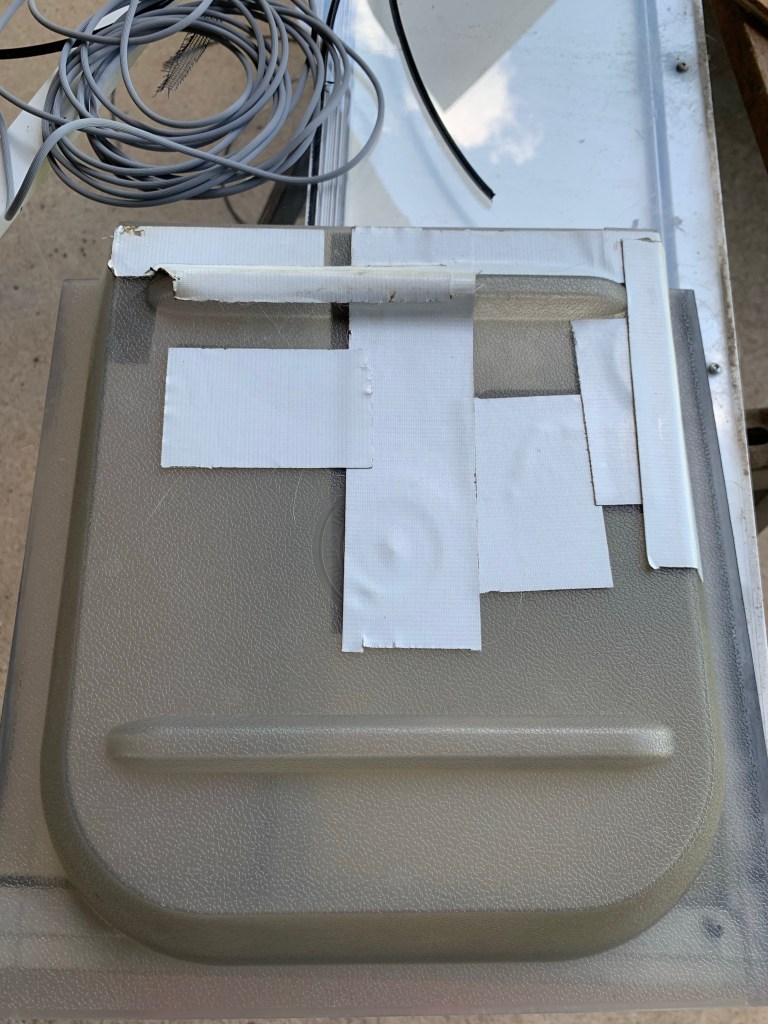
I placed this shop towel under a broken part to show one of the holes that has broken off and is letting in the bugs. I pulled the cloth thru the hole for visual effect. You can also see where the screws holding the plexiglass onto the door have started to crack the plexiglass, which means more holes in the future… so it’s time for some repairs!
We did another smaller RV previously using dads example on the RV we now travel in. But we will use those photos of the other RV below to show how we plan on fixing this screen door. First we used a bit heavier grade piece of plexiglass than dad originally used, and had the hardware cut it to size. Then hubby pre drilled holes in the plexiglass so it would not crack when installed. Next he used screws with washers to keep the screw heads from damaging the plexiglass and making it crack while at the same time (in theory) giving it a bit of flexibility in transit.
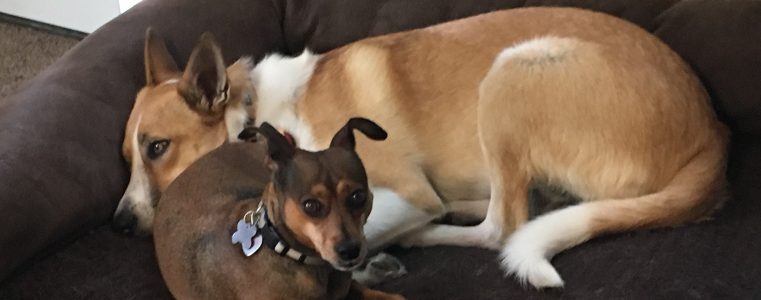
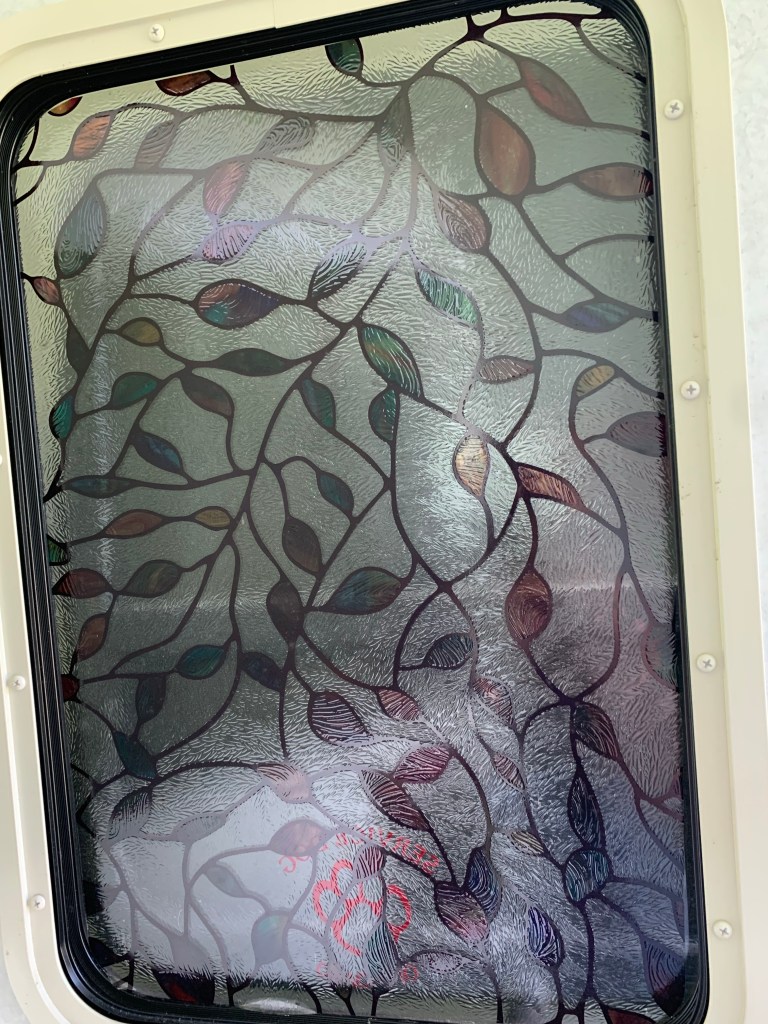
You’ll notice we left the screen on the door under the plexiglass because this will help keep the bugs out! We really did the plexiglass on that RV because Lil Bit and Conestoga Chuck are both trained to paw the door if they need to go out. If you have a plain screen (no plexiglass cover) and a dog is pawing it (or a kid pushing on the screen) that screen is going to need replacing every other day lol. So this was a Conestoga Chuck wagon improvement more than anything! 🤪 and since you already know my love of window cling film I may as well show you the design I put on the door for that RV as well. If you have pets, I also recommend a sticker on the door announcing you have pets inside for emergency services in case of accident etc. that way they know to rescue the pets as well as the humans if you happen to be unconscious!
We decided this time we wanted a darker shade of window screen. More of a sun blocker for those days when we have to have the awning up. We also decided to place window screen only on the top portion of the door (no plexiglass like dad had previously installed) so we can enjoy those nice breezes. We also want to go with a new thicker plexiglass on the bottom for doggie paws indicating they need a potty break. We will be making two purchases for this door. A new plexiglass piece for the bottom (with screws and washers etc) and a new slide handle cover. the slide handle cover as you can see has deteriorated and cracked and become riddled with cracked out holes due to heat and age, so time to replace that as well. The slide cover is a relatively inexpensive replacement part, but finding the exact one that fits your door can be a bit tricky. We ordered one from Amazon that said it would work and … nope not the right depths for the door handle. So we found a place online that we think has the correct one, now it’s just a phone call to confirm it will fit properly before we order. These sliders cost about $15 give or take, so not too bad.
If you would like to see the final repaired door and screen door once everything is fully completed you can go to our face book page and we will post a new photo in the comments there. But until we get the plexiglass purchased, cut, installed and the new sliding piece… we will be settling for “back to the basics” normal screen door with new darker screen and ducts tape slider for now. So check back later for the final photos. I’m sure everyone has seen a regular old screen door before so I won’t bother to post those pictures until we get the upgrades completed.