So it’s been 6 weeks of curing time and the homemade ash lye soap we made 6 weeks ago has transformed and actually smells like soap! Which is super cool! However lesson learned on the curing process.
I placed the soap in a container wrapped in parchment paper with the top exposed to air in my utility room (dark and dry location). But because of the way I had it in the bowl the moisture didn’t “evaporate” but fell to the bottom keeping the soap moist and soooo it’s still too soft to be called “cured”. It’s like a very soft play dough consistency. More like a bread dough (if you are a cook) that has too much liquid and is gooey instead of nice and stiff… But all is not lost!
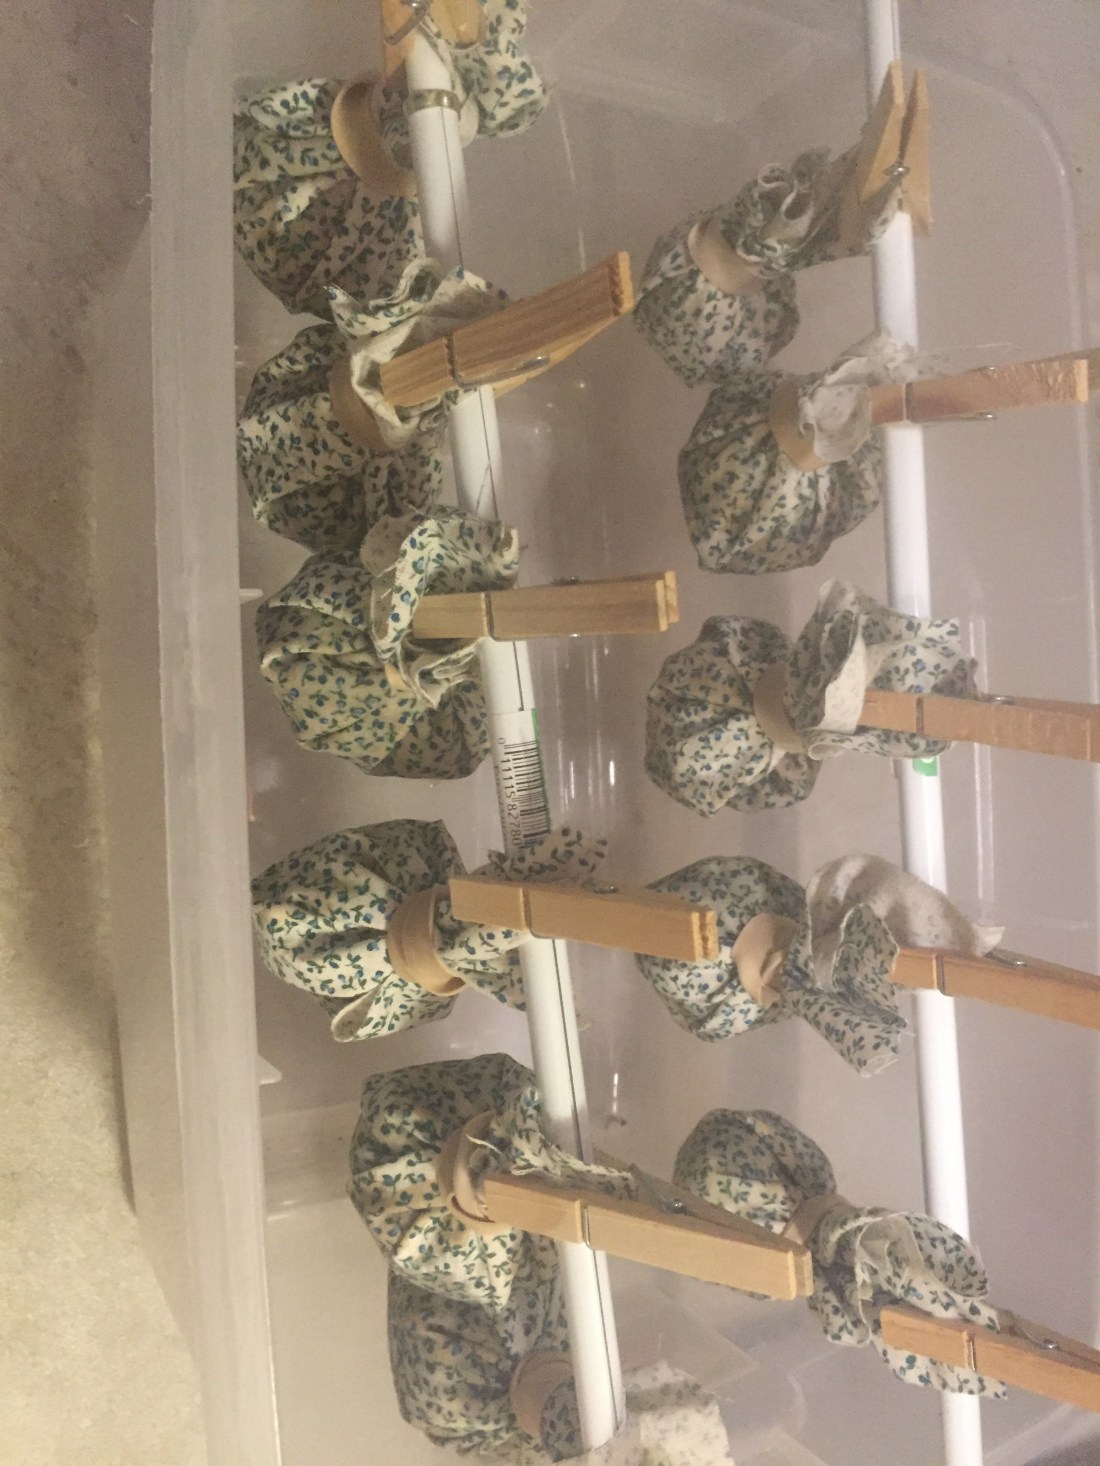
I placed the large square of (soft) soap on the cutting board on top of a cloth to catch any liquids. Patted it dry. Cut into smaller squares and then placed those squares onto the center of a piece of cotton cloth (scrap) and secured the top with a rubber band (trying not to squeeze the soap but just securing it loosely in the center of the cloth and patting it into a round ball shape). Moisture started to immediately seep out of the soap and into the cloth so i think this will help finish the curing process. Next I hung the cloth bags up in the nice warm, dark, dry utility room with a plastic bucket underneath (on the floor) to catch any drips that may occur for easy clean up later. My theory is: gravity plus natural evaporation thru the cloth and smaller size of soap balls will be the right combination for the final curing stage.
I’m thinking this should give me pretty round balls of soap 🙂 so all is not lost! Just adapt and overcome lol… and exercise patience! So another 6 weeks of hanging in the utility room and hopefully they should be fully cured! The good news is that the smell coming from these soap balls is fabulous! Such a nice and clean and refreshing smell! Which is just amazing!
So next time I think I will go straight to small round balls of soap in individual cloth sacks for curing purposes straight from the beginning!
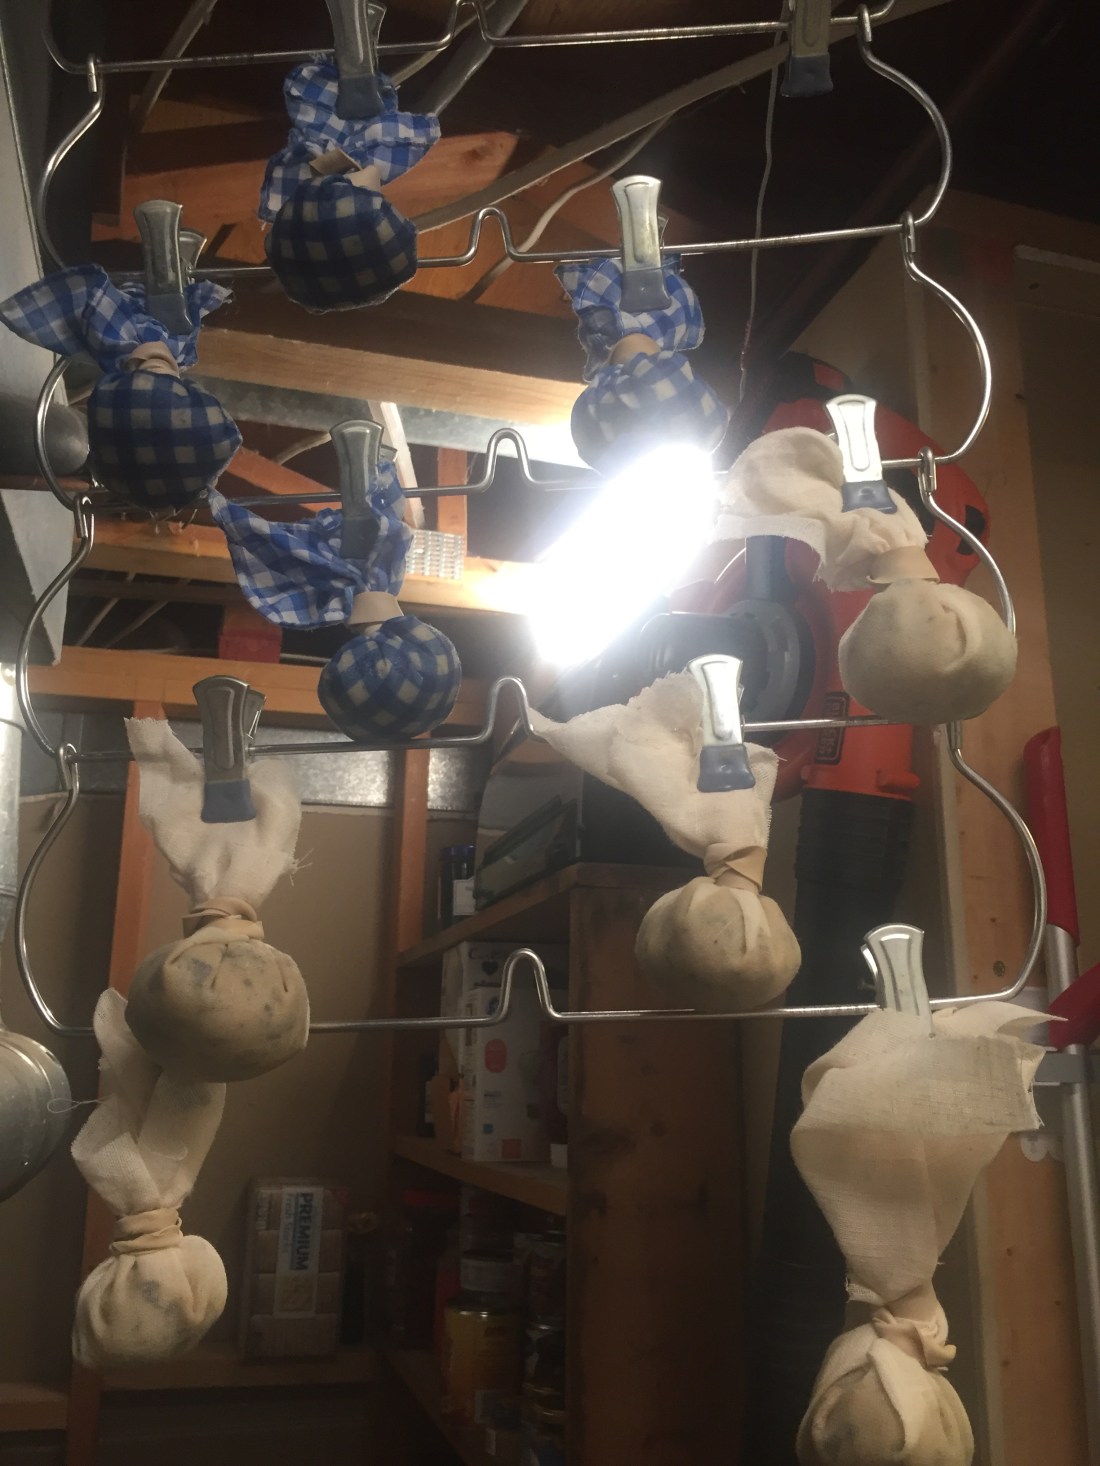
After note: since it takes so long to cure this soap… I decided I had better go ahead and get my second batch started! This time I boiled down the ash lye juices to reduce it by half (left over from last batch that I stored in a glass jar appropriately labeled for safety purposes, hoping it would strengthen after sitting for 6 weeks). I used frozen tallow that I made before (same time as last batch of soap) and stored in the freezer waiting on me to decided it was time to make soap again. I used dried rosemary this time (last time I used peppermint) from my garden and 1/4 cup salt. I simmered the mixture for 20 minutes (stirring constantly) to get the salt and rosemary essence infused 🙂 as well as to try and further reduce the ash lye liquid as much as possible. After cooling for a few hours and thus turning into a congealed form (it already smells like soap lol!) I went ahead and placed small balls of soap in cloth squares, secured with rubber bands, hung on some curtain rods I got at the thrift store (and use for all kinds of handy things BTW!) using some clothes pins (we line dry our clothes so we have plenty of clothes pins! Lol) over a bucket to catch drips (again in the utility room with the door closed so curious Conestoga Chuck and critter friends won’t explore my soap making experiment and get sick from eating soap!) I’m thinking this method will help cure the soap better than my last attempt. So check back in 6 weeks and we shall see what the results are! I picked this cute cloth out of my scrap bin specifically so I could identify this batch as the rosemary batch. Silly, right?