
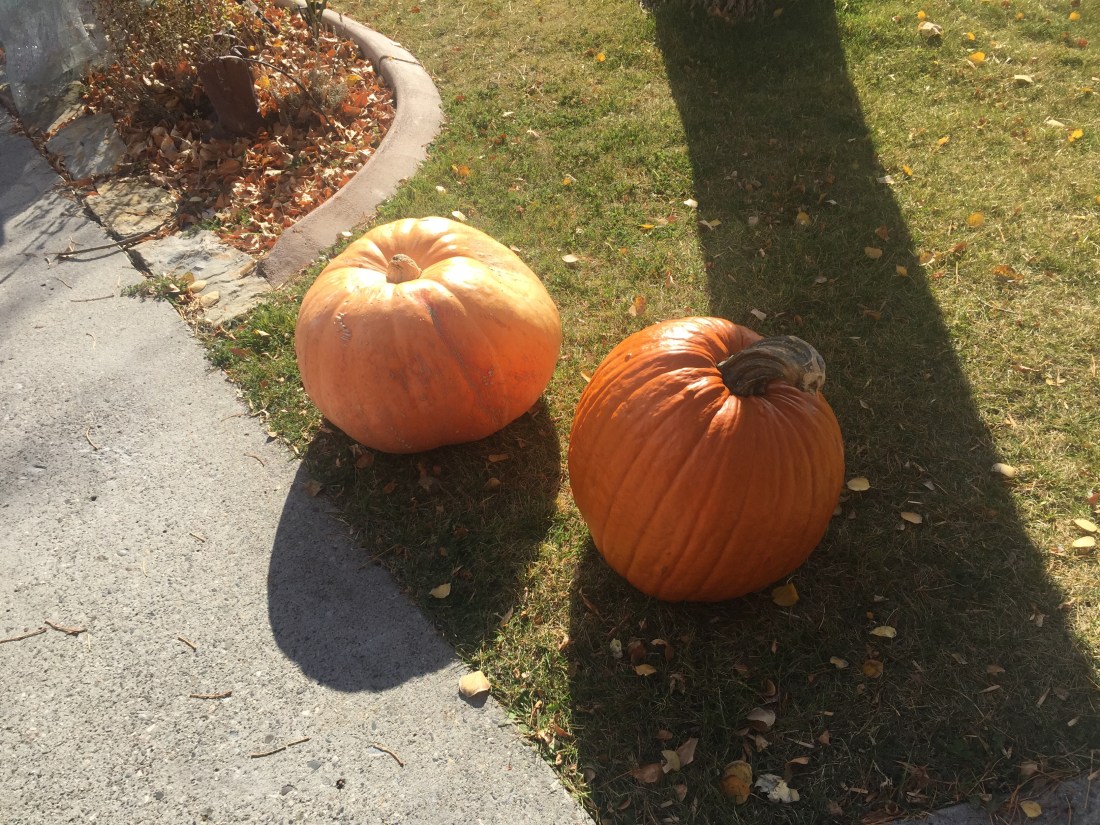
Well we have been super busy here, but we did take time out for a visit to the local pioneer village museum to purchase some absolutely huge pumpkins to carve, toast seeds, and make some yummy pumpkin treats (pumpkin pie, pumpkin bread, pumpkin cheesecake etc). ‘Tis the season for everything pumpkin!
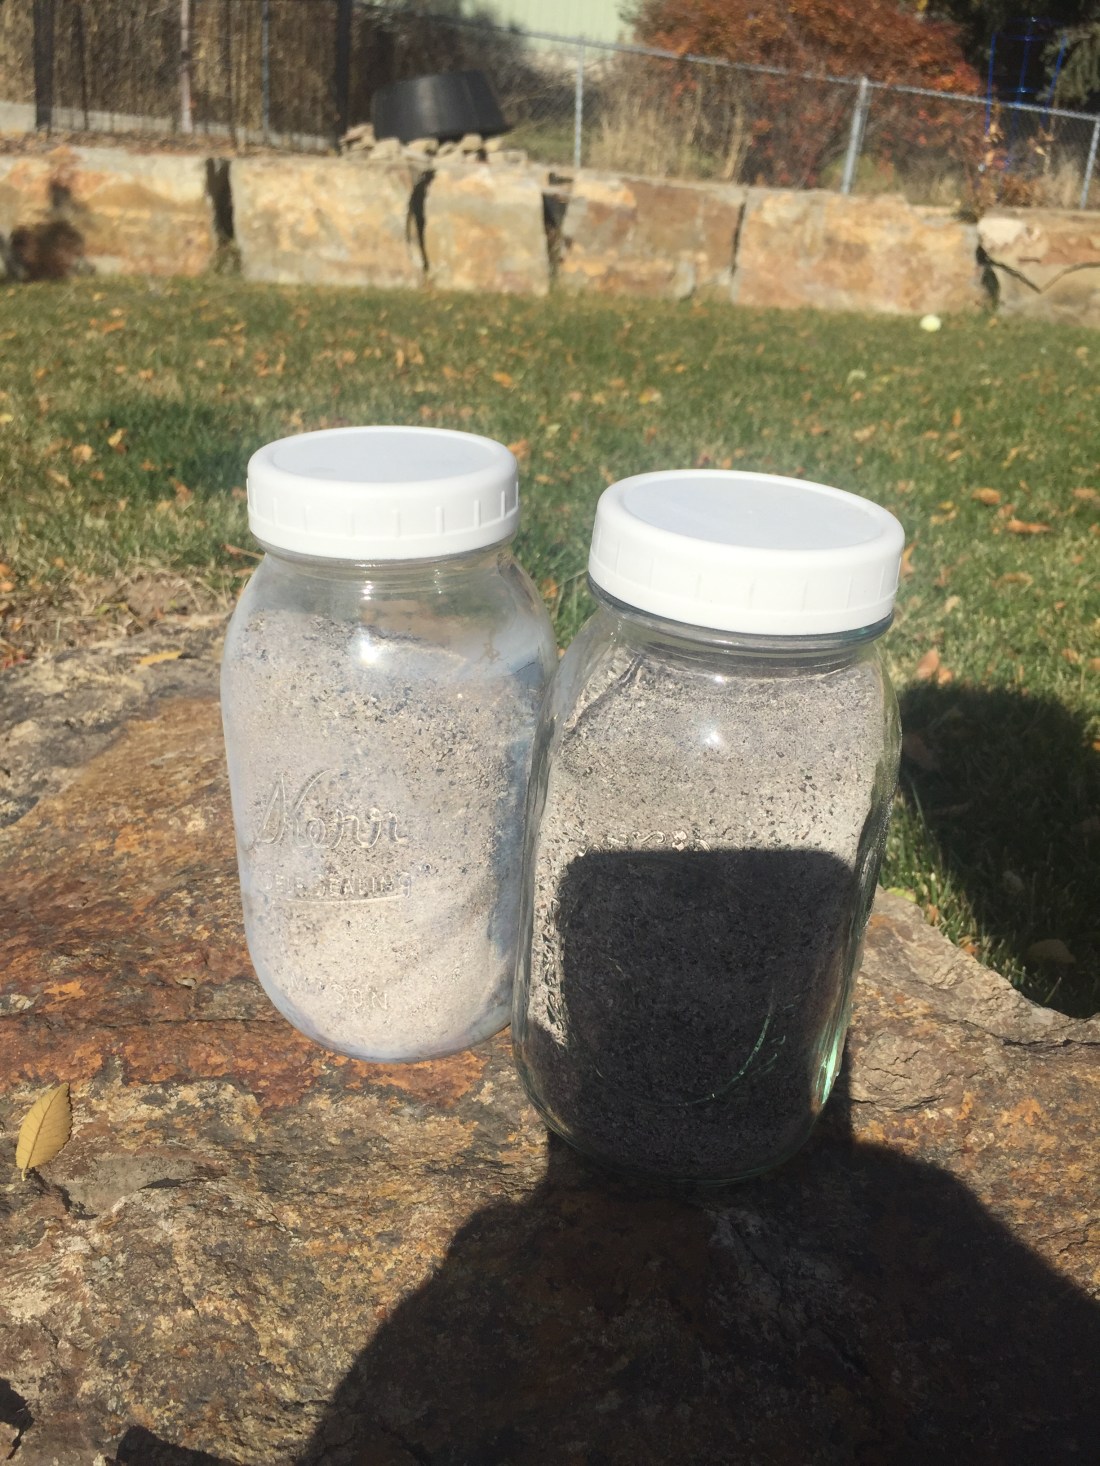
Next we cleaned out the barbecue pit and sifted all the ashes thru a net because I need the hardwood ashes to use to make lye for homemade soap making. That will be another post tho lol as soon as I talk the local butcher out of enough fat trimmings to render the tallow 🙂 all this in between sewing Halloween costumes and taking weaving lessons and doing some historical research on textile production (pre civil war era) and trying to figure out how to build an outdoor wood fired kiln (that can also be used to bake bread etc) and a kick pottery wheel (pioneer style).
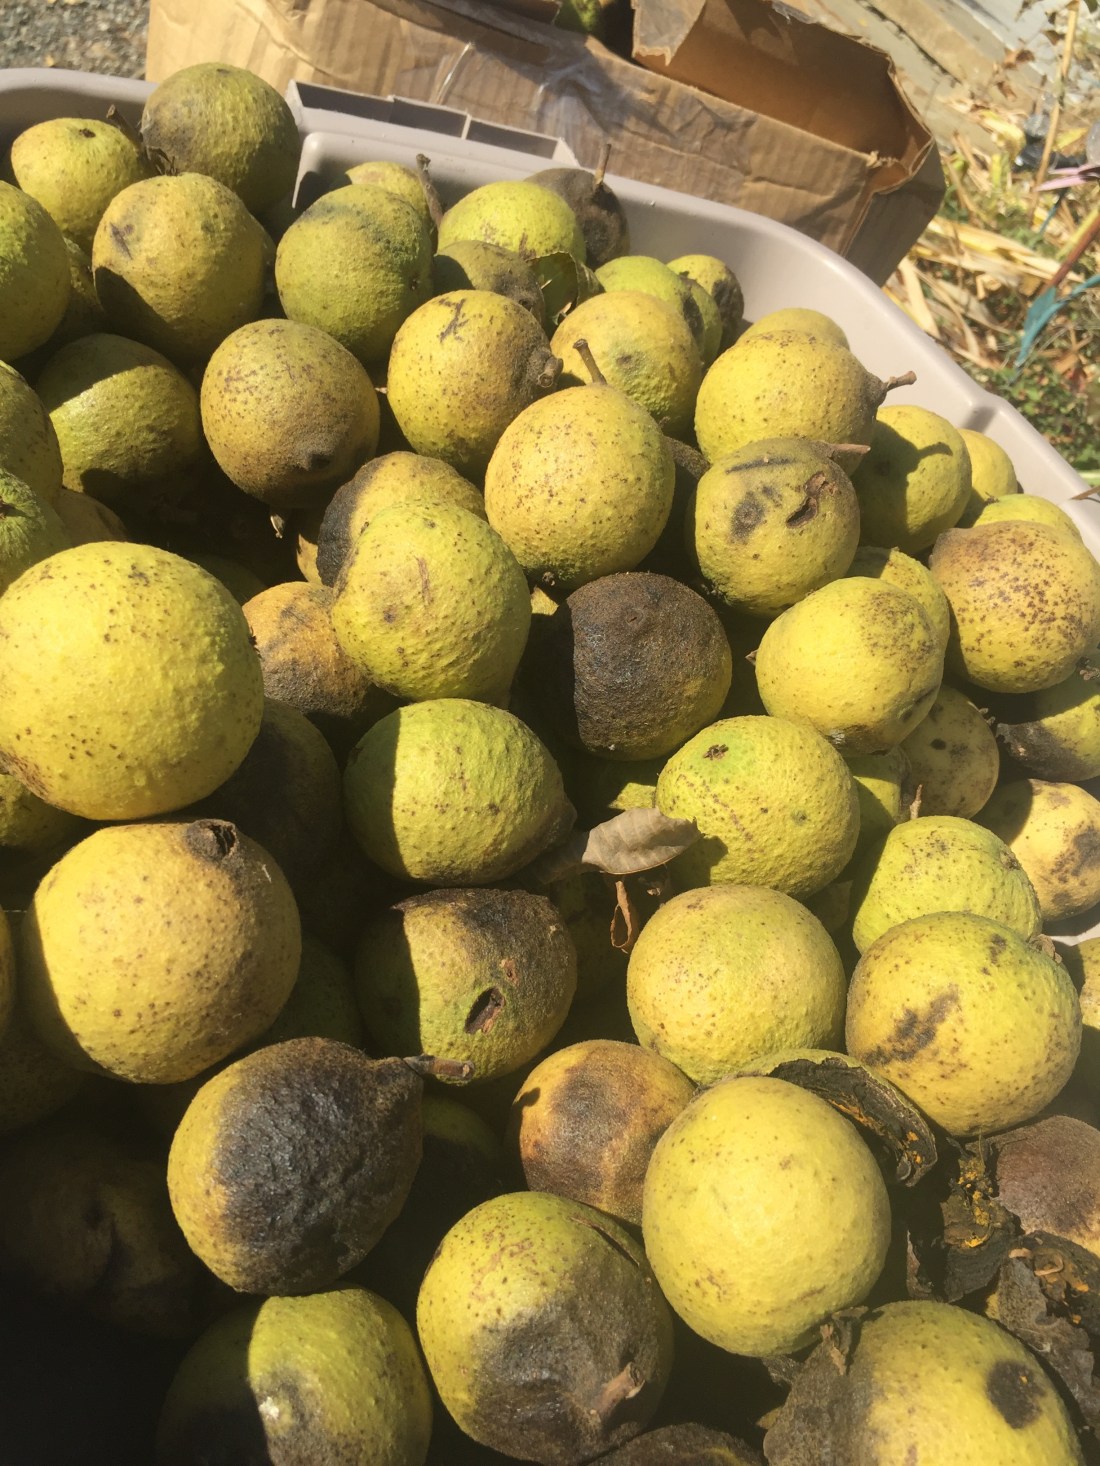
Then a friend gave us several boxes of black walnuts (my favorite!) that I have been slowly de husking (the green part) to get to the hard nut inside the outer hull (so I can then lay them out to dry and cure) so we can then crack and eat fresh black walnuts to our hearts content this winter! Yay! Hard work, tedious, but well worth the effort. So that’s really what I want to give instructions for today. There are a few things you want to know before you try this at home!
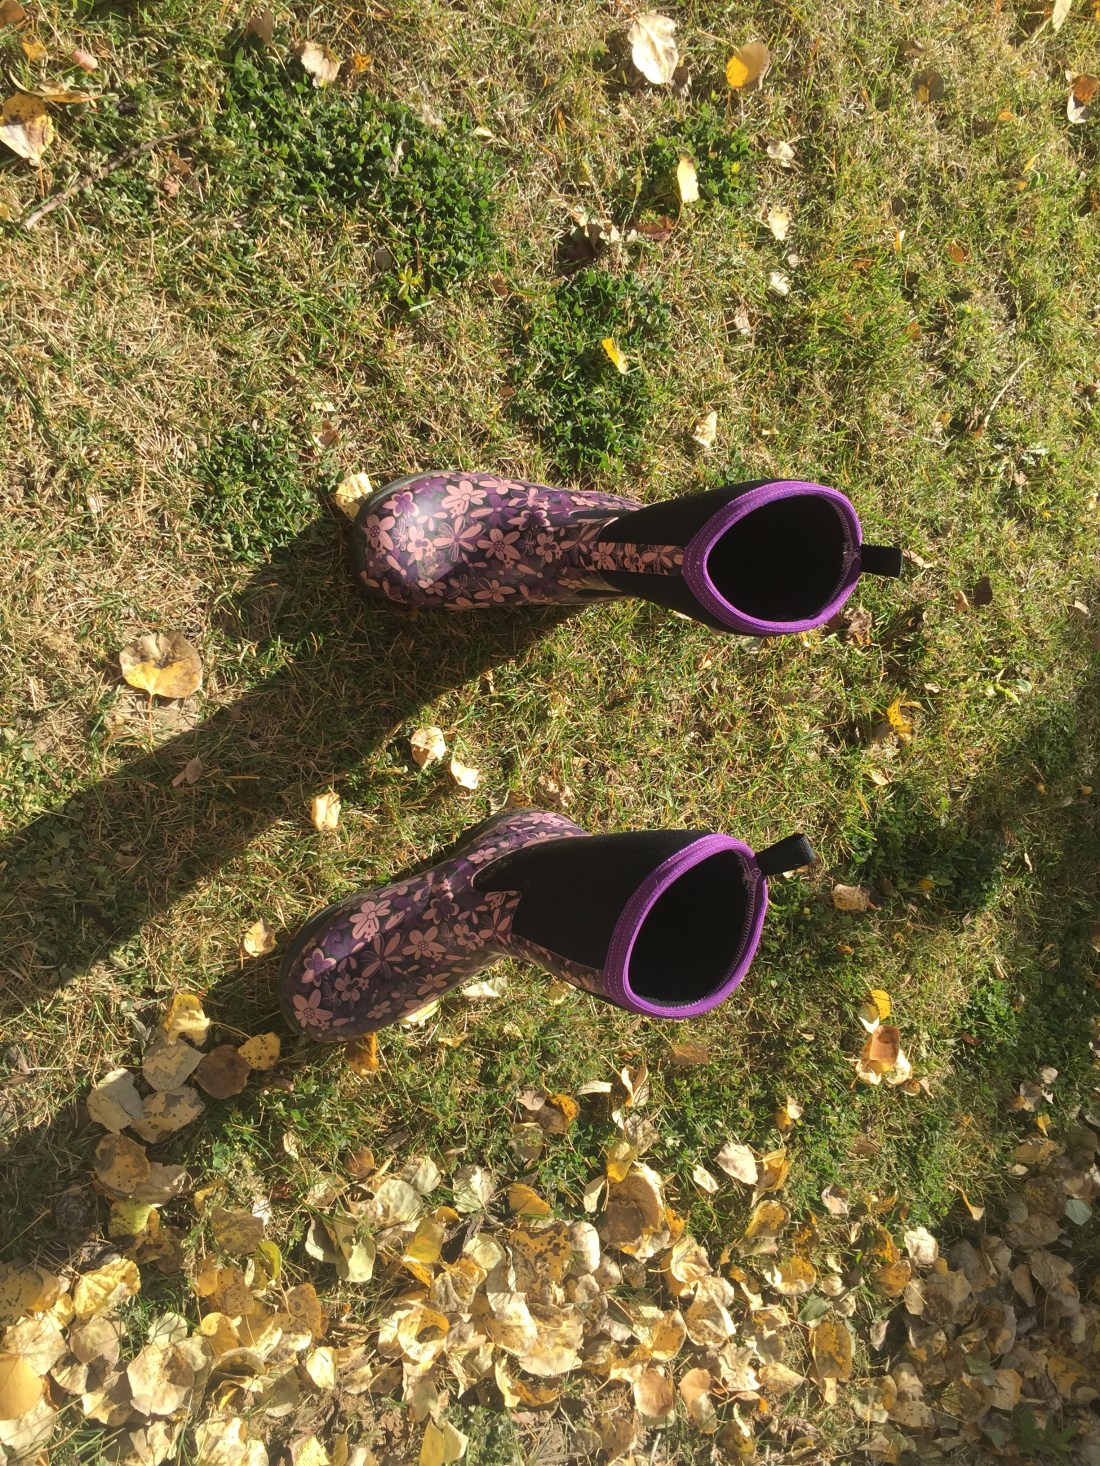
1. Wear good rubber farm boots with a good sole, but ones you don’t mind getting all mucked up. If you wear regular street shoes… be prepared to throw them out afterwards because they will be stained brown (as will your feet!).

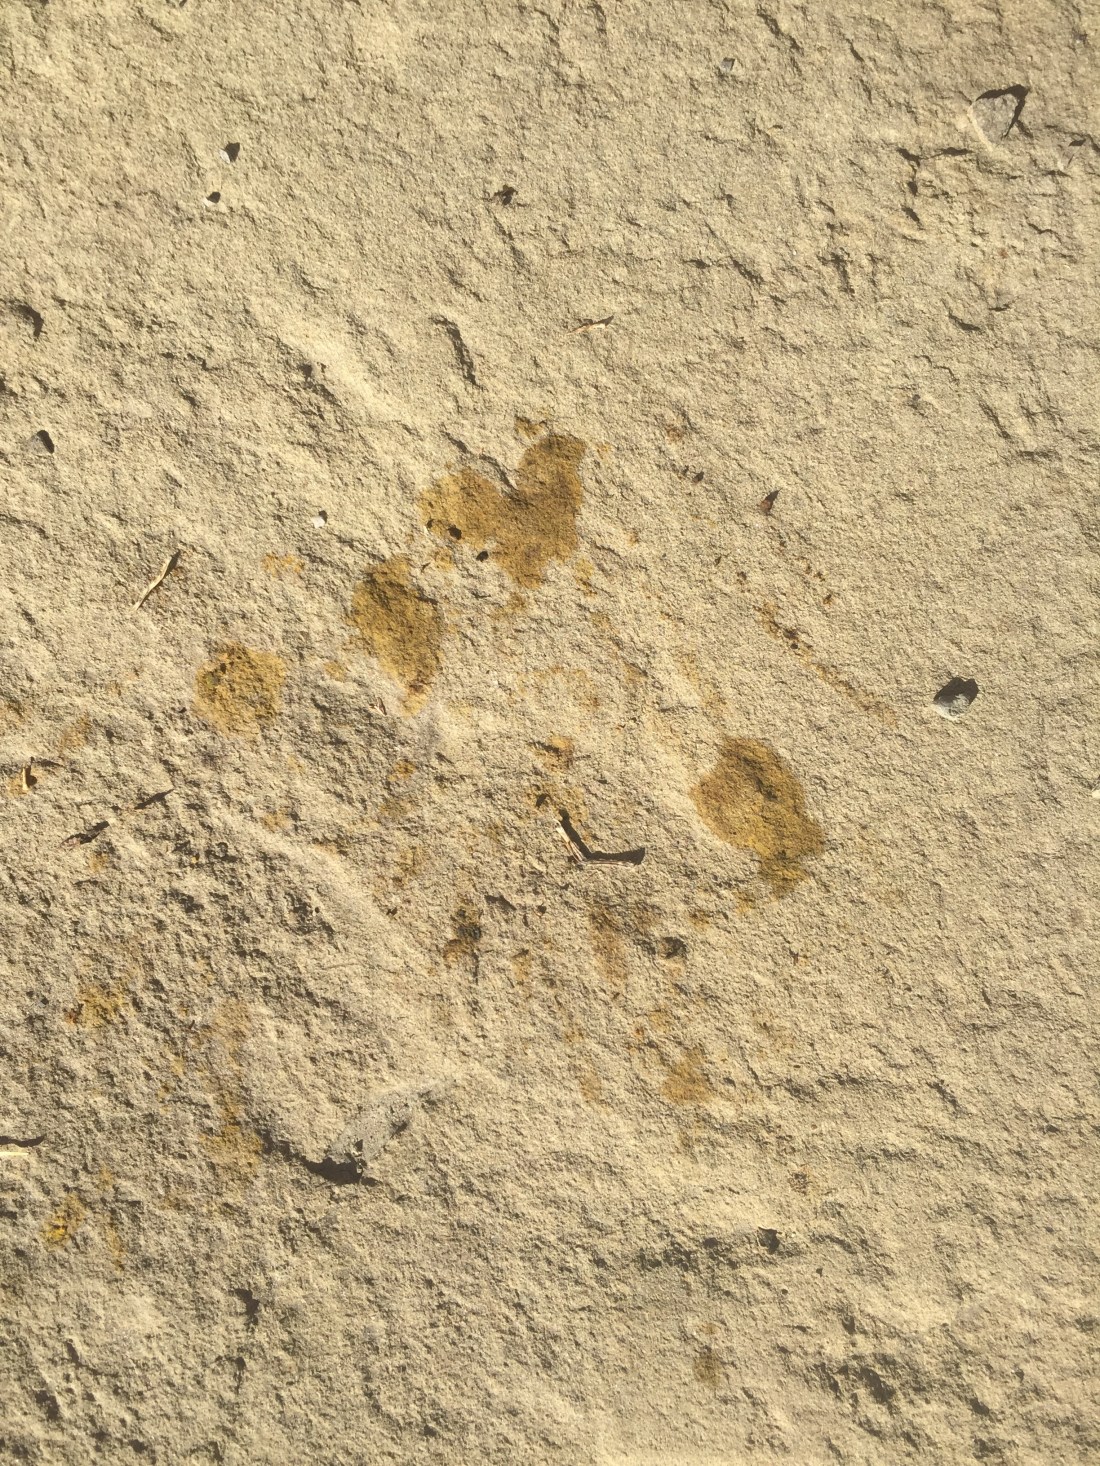
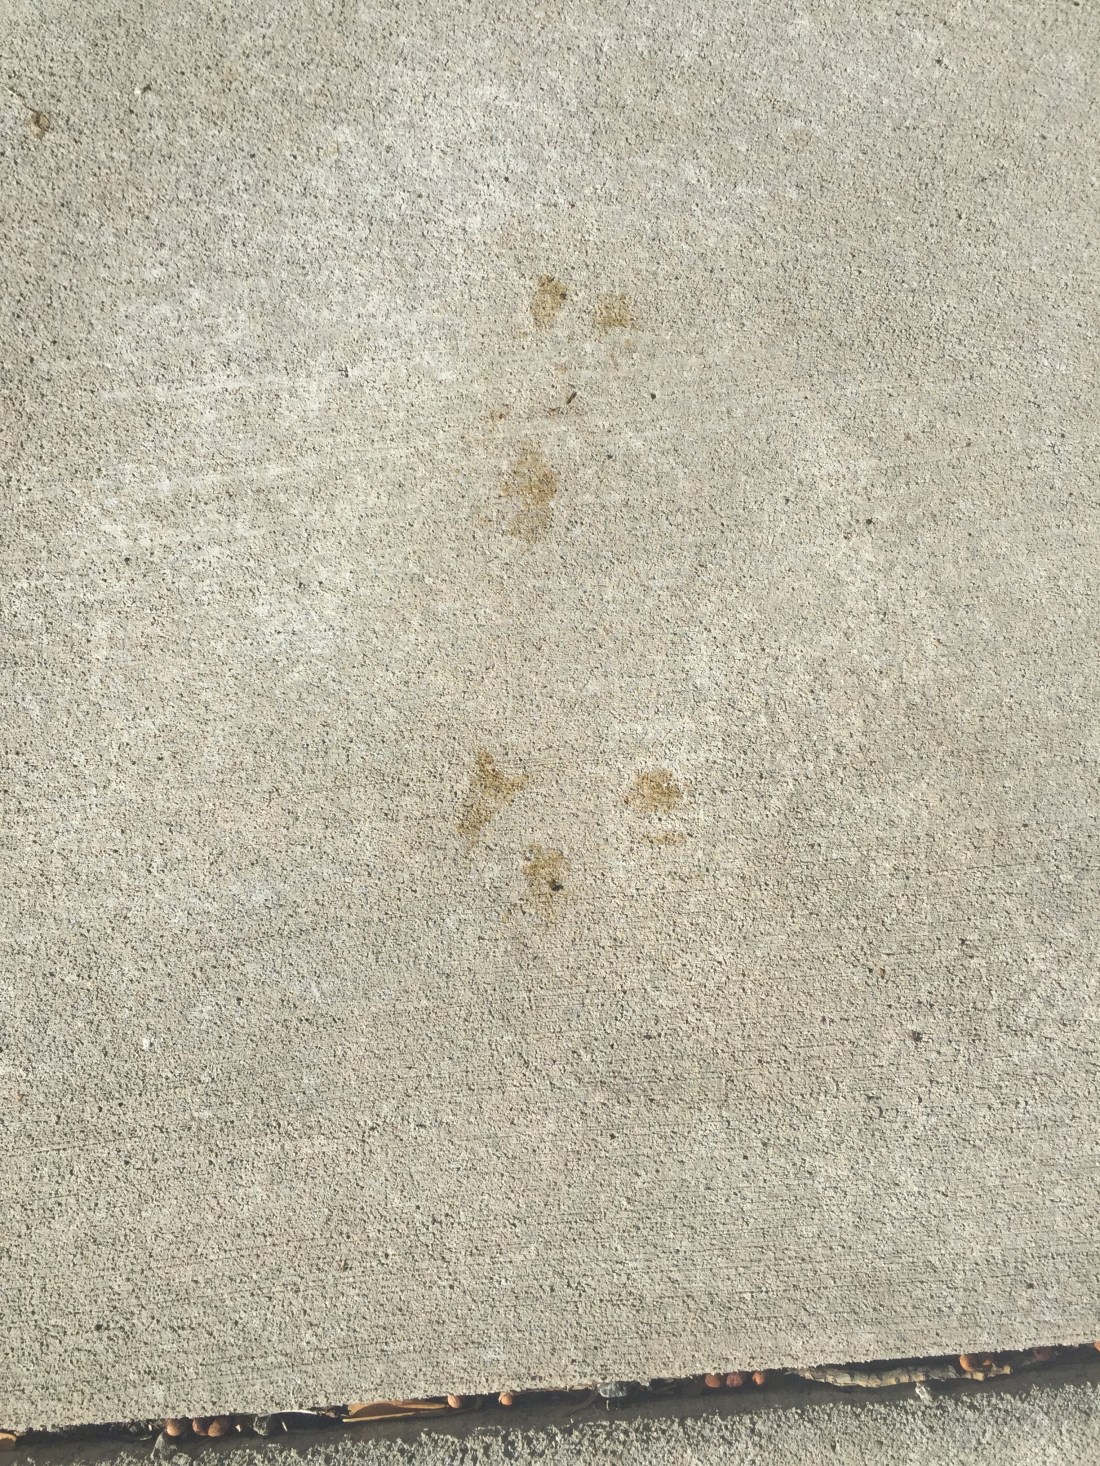
2. Do NOT wear your shoes anywhere you don’t want shoe prints stained forever on the floor … like inside the house lol. That walnut husk is an excellent permanent dye (save some for wool/cloth dying later like I plan to). Some boot prints on my sidewalk: yep these are not gonna come off for a long time… sigh…
3. Get some thick kitchen dish gloves and use them unless you want your hands to be dyed blackish brown for several weeks. This is my glove after finishing one 5 galling bucket of walnuts and I have about 5-6 more 5 gallon buckets to go. I did get some seepage thru the gloves and a slight tanning of my hands but not as bad as if I had not had the rubber gloves on! Lol

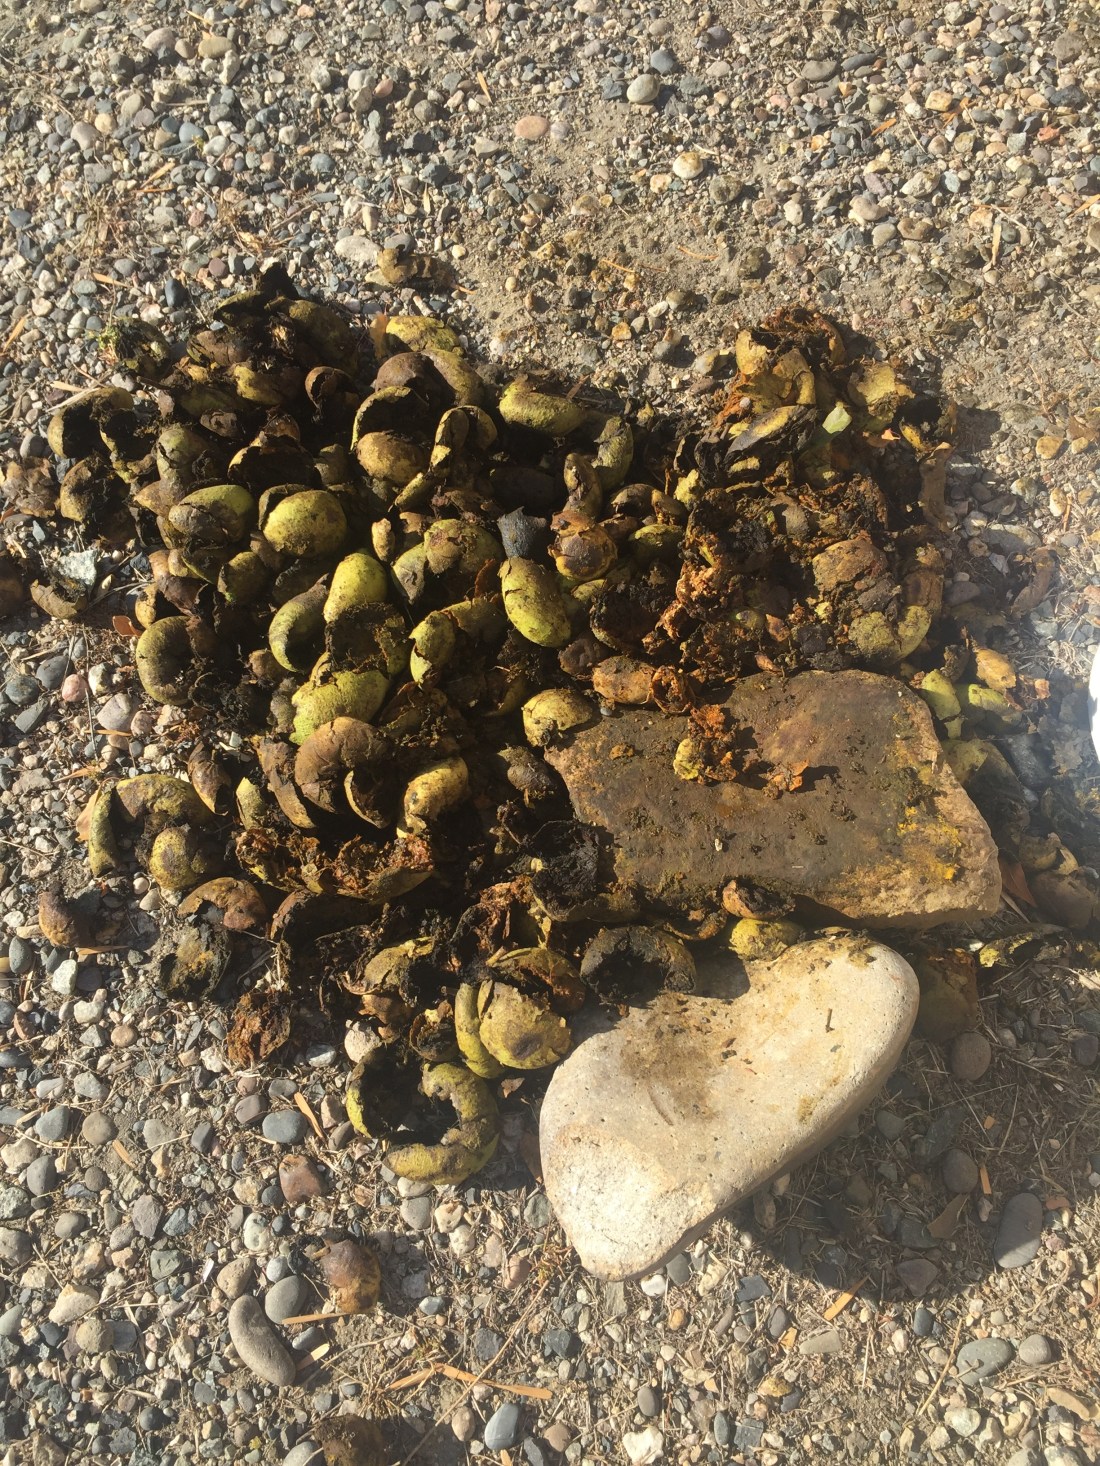
So the basic idea is to take a large flat rock, place a walnut on the rock, and then using the sole of your foot (and some body weight) roll your foot and squish the green husk off the nut inside the green husk. By rolling it on the rock you can get the majority of the squishy gunk off the nut. The husk needs to be soft, so if you can’t squish it open, then just let them sit and ripen a bit longer and then try again. (Don’t throw away the husks! We have uses for those! Read on…). When you pick up the nut you just squished out of the husk… try to squish off as much goop as you can using your gloved hands before tossing the nut into your box awaiting the next step.

Once you get a pile of nuts de-husked… lay out a tarp in the garage or someplace squirrels and other critters can’t get to your goldmine of food… and lay them out one layer deep to dry and “cure”. You want to put them on a tarp so as not to stain your garage floor. You will also want to go out every couple of days and roll them around so all sides have a chance to get air to dry out. This is done so that the muck on the outside of the nut doesn’t mold and rot etc and once fully cured (aka the outside of the nut dry) you can take the nut and use a rock or an anvil or something hard to lay the nut on. Then hit the nut with a hammer and pick the nut meat out of the center of the shell. These shells are very hard and yes you will need a hammer (and something harder than a wooden board) to open them! Even squirrels will leave walnuts to the very last as they are so hard to get open with those little squirrel teeth lol.
Freshly cracked black walnuts taste a million times better than store bought walnuts and are well worth the trouble and effort. Trust me! This is gourmet stuff here! You will never be satisfied with store bought walnuts again after having eaten fresh cracked walnuts. Also, crack them either outside or use a tub to catch all those shells because the shells are super hard and sharp and trust me you do not want to step on one barefoot! They make those LEGO’s you have stepped on before feel like soft memory foam in comparison! Lol
So back to the green husk pile. Don’t be tempted to throw them in your veggie garden or compost pile because those husks are full of tanic acids, which will kill your veggie plants. But there are a couple of other uses for them.
The first use is clothing and wool dye.
Place the husks in a large pot of boiling water (don’t use your expensive good food cooking pot. Get a cheap junky stock pot from the thrift store) and simmer it to get the water as dark as possible. Take the pot outside… Then use a large sieve to remove the husks from the water (best to do this outside so you don’t get dye all over your kitchen). I just thunk the hot husks on the ground at this point lol. Now you have a hot pot of water that should be the color of dark coffee. Dunk the article you want to dye in the water (poke it down with a stick) and let it sit till the water cools enough you can take the cloth (or wool) out (again use a stick and rubber gloves).
At this point you can do a couple different things. Hang it to dry (which may leave the bottom of the cloth darker than the top of the cloth because of the gravitational dripping) or lay it flat to dry (just lay it on a sidewalk if it’s a sunny day and move it to a new dry location a couple times throughout the day till it dries, or at least gets dry enough it’s not dripping anymore and then you can hang it to dry the rest of the way.
The other thing you can do with the husks is SOME plants like soil high in tanic acid. Like raspberries! Do your research BEFORE putting these husks in your garden! Last year I mulched the raspberries with pine needles around the raspberry plants and we had a bumper crop this year! Pine needles are also high in tanic acid. Since I got the pine needles from a neighbor last year (good to ask if you can have their stuff needing raked up, but the neighbor had that tree cut down this year so I’m out of pine needles!) … but I have plenty of walnut husks to use this year… yep. I shall place the walnut husks (green squish off parts) in the raspberry and blackberry garden! Well… at least some of them anyway lol I do have quite a bit of wool to dye!
Walnut husks have been a traditional natural dye for a very long time! If it was good enough for our ancestors… also if you have a white shirt that accidentally got washed with some red underwear lol then now is the time to try and recycle it. A walnut husk (or even a tea bag) dye will cover up that uneven pinkish tint and you will now have an antique white/ tan shirt! I’ve done this before and I always get complements on that shirt (I never got complements on it when it was plain white lol). It really does a nice job on an old white shirt that needs to be “refreshed” because it became dingy in the wash too.
So give it a try, have some fun, enjoy the fall and all the potential nature has to offer 🙂
As a side note: Conestoga Chuck is demanding play time right now, so all typos are strictly his fault for grabbing my hand and pulling me away from the keyboard…. just sayin… duty calls. (Yes CC I’m coming…)