Over the summer I made sure to stock up on a bunch of beeswax from our local farmers market. But don’t worry if you didn’t think ahead and didn’t stock up locally! I will post a link where you can order some online. You can also check your local craft store. I like to have an organic home environment, so I make a lot of our own cleaning supplies and laundry detergent as you may have seen on previous posts lol but I also like to make some winter self care items!

Dry skin in Montana winters is no joke! Montana is know for its lack of humidity and we actually run a humidifier in the house all year long. So dry skin is an issue. But I have super sensitive skin and many lotions on the commercial market have either perfumes that make me sneeze, ingredients that make me itch, and/or cost a dang arm and a leg per tiny ounce! So I make a homemade all purpose non allergenic (at least for me) people and doggie balm! This stuff is also awesome for doggie paws and I slather it on the pups paws to protect them from the snow and ice in those nasty Montana winters. They make commercial doggie paw balms but if you read the ingredient lists … it’s not much different that what this recipe calls for. This version is much more economical, works great, and is multipurpose!
Many DIY recipes call for different types of essential oils like lavender etc but because I’m also using this on doggie paws… please do your due diligence and research any essential oils you may want to use to make sure they are pet safe because I guarantee the dogs are gonna lick their paws. Conestoga Chuck actually looks forward to getting his paws all slickered up (as does lil bit) and they both come running and hand me their paws nicely because they think that goop I put on their paws is a yummy treat lol.
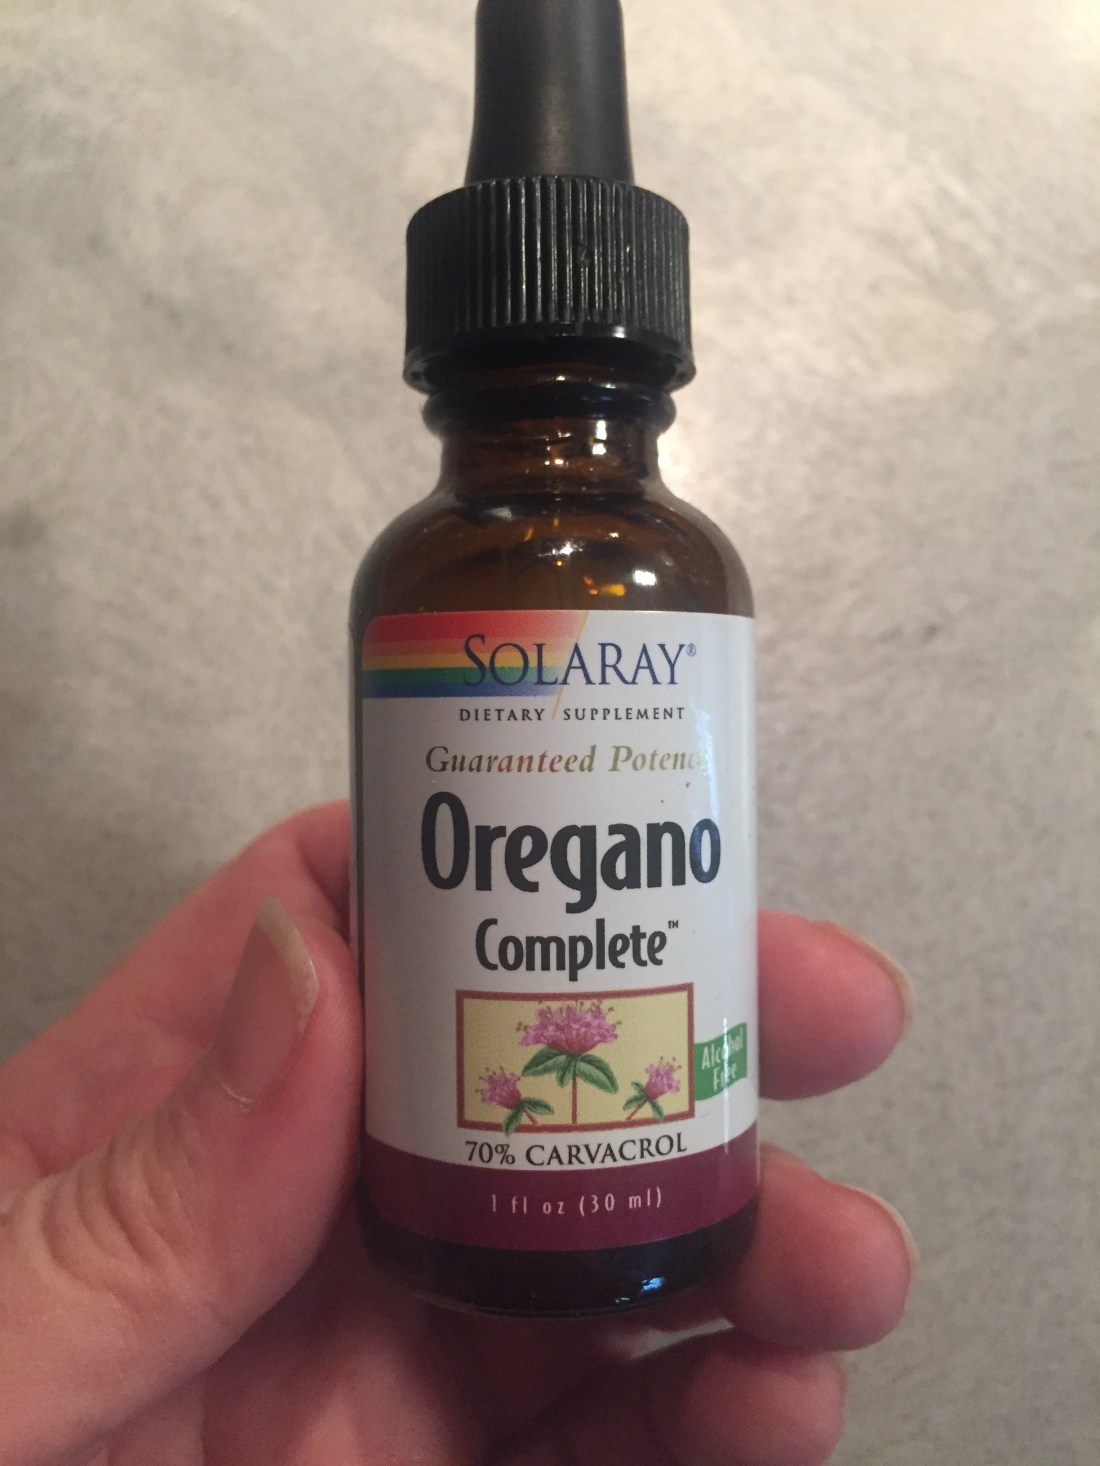
I use oregano oil in my recipe. Oregano is known for its anti fungal and anti viral type properties so it’s great for puppy paw balm, and human balms as well! You can leave out the essential oils all together if you so choose, but in my opinion it also acts as a stabilizer in the recipe keeping the olive oil from going rancid. I’ve had jars for well over a year (I make big batches and it lasts a good long time in small batches too) with no problems at all.
As you may notice it’s the same ingredients for furniture polish as it is for paw/human balm… it just happens to be in different ratios. For the paw/human balm I want a softer consistency similar to that of a vapo-rub. Easy to slather on. So that takes more olive oil and less beeswax.
To get more of a harder consistency (like commercial tubes of lip balm) it takes more beeswax and less olive oil. You can also place the harder consistency in things like lip balm tubes or deodorant tubes that you can either recycle or buy new. I haven’t actually done that… as my preferred storage container is a glass, wide mouth (small), canning jar. I avoid plastic products as much as possible, but that’s just me… so make your own decisions on how to store it. Small metal (recycled mint tins or new ones ) tins would work well too. Remember the local thrift store is a great place to buy glass canning jars 🙂
So let’s get started! We will start with the hard version and then take one of those jars and re melt it adding more olive oil to make the soft version… effectively turning one jar of hard into two jars of soft. I do it this way because I’ve always had different results with the recipe depending on the beeswax and olive oil brand I use, so it’s easier to make the hard version … see how hard it turns out and then “guess” on how much more olive oil I need to add… to make it the soft consistency I want. Sometimes it’s 25% or even 50% more olive oil I add to make the soft version… so this is a recipe you really just have to play with to get it to the right consistency for the particular use that you want.
To make the hard version I need:
5 tablespoons of olive oil
4 tablespoons (shredded or pellets) beeswax
This is enough to make one small jar and because my small double boiler pot is so tiny, I do a second batch for the second jar. If you have a larger doubler boiler feel free to double those amounts. I like small batches because a little really does go a long way! Also the smell of beeswax being freshly shredded is just amazing BTW! So buy local and shred it yourself on a cheese grater if possible 🙂 I also like to use wooden kabob sticks or chops sticks for stirring when making homemade items. Trying to get cooled beeswax off a spoon can be difficult lol.


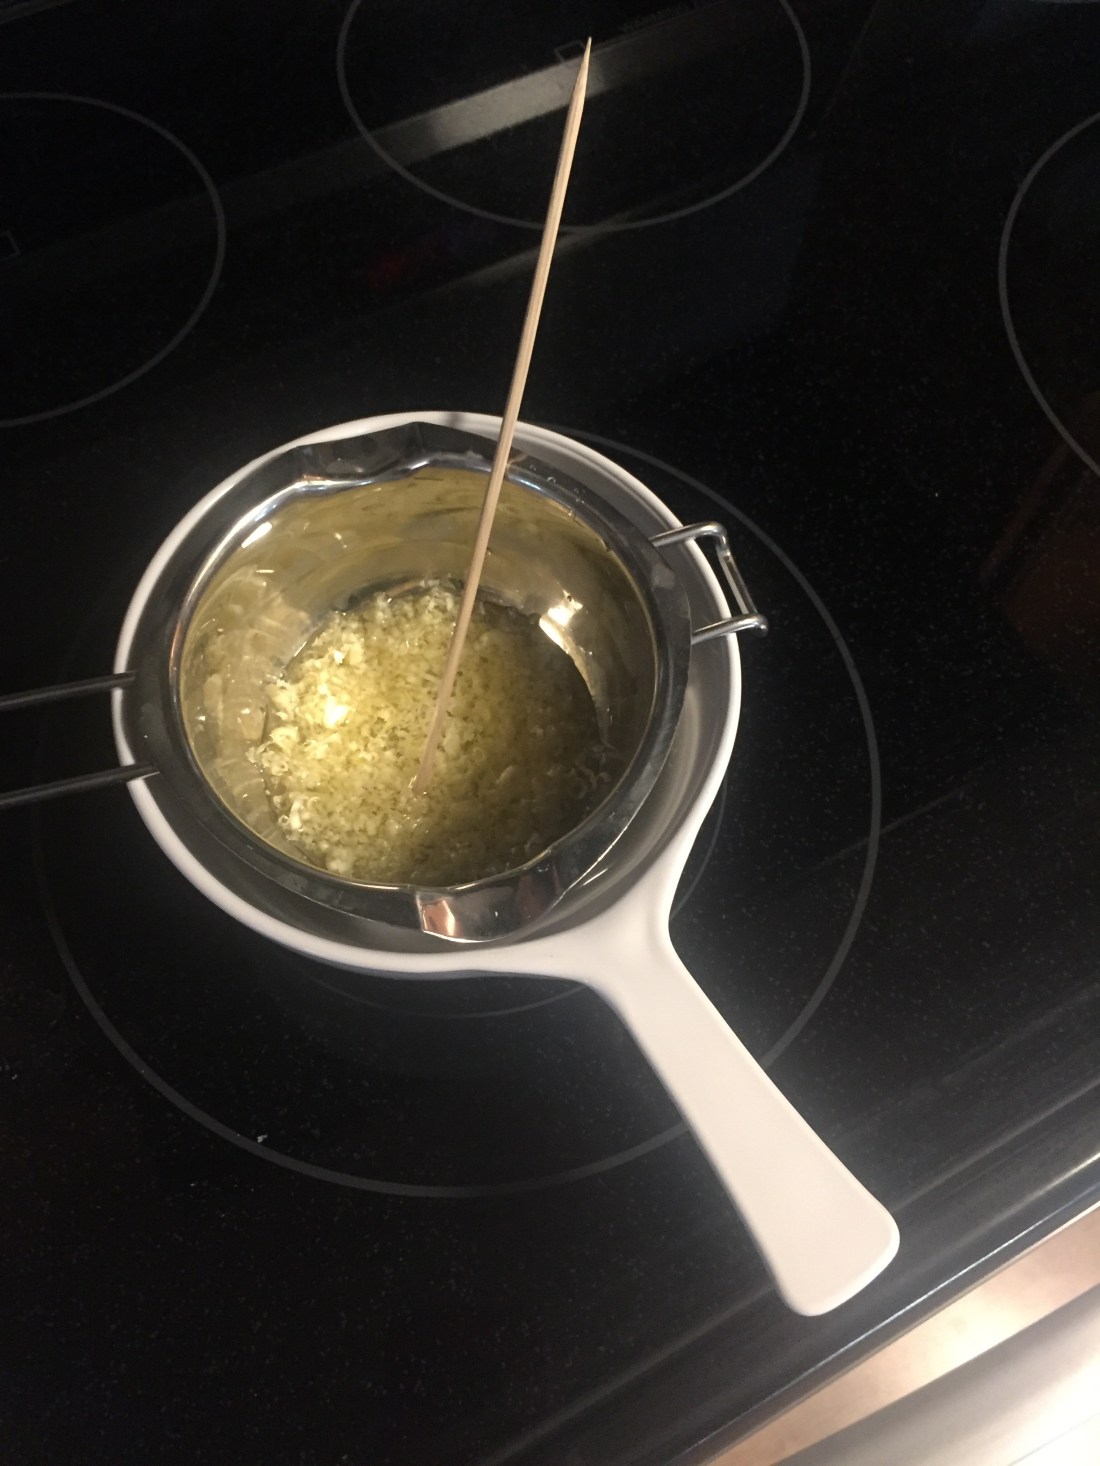
Once everything is slowly melted together, I pour my liquid into a pre-warmed canning jar (I just use hot tap water to warm the jar up before I pour the hot liquids in it. Hot liquids going in a cold glass jar will make the glass jar crack and you will have a hot mess, so always pre-warm the glass jar!)
I then add about 10 drops of oregano essential oil to the mixture (I usually use a tooth pick to give it a quick little stir) and then let it cool with the lid off. If you are worried about using essential oil, you could go to the vitamin store and use the concentrated (safe for human consumption and sold as a vitamin supplement) oregano oil instead.
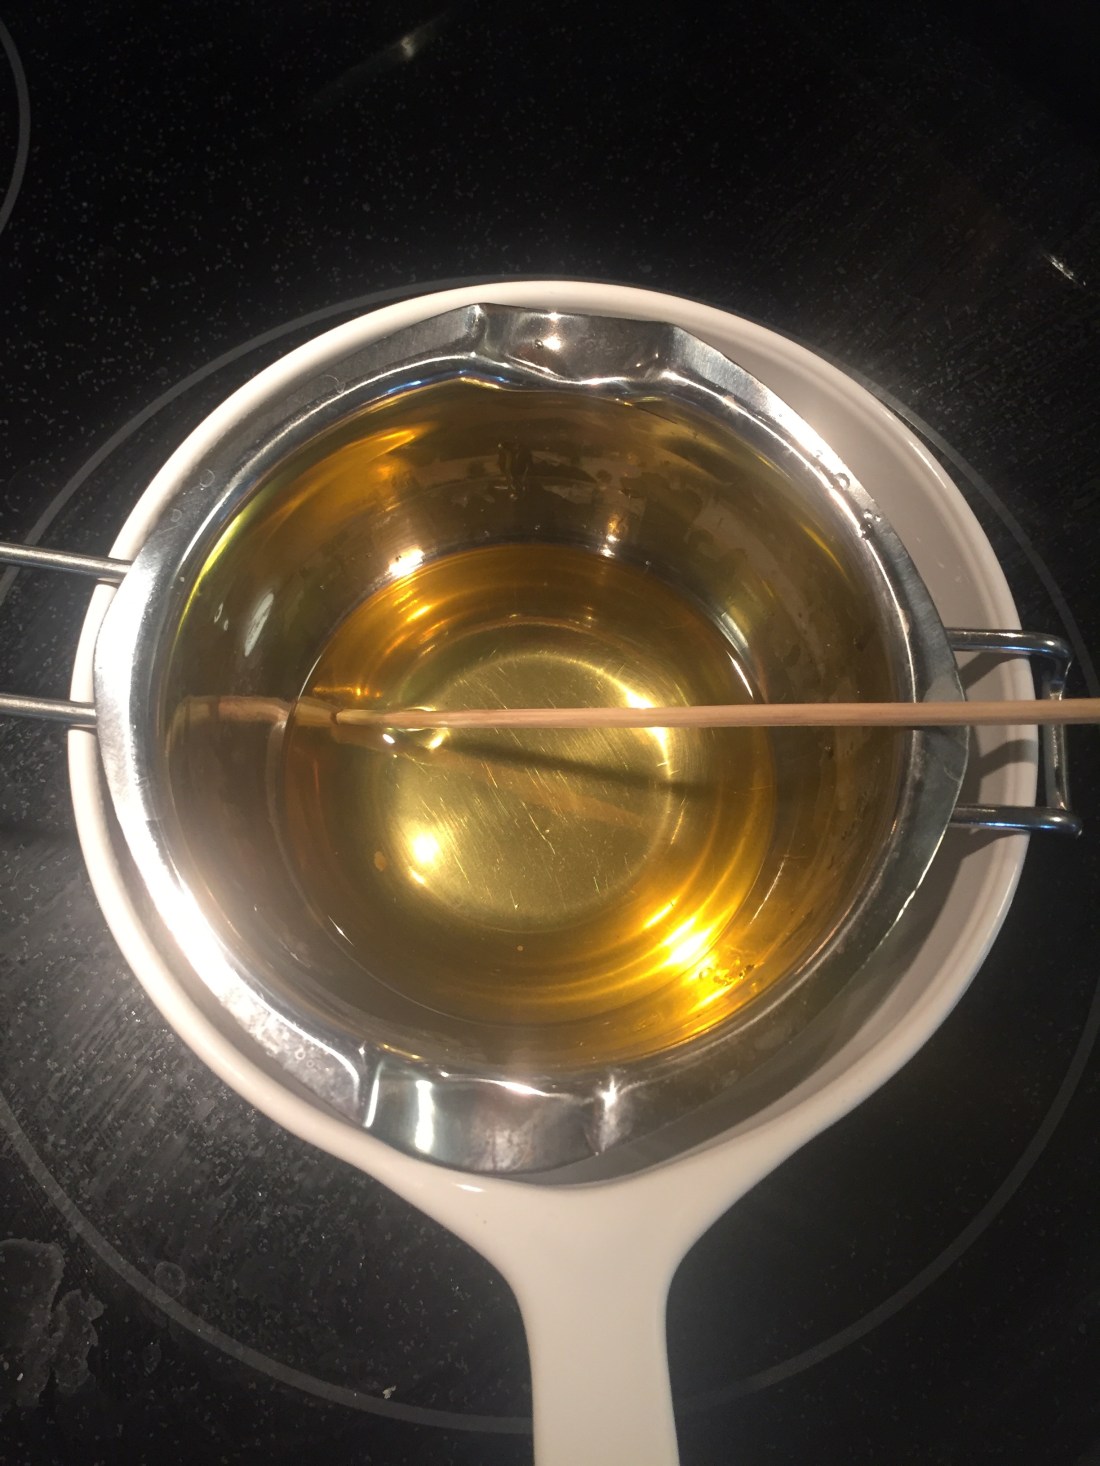

Like a candle… it cools and hardens back up pretty quickly.

Once it has fully cooled and hardened… I can then determine by rubbing my fingers in one of the jars just how hard it turned out and how much more olive oil I want to add to make it “softer”. I leave one jar of hard to use as furniture (wood) polish (great for wood cutting boards! And lip balm) and the second jar I re melt in the double boiler and add more olive oil.
Occasionally I place the glass jar in a pot with water (use water that is the same temperature as the jar … if jar is room temp then use room temp water for example) and re melt right in the glass jar and use canning tongs and hot pads to remove and pour into new jars (if needed) after adding more olive oil. ***also be careful not to spill the liquid as hot wax and oil can be dangerous (flammable or cause burns).
Again because my double boiler set up is tiny, I usually just take the re melted liquid and separate it in half between two (pre-warmed) jars (unless the jar I’m using has enough room to add more olive oil after re melting) and “eyeball” how much extra olive oil I want to add (less is better, as I can always re melt and add more as needed) … and let it cool again. I usually give it a sniff and if I can’t smell the oregano scent I will add a few more drops of oregano oil as well. (Again a tooth pick or kabob stick or chop stick to give it a quick stir helps). Be careful not to add more than 20 drops total tho, because the oregano oil is typically very strong and can burn skin if you don’t dilute it enough.
Once it cools you should now have one jar of hard and one or two jars of soft consistency! Yay! You are now ready for winter and ready to go clean some wood 🙂 and it’s all natural, chemical free, multipurpose, inexpensive, and works great!
Since you only needed a small amount of beeswax for the above recipe… why not continue the experiment and make some hand dipped candles in case the power goes out this winter? Or do like I did… just melt some in an appropriate container (recycle something and get creative!) and add a wick! I melted some in an old beat up corningware tea pot and added some bug chase away type essential oils last time, and it worked great as a camping candle and bug get ridder-of lol and because the tea kettle is a bit heavy… no wind can blow it over or blow the flame out. Because it is white it glows as bright as any flash light you could buy!
Another idea is to punch a pattern into the upper portion of a metal soup/coffee can with a nail so the flame will make a pattern when you light it 🙂 then add the wax and wick to the bottom. I used the teapot like a double boiler when I melted the wax, just dump the wax in the tea pot, put the whole teapot in another pot of simmering water and wait for it to melt! I used two chopsticks to hold the wick in place until the wax re hardened. The point is… have fun, get creative!
