
So today was spent on some sewing lessons. The girls wanted to do a little redecorating and it turned out beautiful! Conestoga Chuck wanted to help out, but for safety reasons we had to ban him from the sewing room lol (pins and needles and scissors oh my!).
We started with the kiddo play cubby and transforming it from a toddler play cubby (which was Mickey Mouse themed previously) to a teen girl sleep over guest room / reading nook!
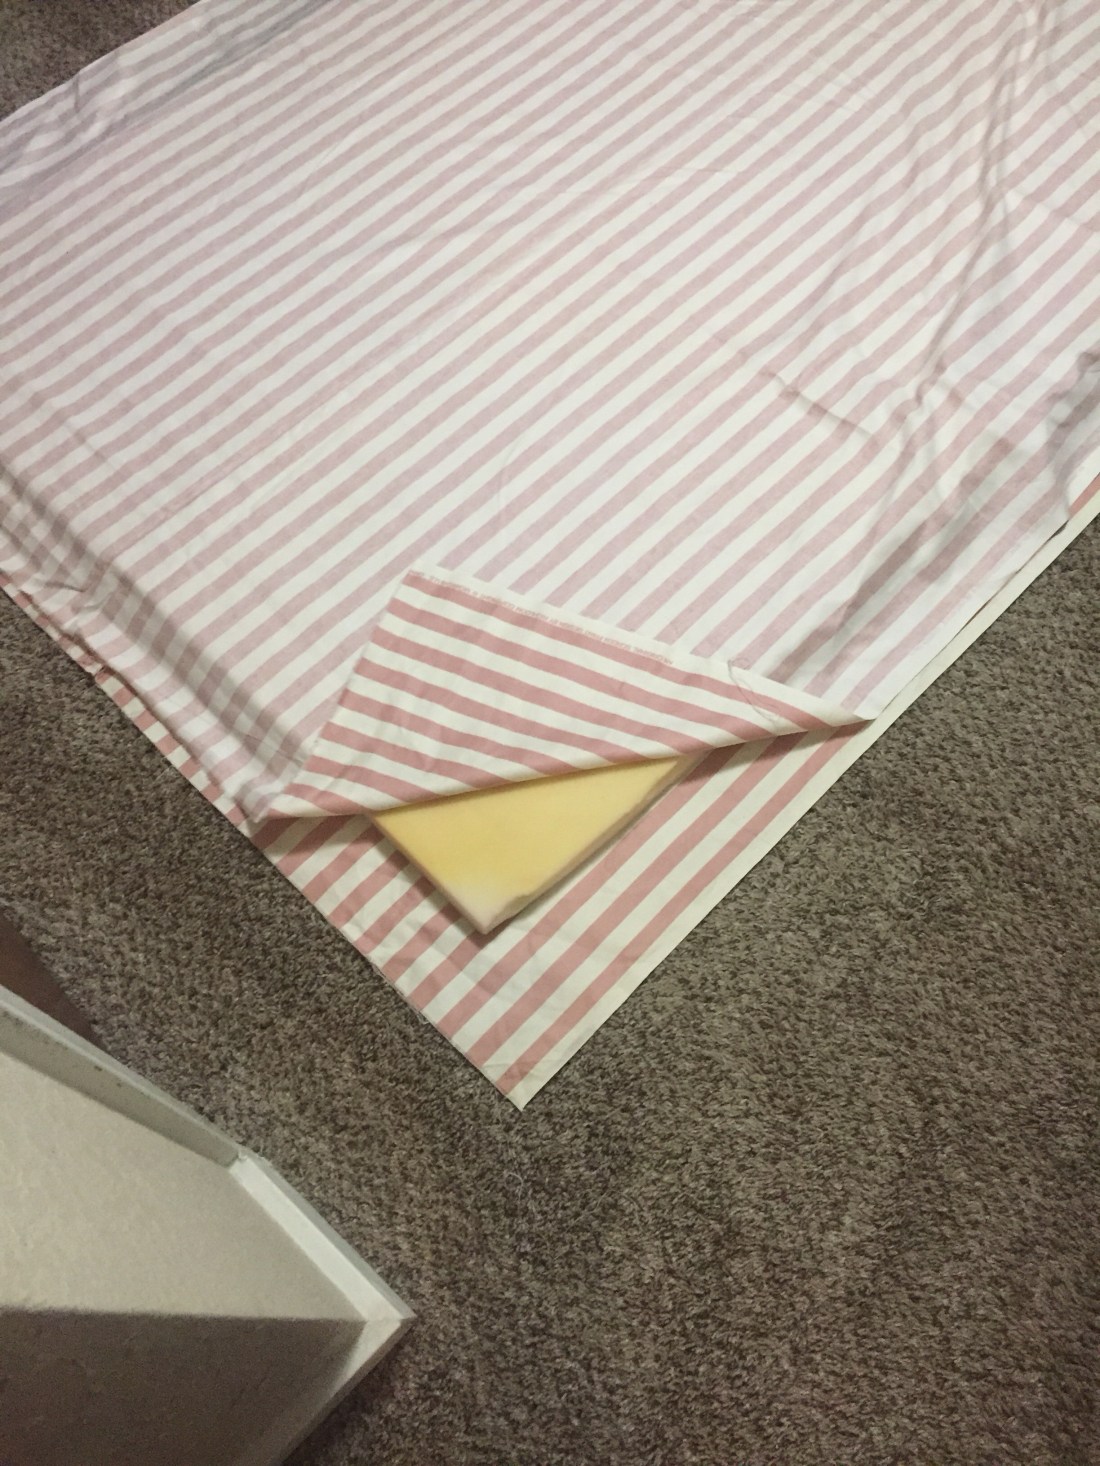
We always buy fabric at the thrift store when we find good quality fabric in large amounts. Why pay $25 a yard when I can pay less than a $1 for several yards … and I always end up finding a project for that fabric even if I can’t think of what it will be used for when I buy it at the time lol. That’s what craft rooms are for… storing craft supplies! So we started with this amazing pink and cream color striped fabric which is a really nice thick heavy fabric. The sleeping mat is a memory foam mattress topper cut to fit the cubby room floor. Slightly larger than a twin size bed in length and width. Don’t forget you can also recycle anything from old curtains, blankets, sheets, painting floor cover canvas etc into new fabulous decor!
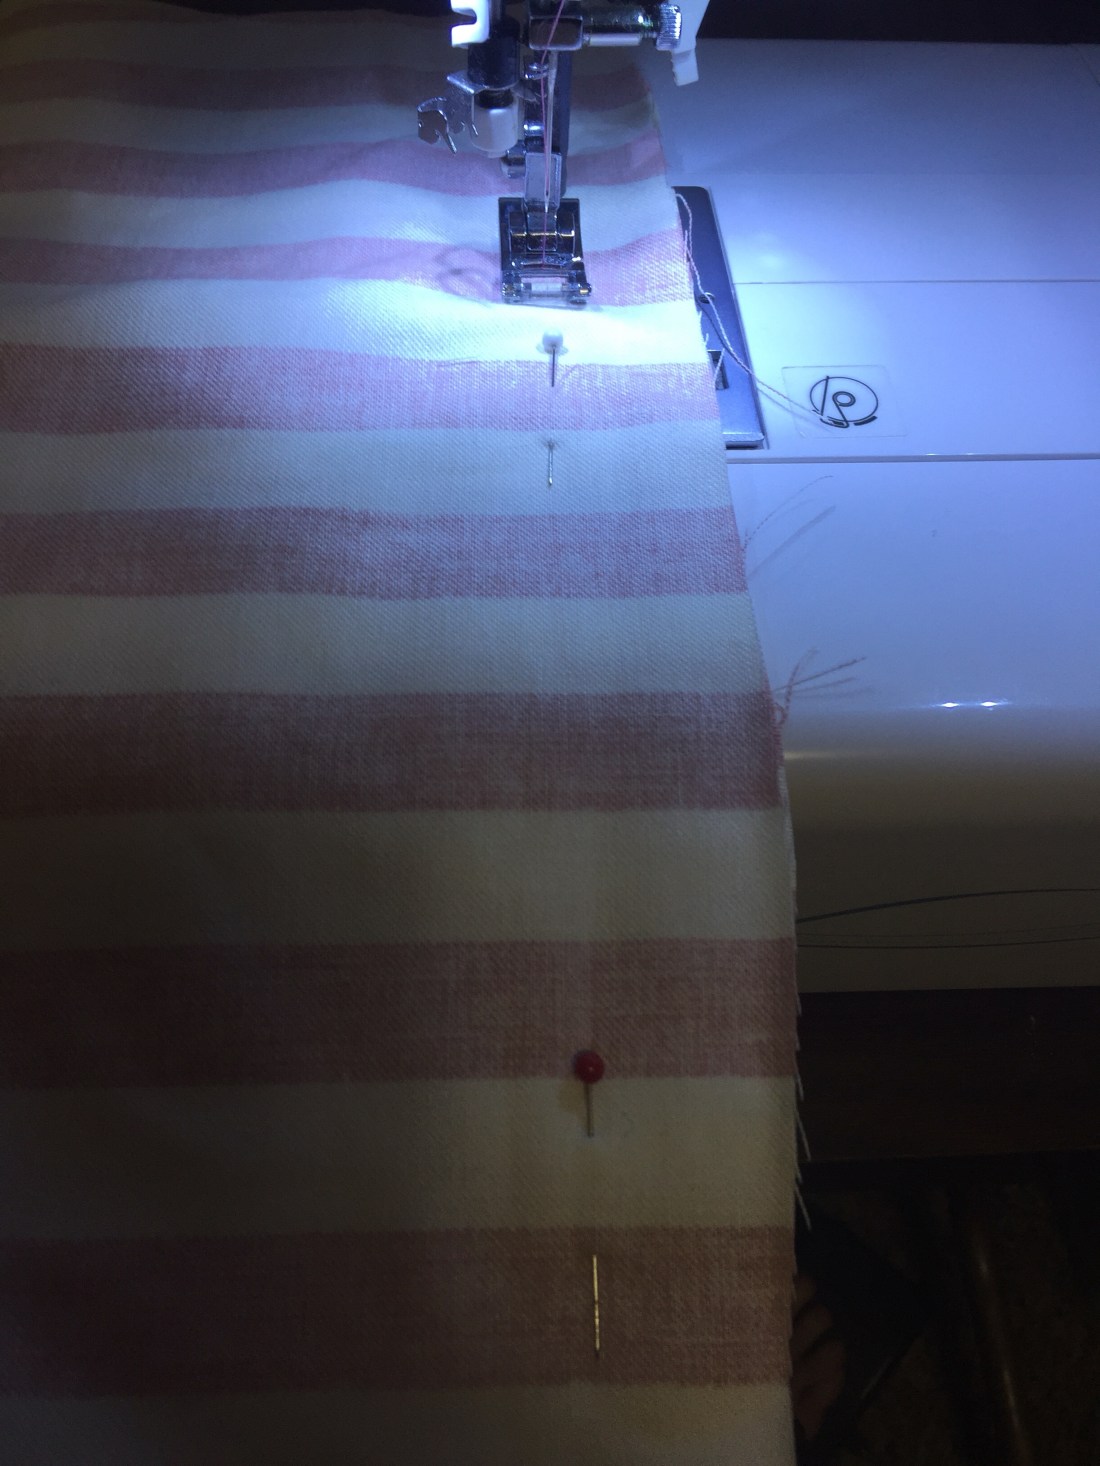
Start by placing the fabric wrong side out with the foam topper sandwiched between the two pieces of fabric, pin along the outer perimeter of the foam topper, cut away any excess (leaving about an inch ) and it’s ready to sew!
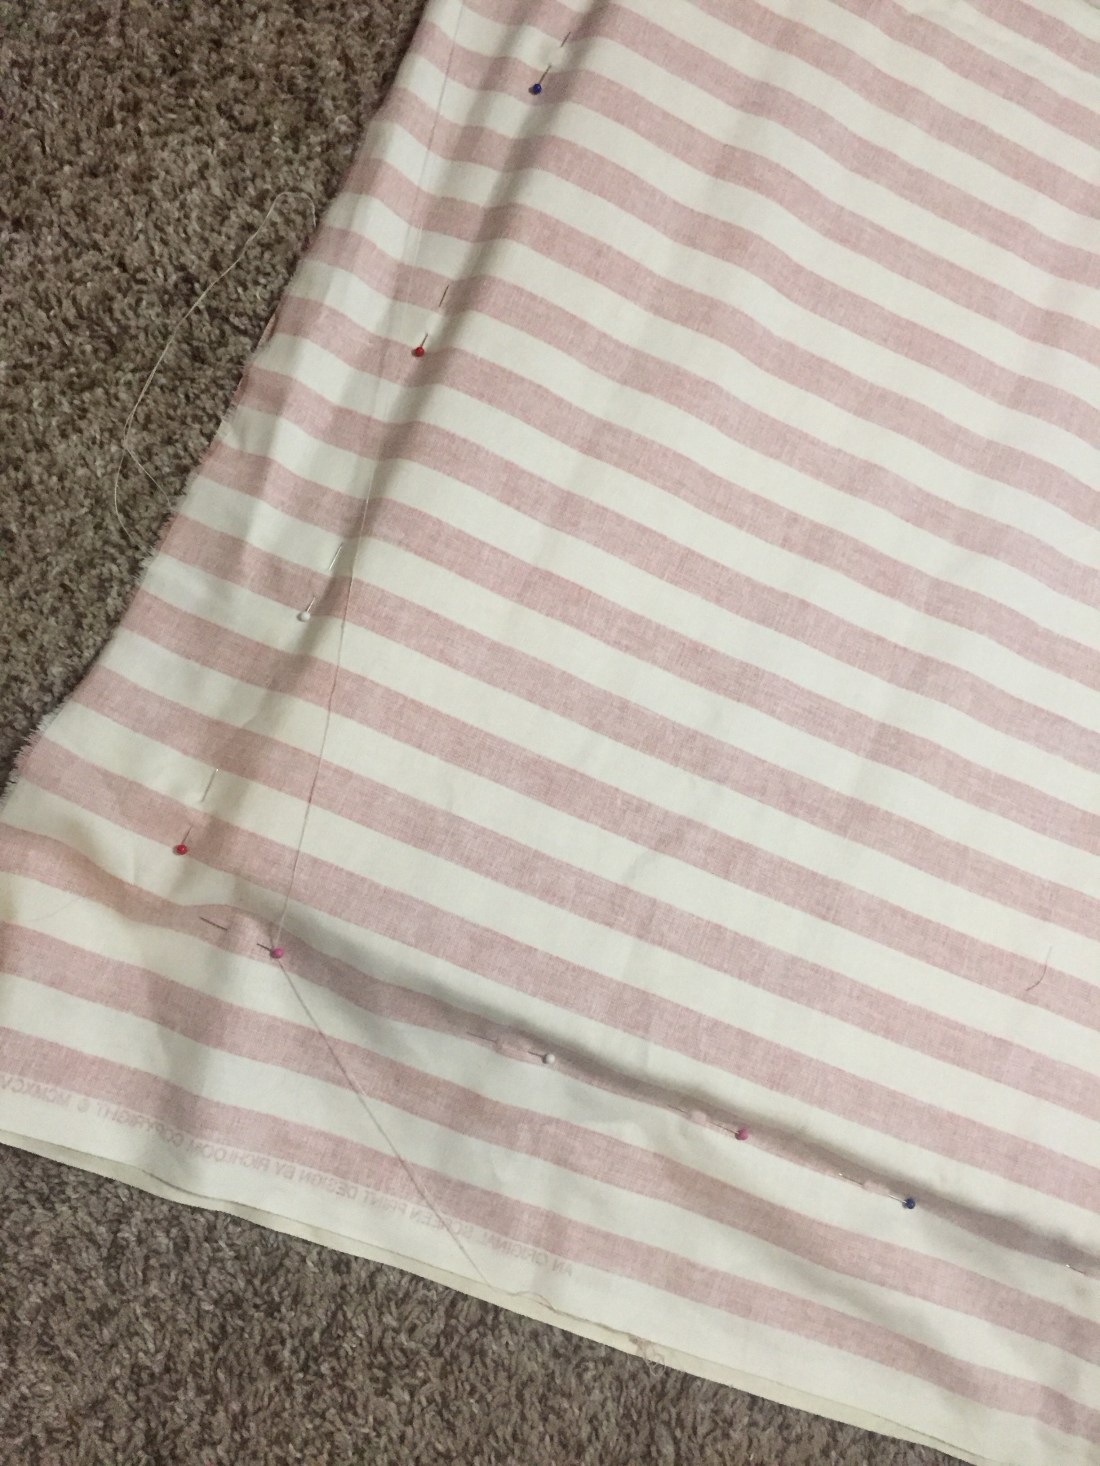
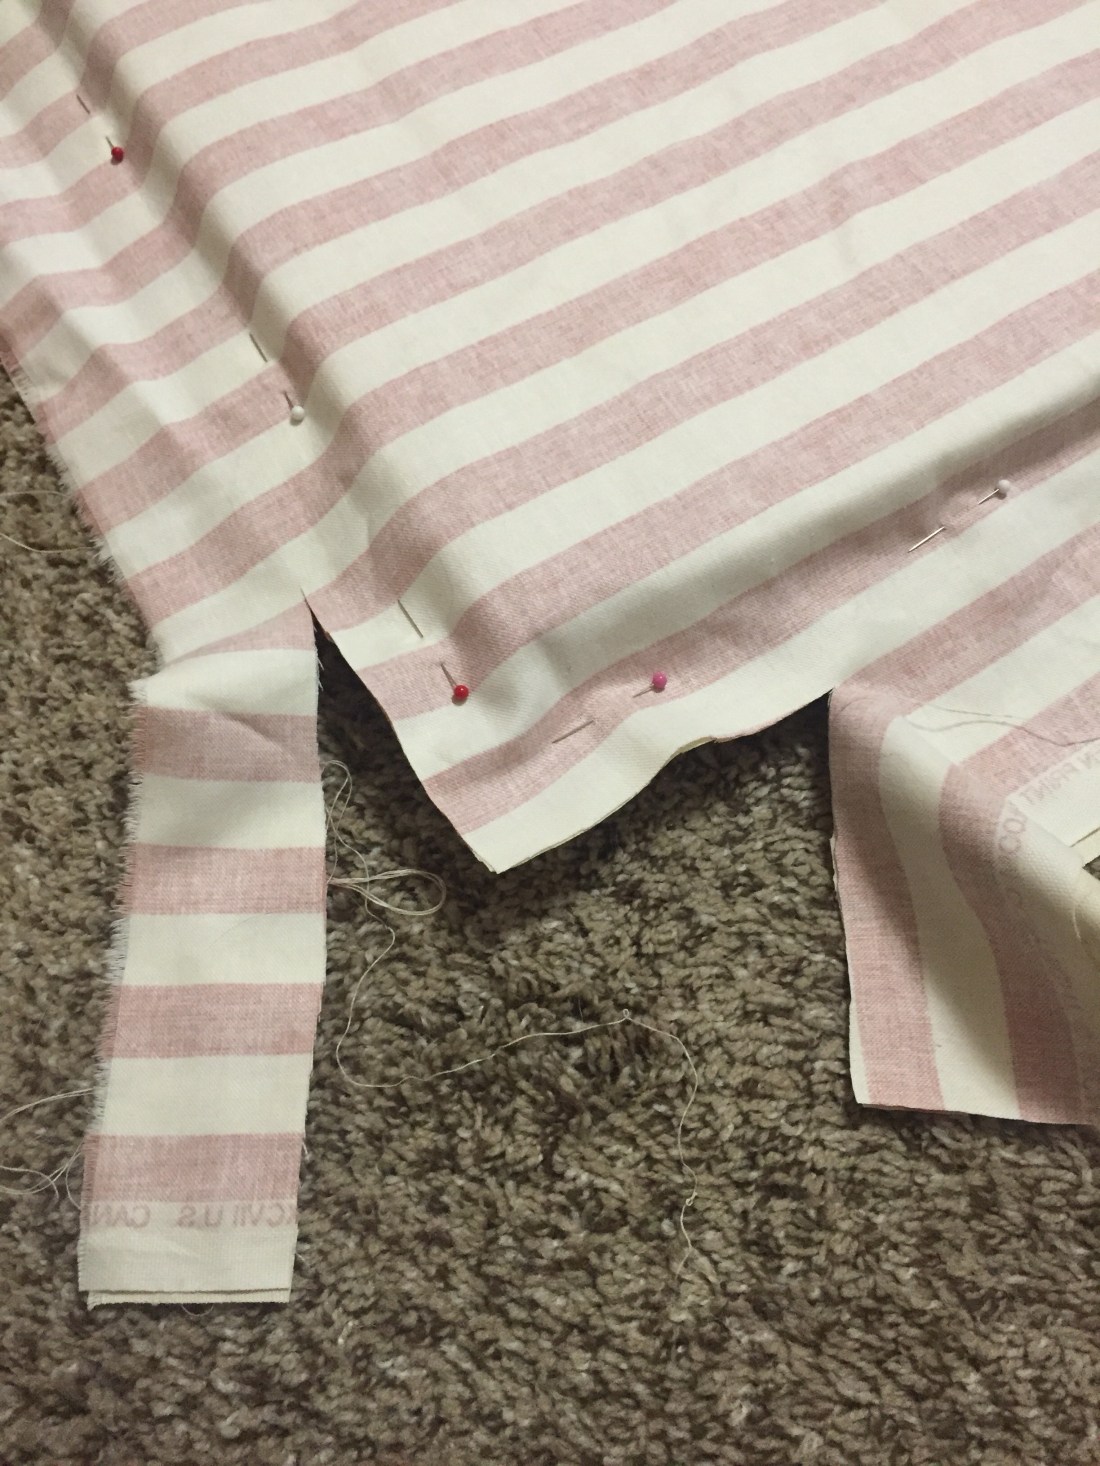
Gently remove the foam topper and sew a straight stitch using the pin heads as your guides. Just sew straight towards the top of the next pin… easy. Then go back and sew a zig zag stitch so as to prevent raveling. You only sew closed three sides. Like a pillow case. Leaving the fourth side open just like a giant pillow case, which is technically what we are making. After I sew the zig zag stitch I went back and cut the remaining excess off again.
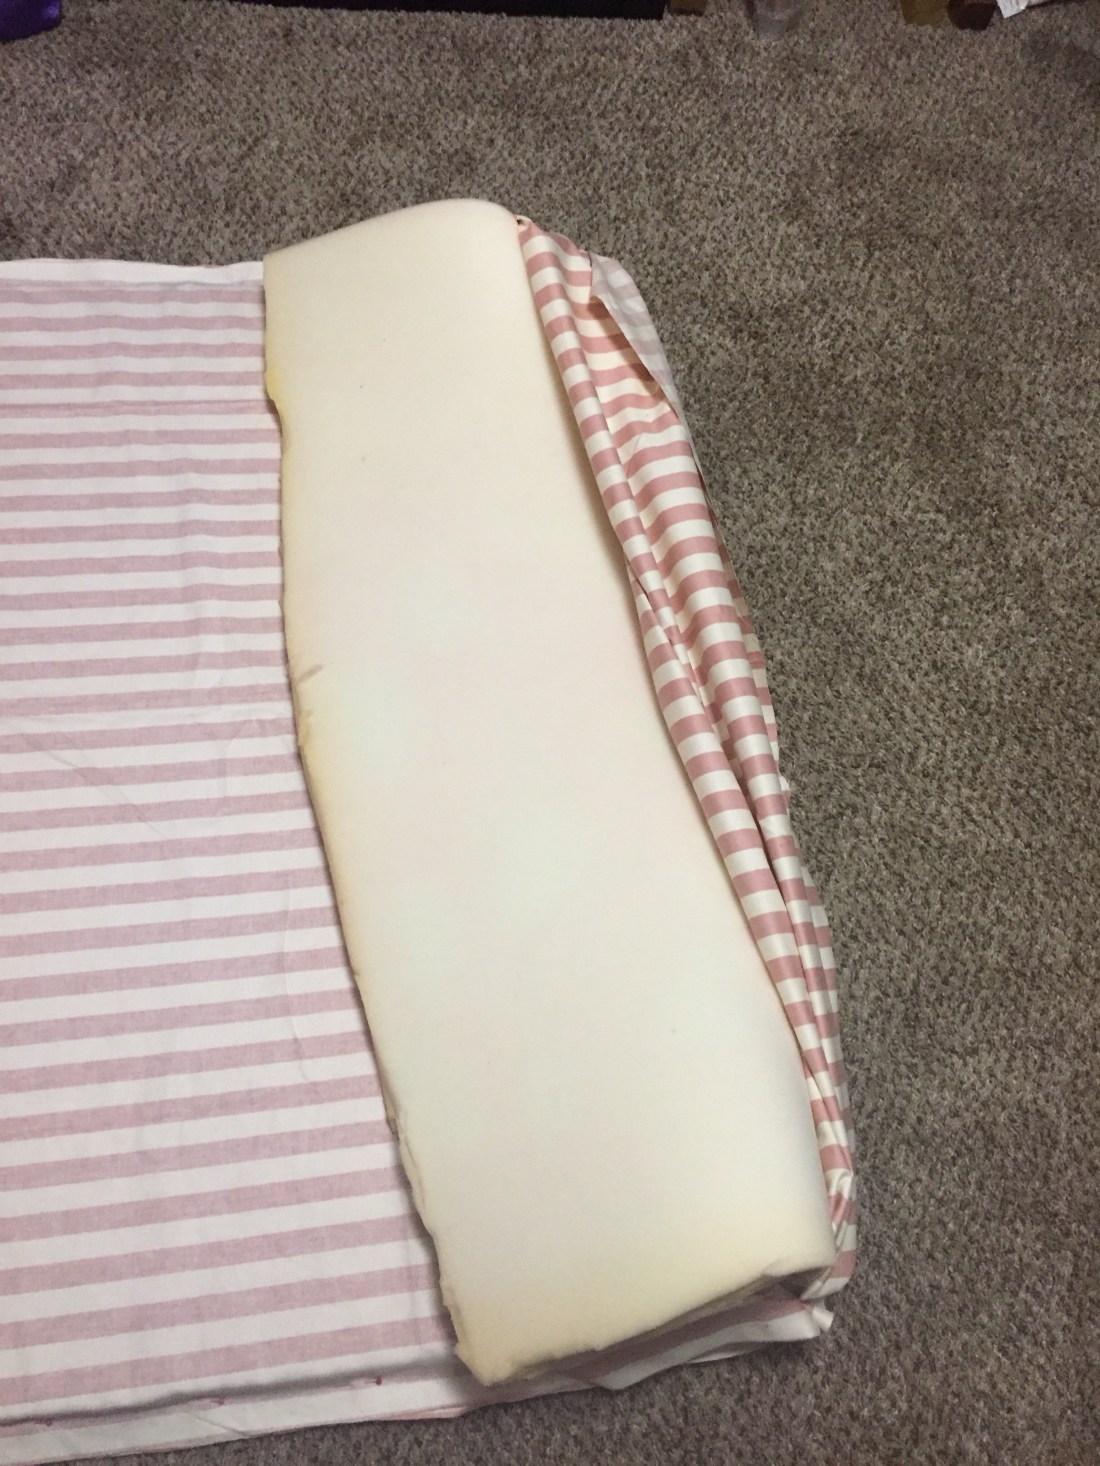

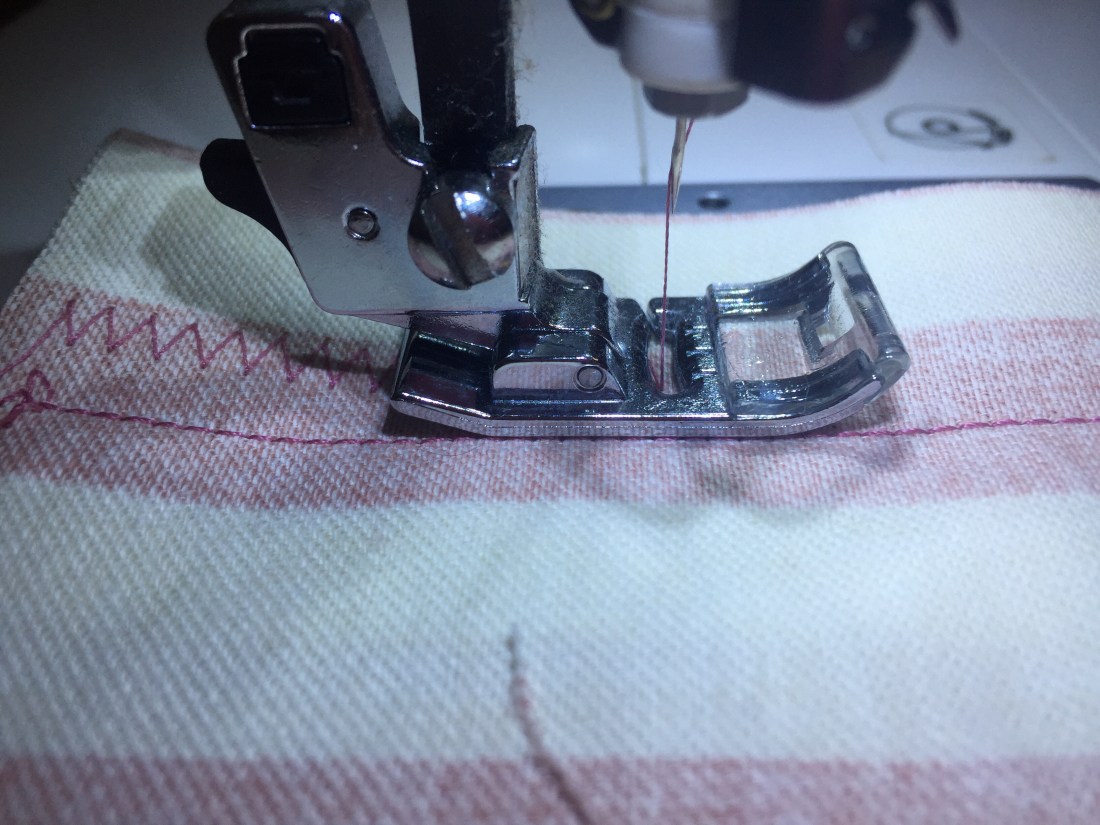
On the open end of the giant pillow case, fold over twice to make a fairly large hem (just like a pillow case in case you were wondering lol) and sew it down. We used a fancy loopy stitch for this part.

After washing and reinserting the foam topper and cutting some no sew curtains (we didn’t bother sewing a hem on this fabric, but you can if you wish) and then using metal clip style shower curtain loops on a curtain rod … this cubby is finished. 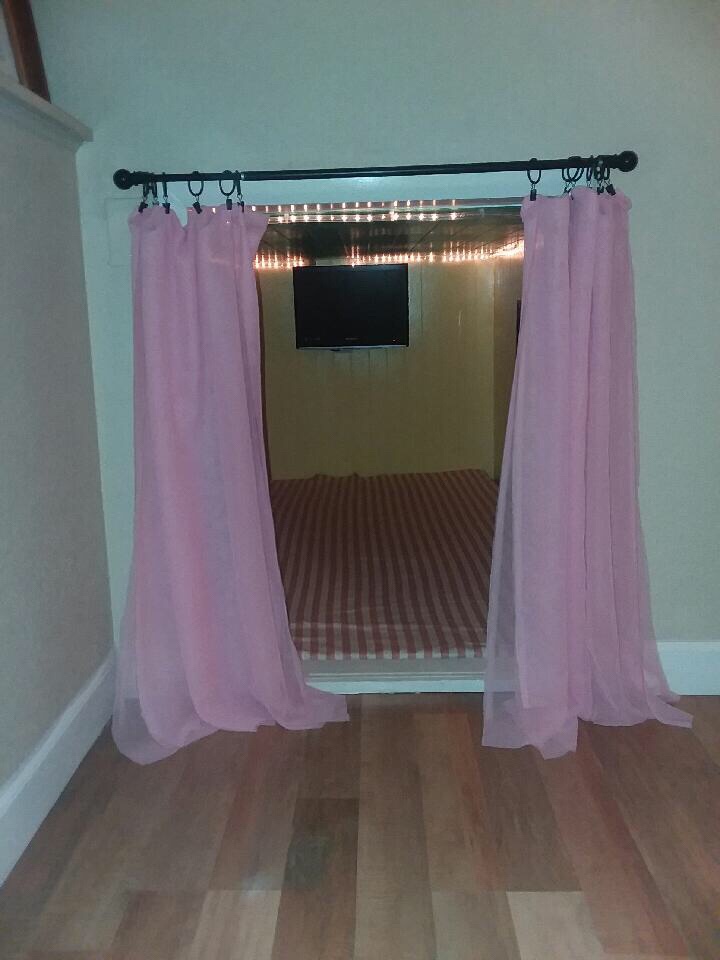
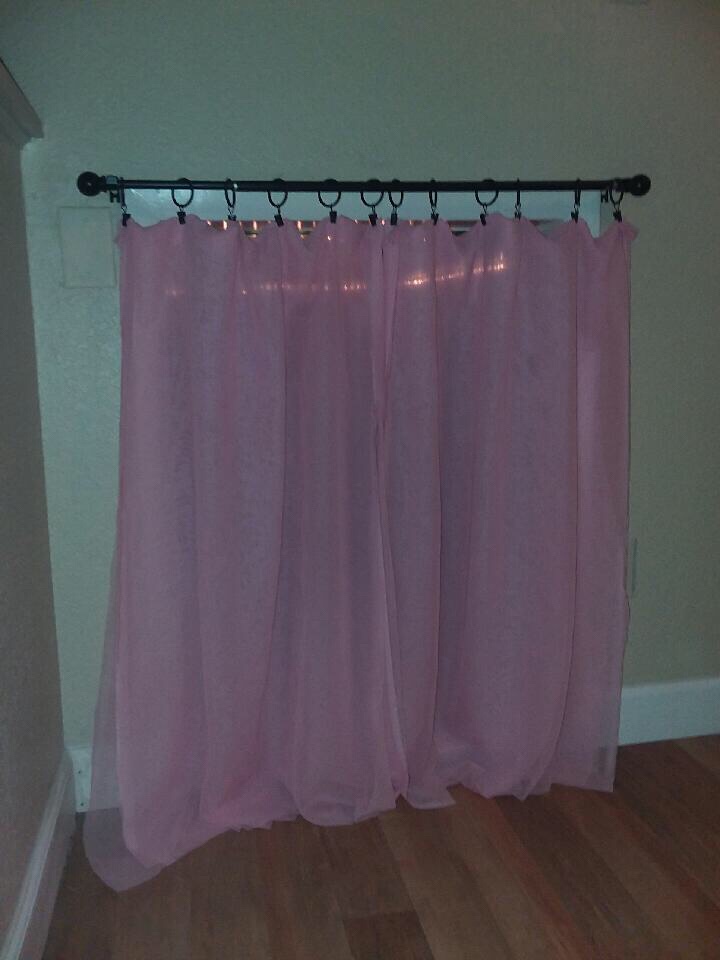
We also found a large piece of no sew lace curtains at the thrift store. These you just cut to the desired width and hang up. So yeah I snapped that bit of lace up super fast when I saw it in the bins with all the other cloth!


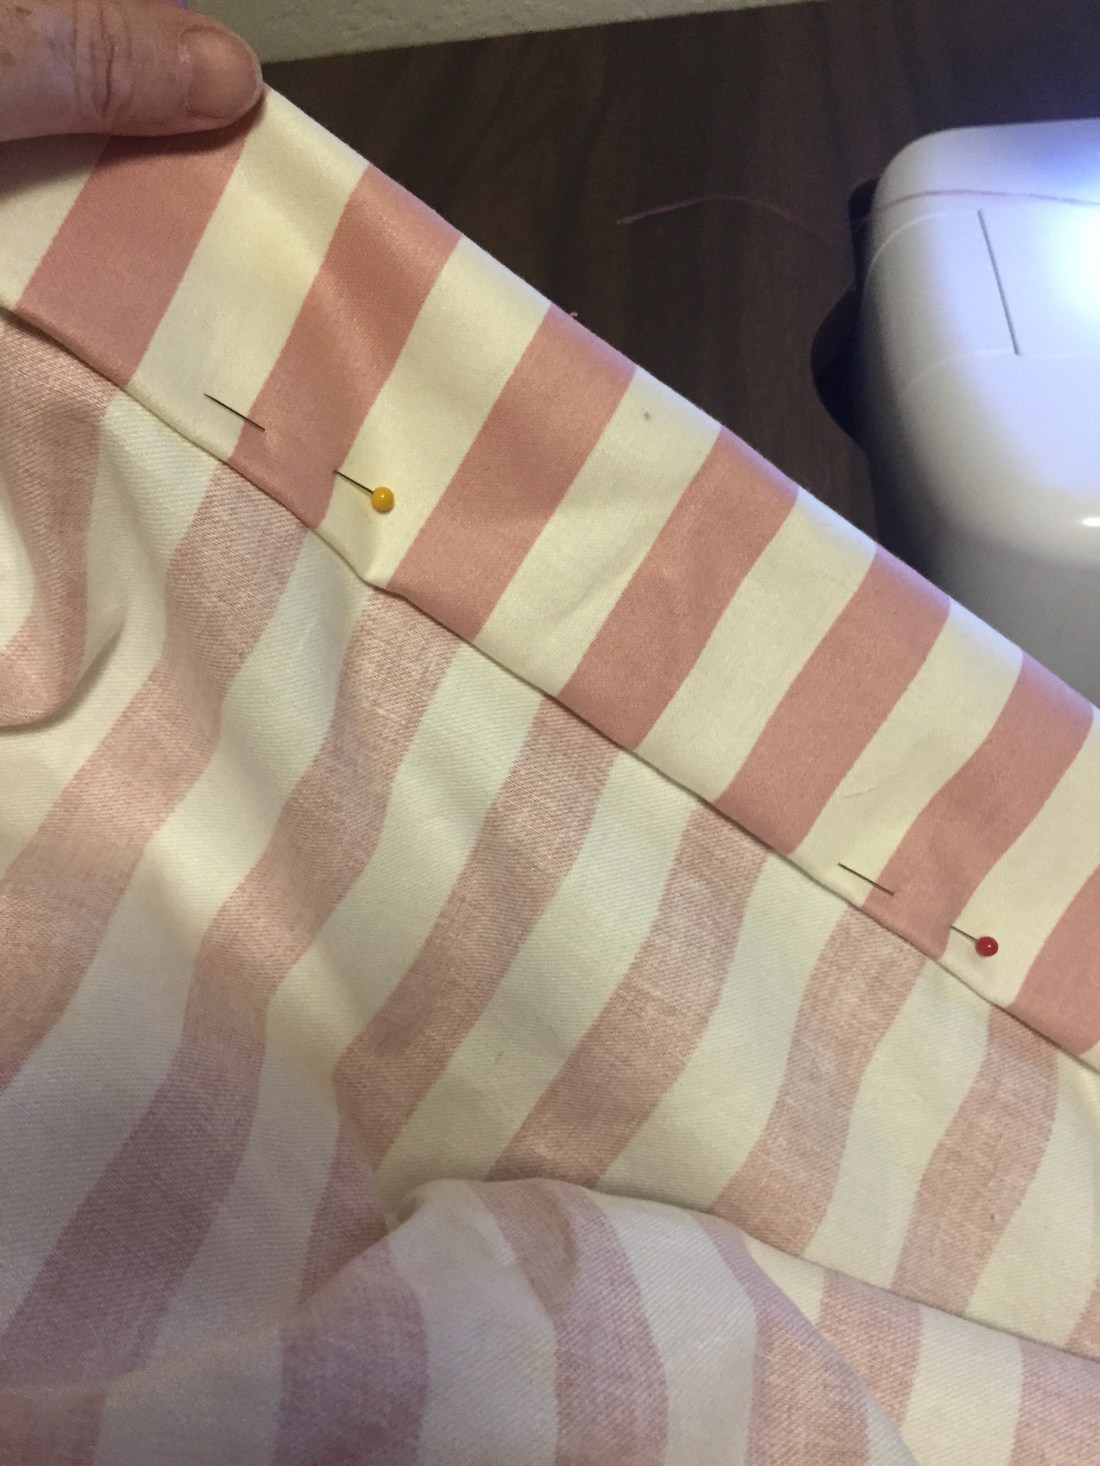
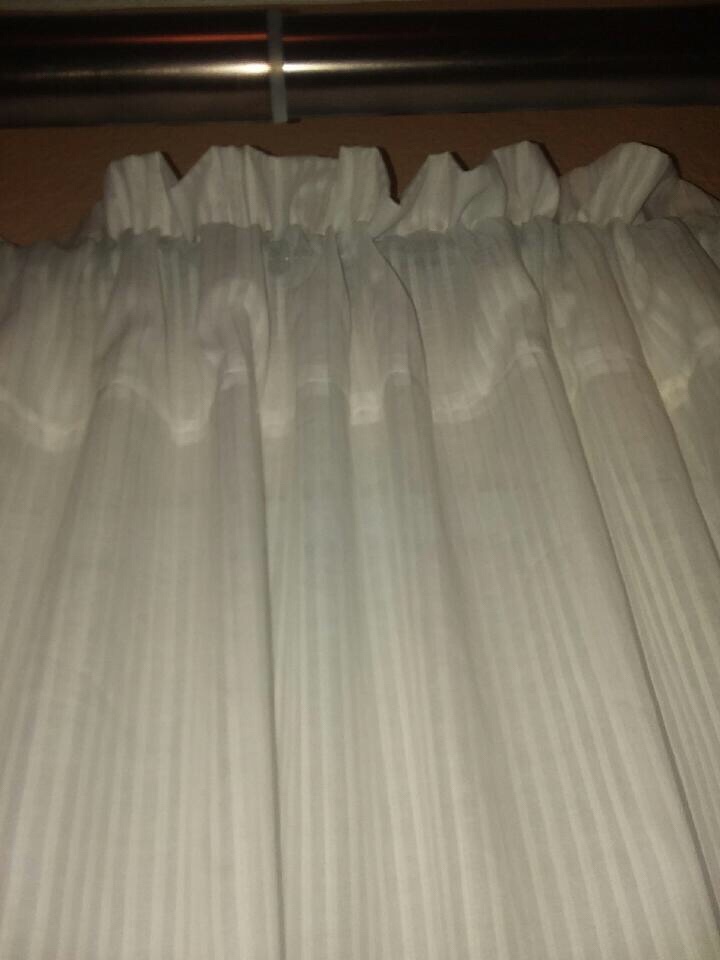
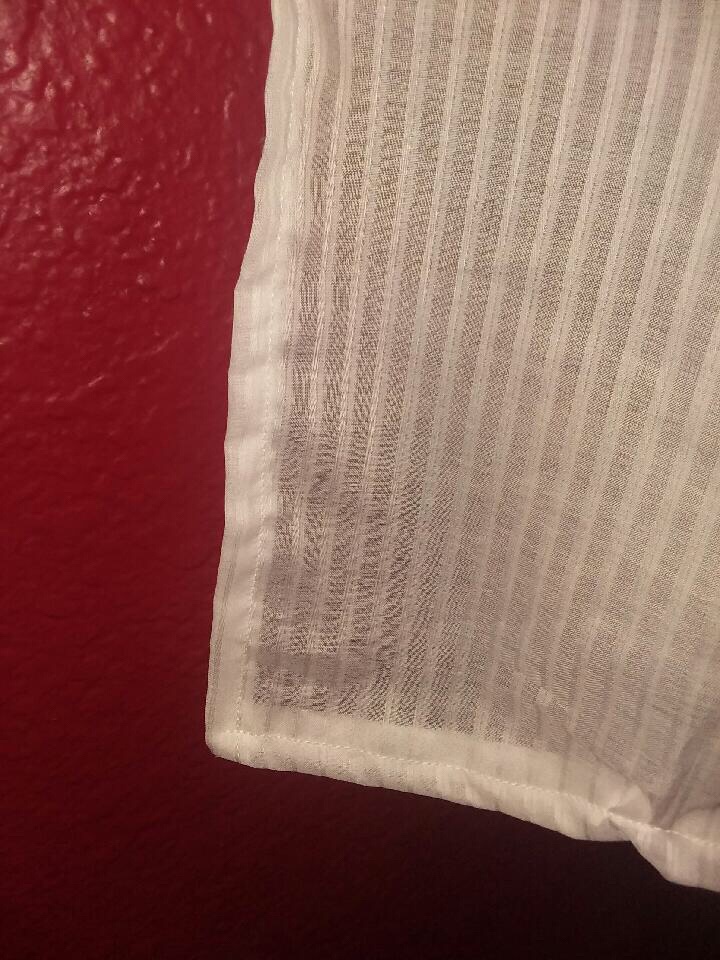
Now for the new curtains for the bedroom! There are tons of instructions online on how to sew curtains so I won’t bore you with a lot of details for that. It’s basically hem on three sides. Fold over the top portion (about 6 inches) and sew a curtain rod pocket. Hang the curtains up on the curtain rod and pin the bottom hem so that it is even and then sew the bottom hem last. It’s sewwwww easy an 11 year old can do it on her first sewing lesson! In fact… an 11 year old made these AS her first sewing lesson … so there you have it! Also cloth bought at the thrift store BTW. She wanted white curtains lol. So she made white curtains. Next up… she is going to paint her room blue lol.

Although I don’t remember the exact prices I paid for the cloth and thread etc because they have been in the craft room for a few months just waiting on someone to pick them out for a sewing lesson and they were all purchased at the thrift store (yes big bags of thread for a $1!) … I would say both rooms cost less than $20 total to have their make over today. Plus the girls got a sewing lesson and to quote the 11 year old “I’m sorta proud of my new curtains!” And all the money in the world just can’t buy that sense of pride you get from a job well done!
As a side note: Conestoga Chuck gave us ladies an audible huff (literally) and let himself outside (he knows how to open doors) while we were working all day… just like a guy to go slinking off while the ladies work lol (just joking guys!) but it WAS sorta funny the look he gave us… and the huff reminded me of many of the older generation males in my family leaving the kitchen to get out of the way of the ladies so dinner could be made or escaping the living room so an auntie could vacuum without an uncle having to hold his feet up in the air lol… like we had totally interrupted a really good football game on TV with all that darn clanging and vacuuming! “Harrumph…Might as well just go outside where I can get some peace and quiet!”
Poor Conestoga Chuck lol
***Oh! And most of the photos above were taken by my friend Violet because she takes way better photos than I, so … Thanks Violet!
